What Makes Deck Sanding So Essential?
Scrubbing, power washing, sanding, staining…If you’re new to deck upkeep, you may not be aware of all that goes into preserving this outdoor space.
But the more TLC you invest, the longer you can enjoy a place in your backyard to gather, relax and take in the seasons. So why sand your deck?
As wood ages, it can start to form a sheen, meaning the fibers constrict to make the boards look shiny. Sanding opens the fibers, allowing for new stain to properly absorb into the wood.
Ready to start? With this article, you’ll learn what to do before sanding, the right tools to use for the job, and the proper way to sand for the desired finish.
How to Sand Your Deck
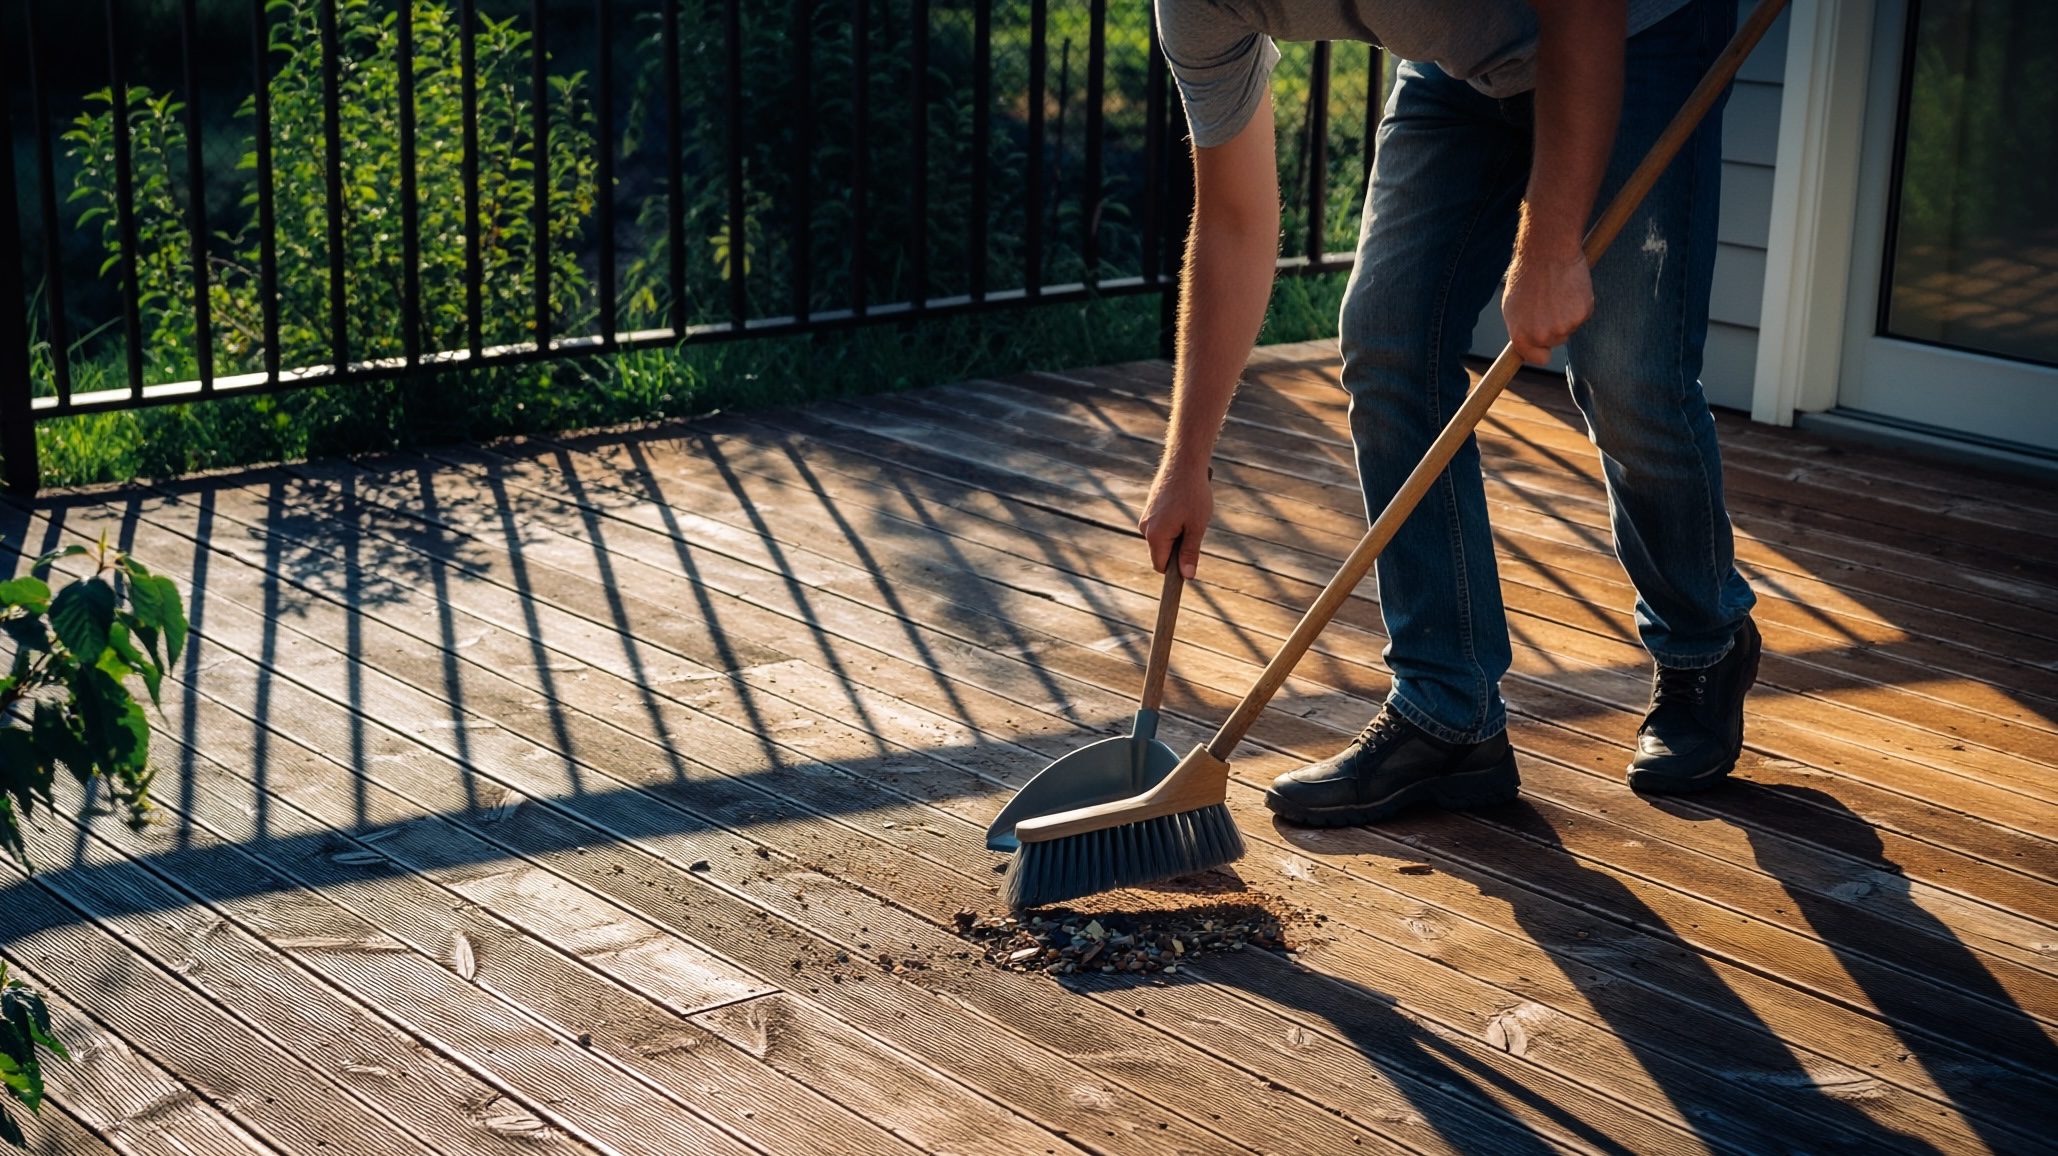
Step 1 Clean Your Deck
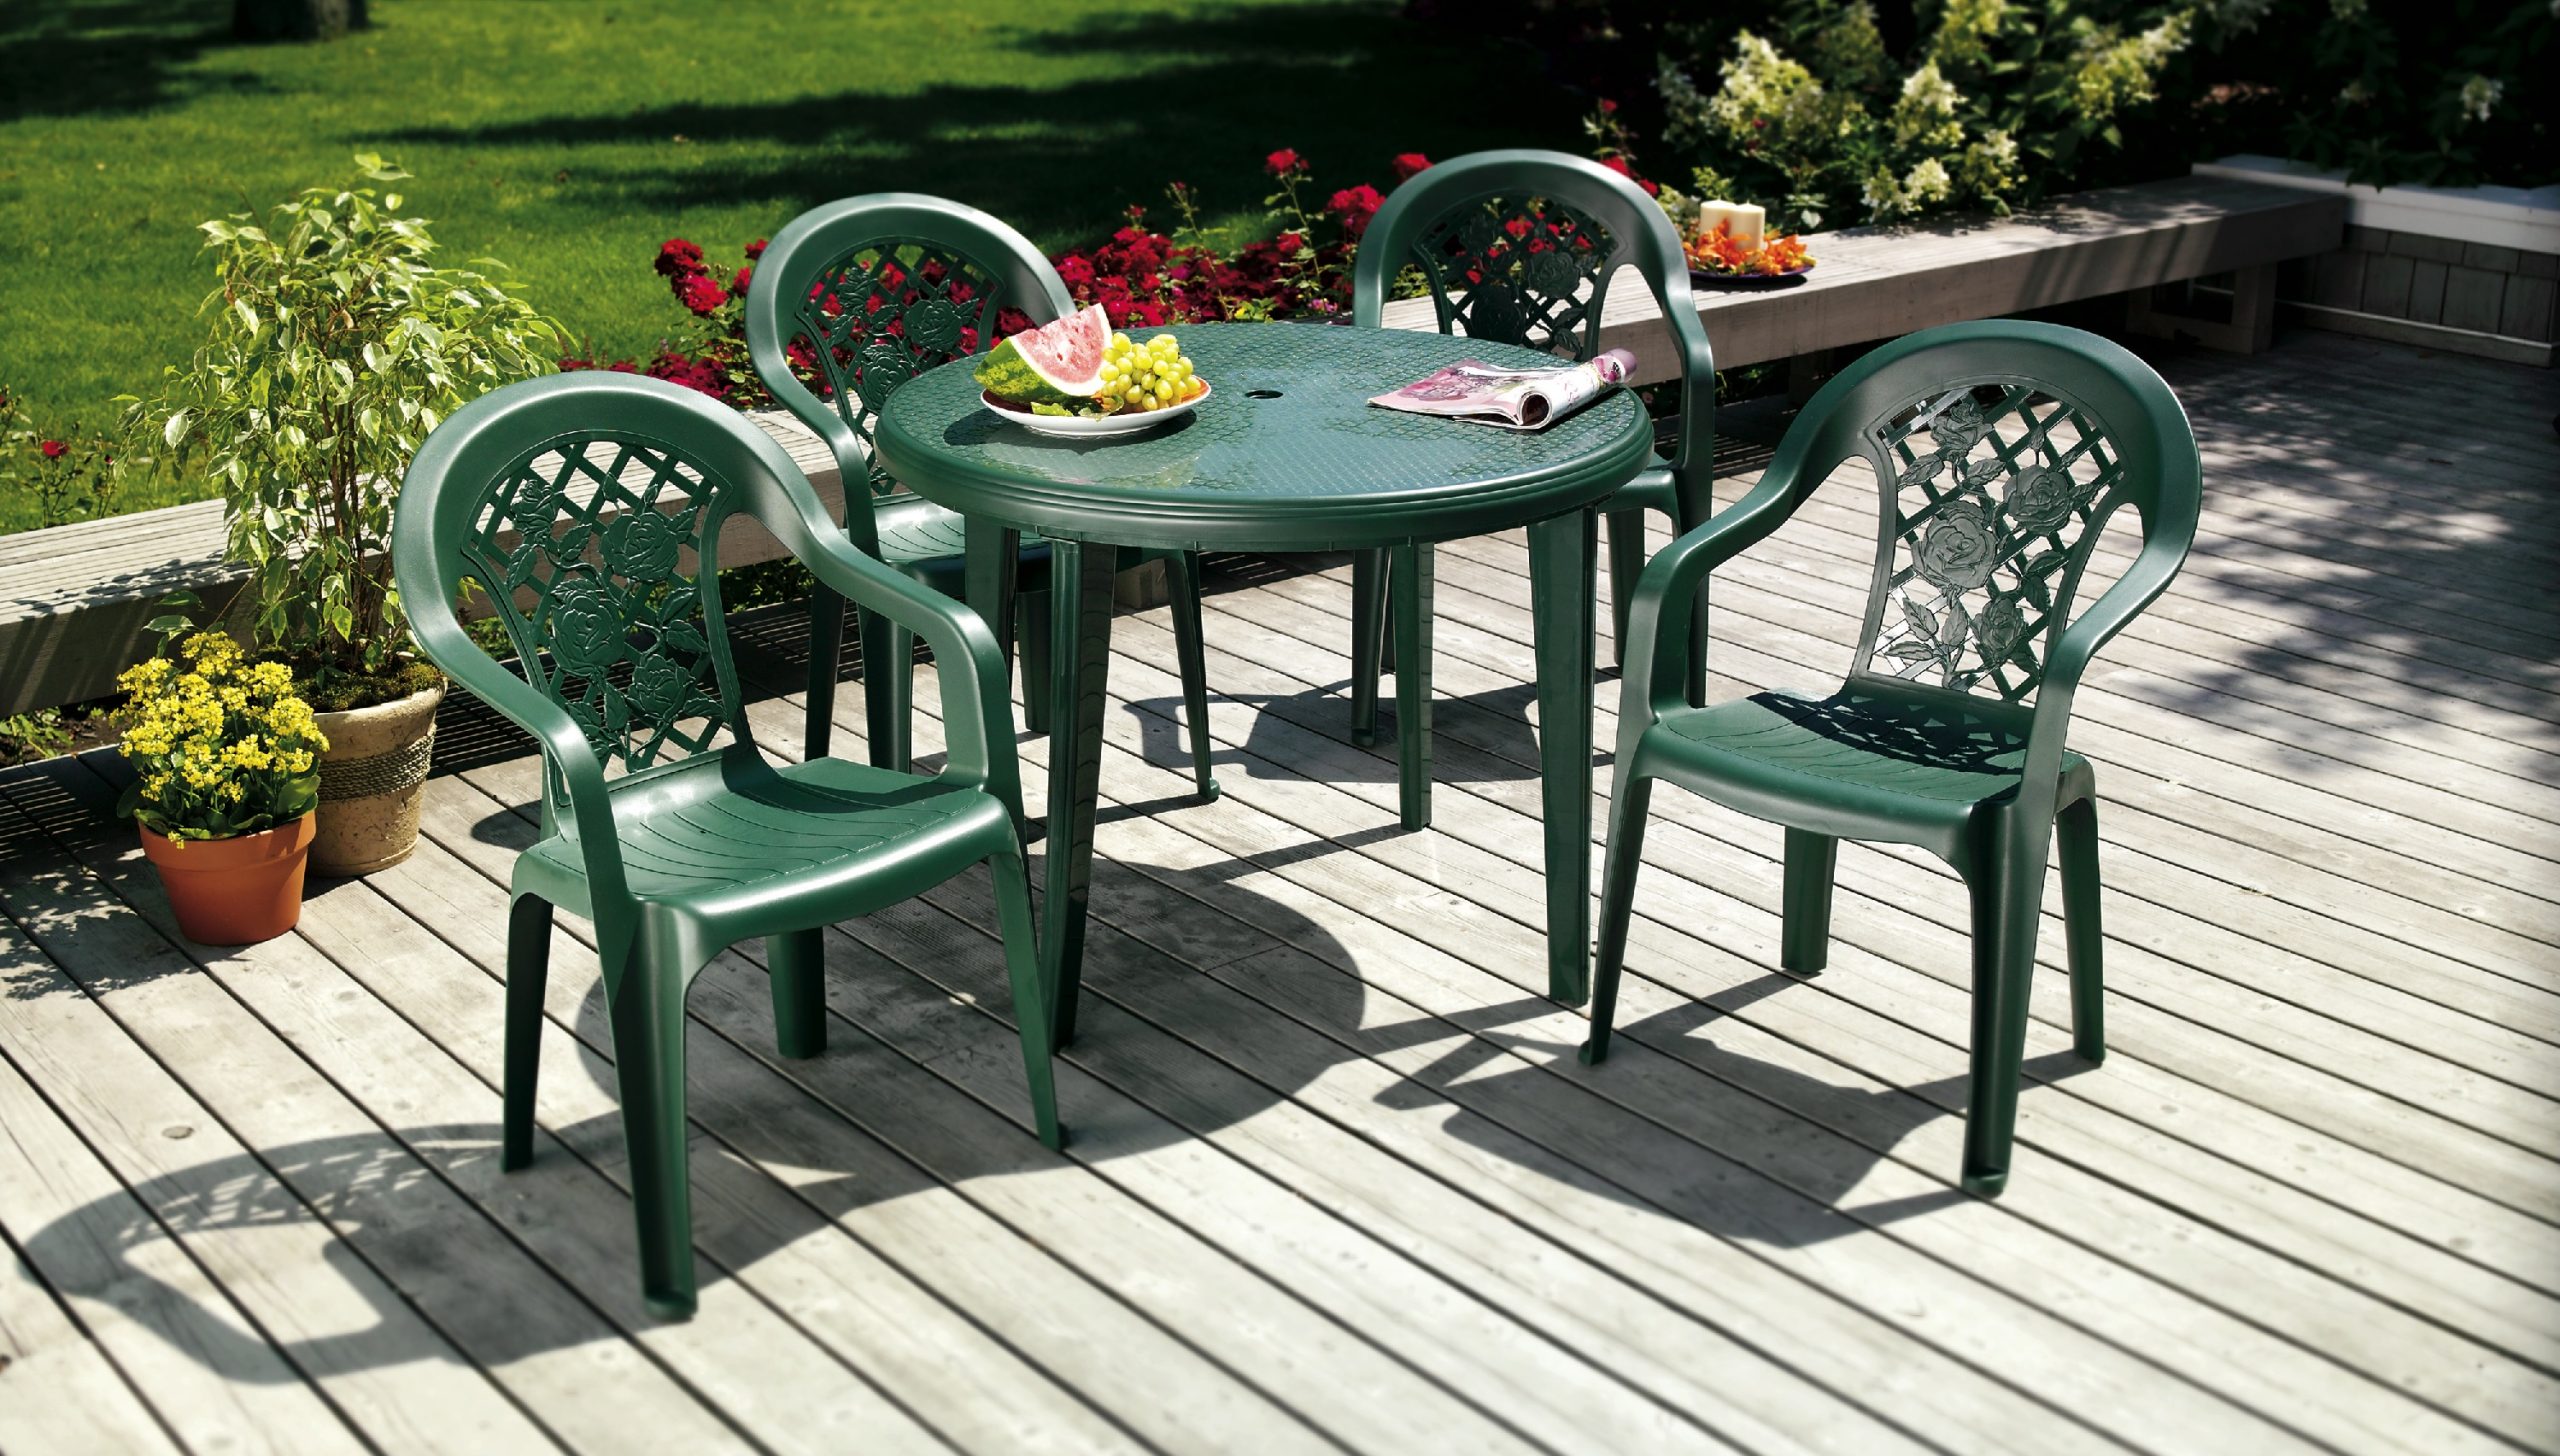
First get all tables and chairs, grills, and any other items off the deck, so it’s completely clear.
Use a deck cleaner and scrub brush to provide a clean surface for the stain to go on smoothly.
This will help clear mildew stains, mold stains, algae stains, dirt and other debris. Once you’ve finished cleaning, give your deck two days of drying time.
PRO TIP
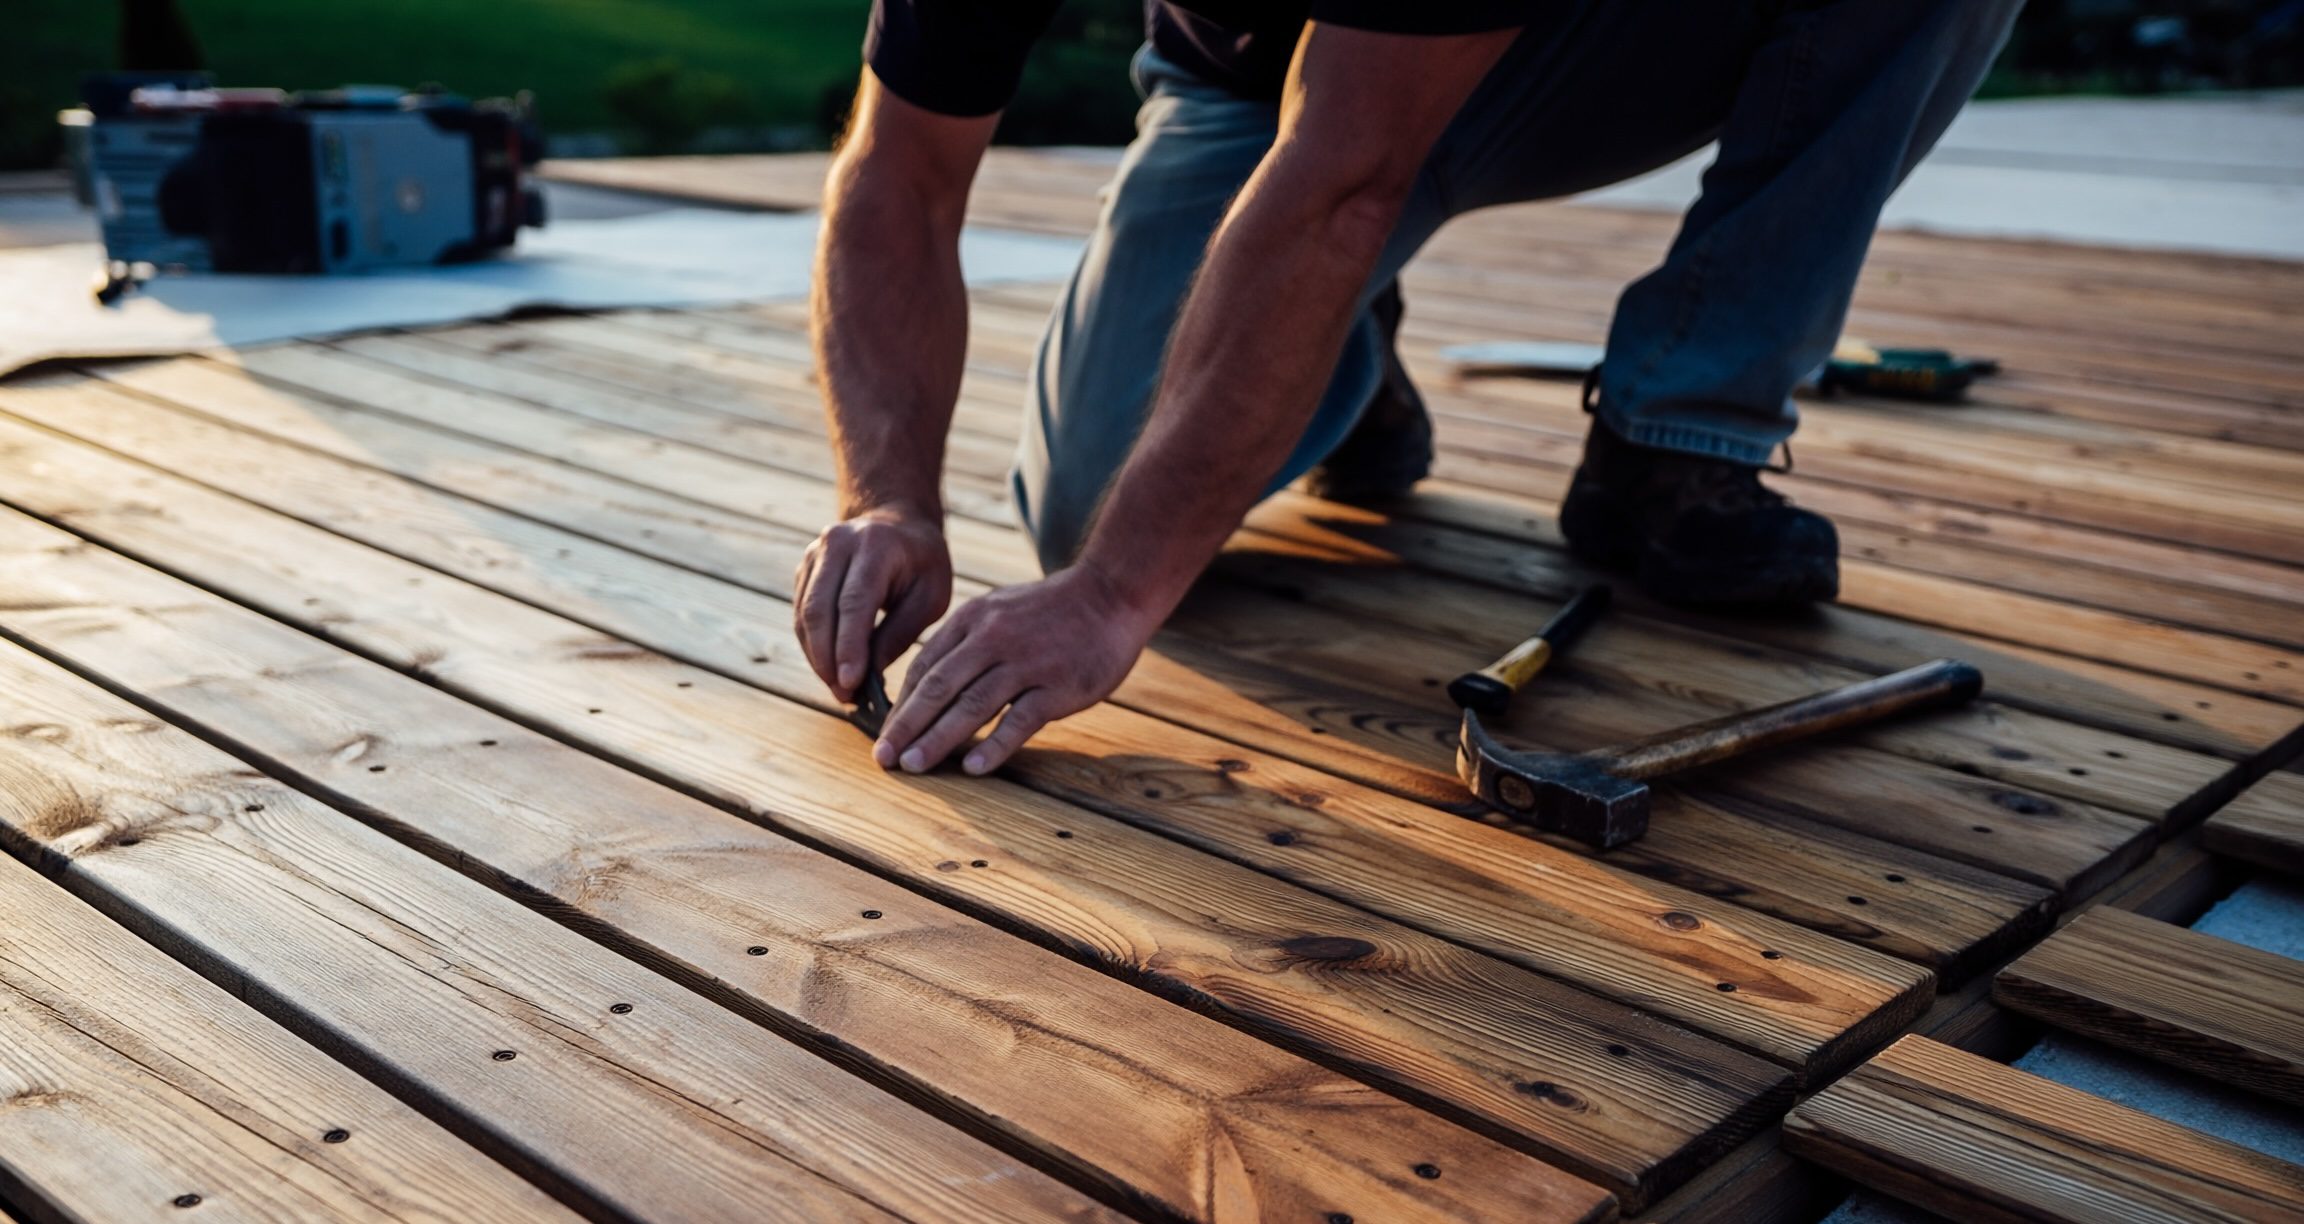
Step 2 Repair Your Deck as Needed
Fix or replace any damaged, loose or missing boards.
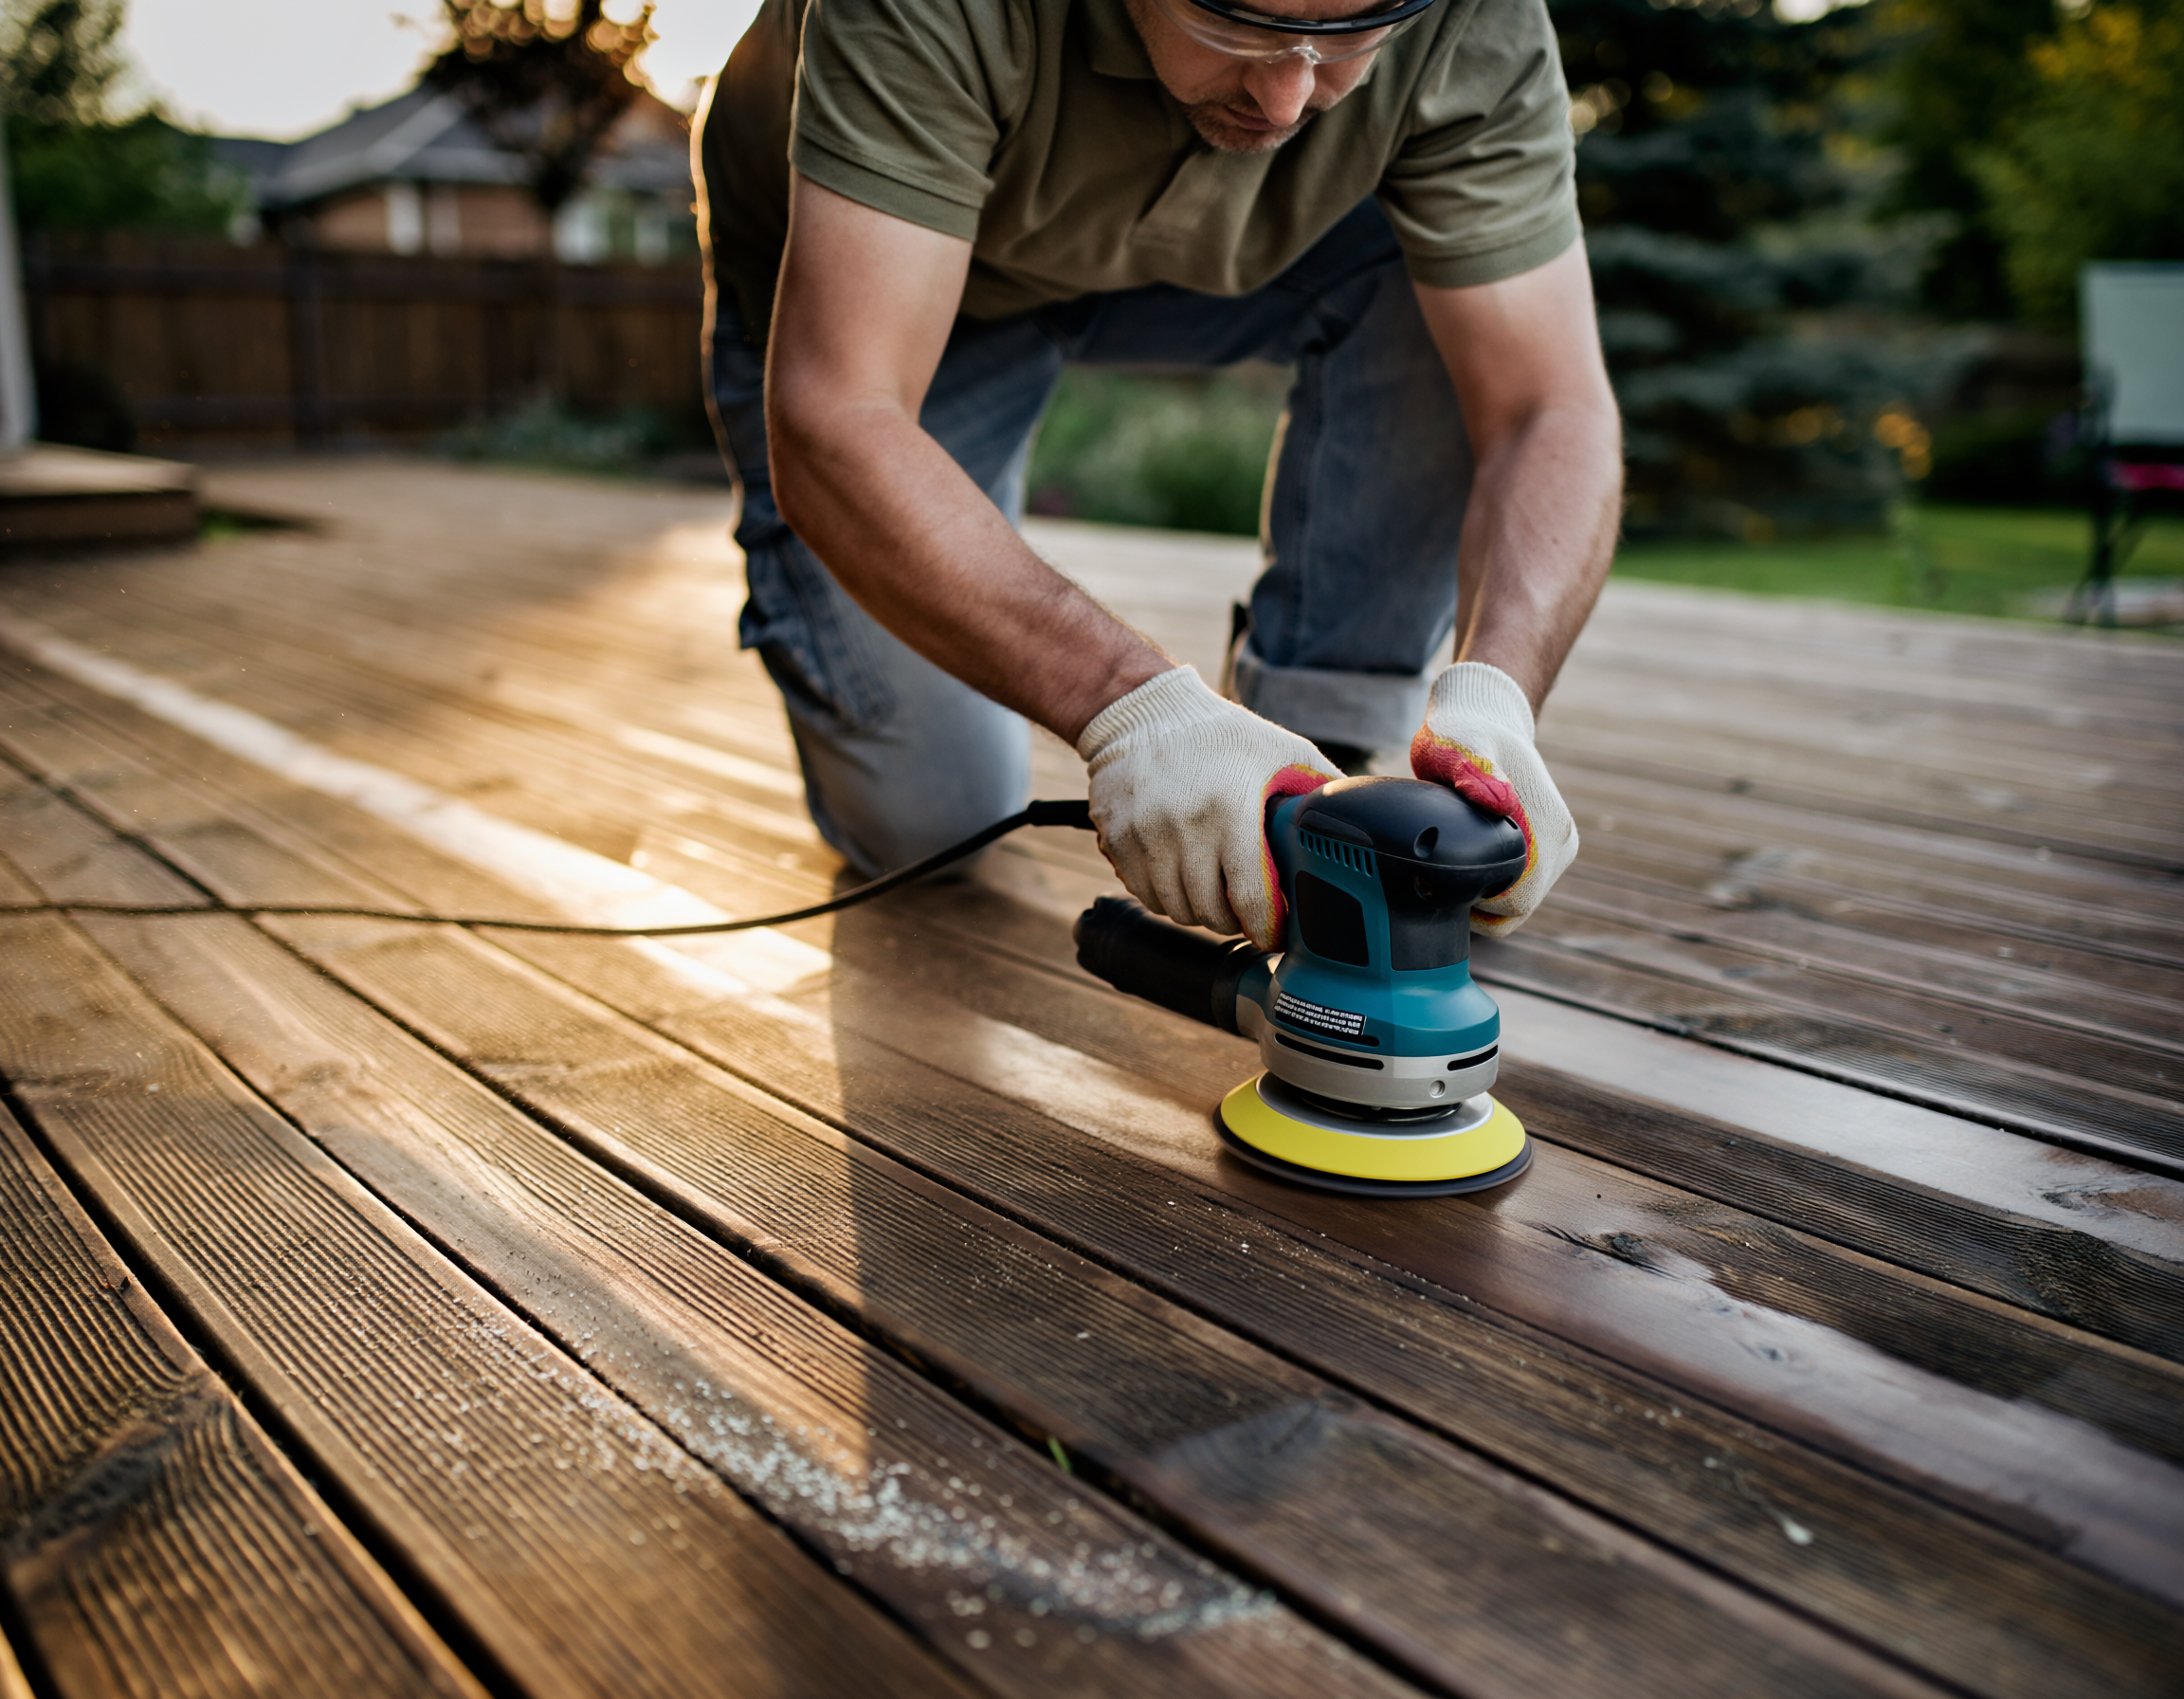
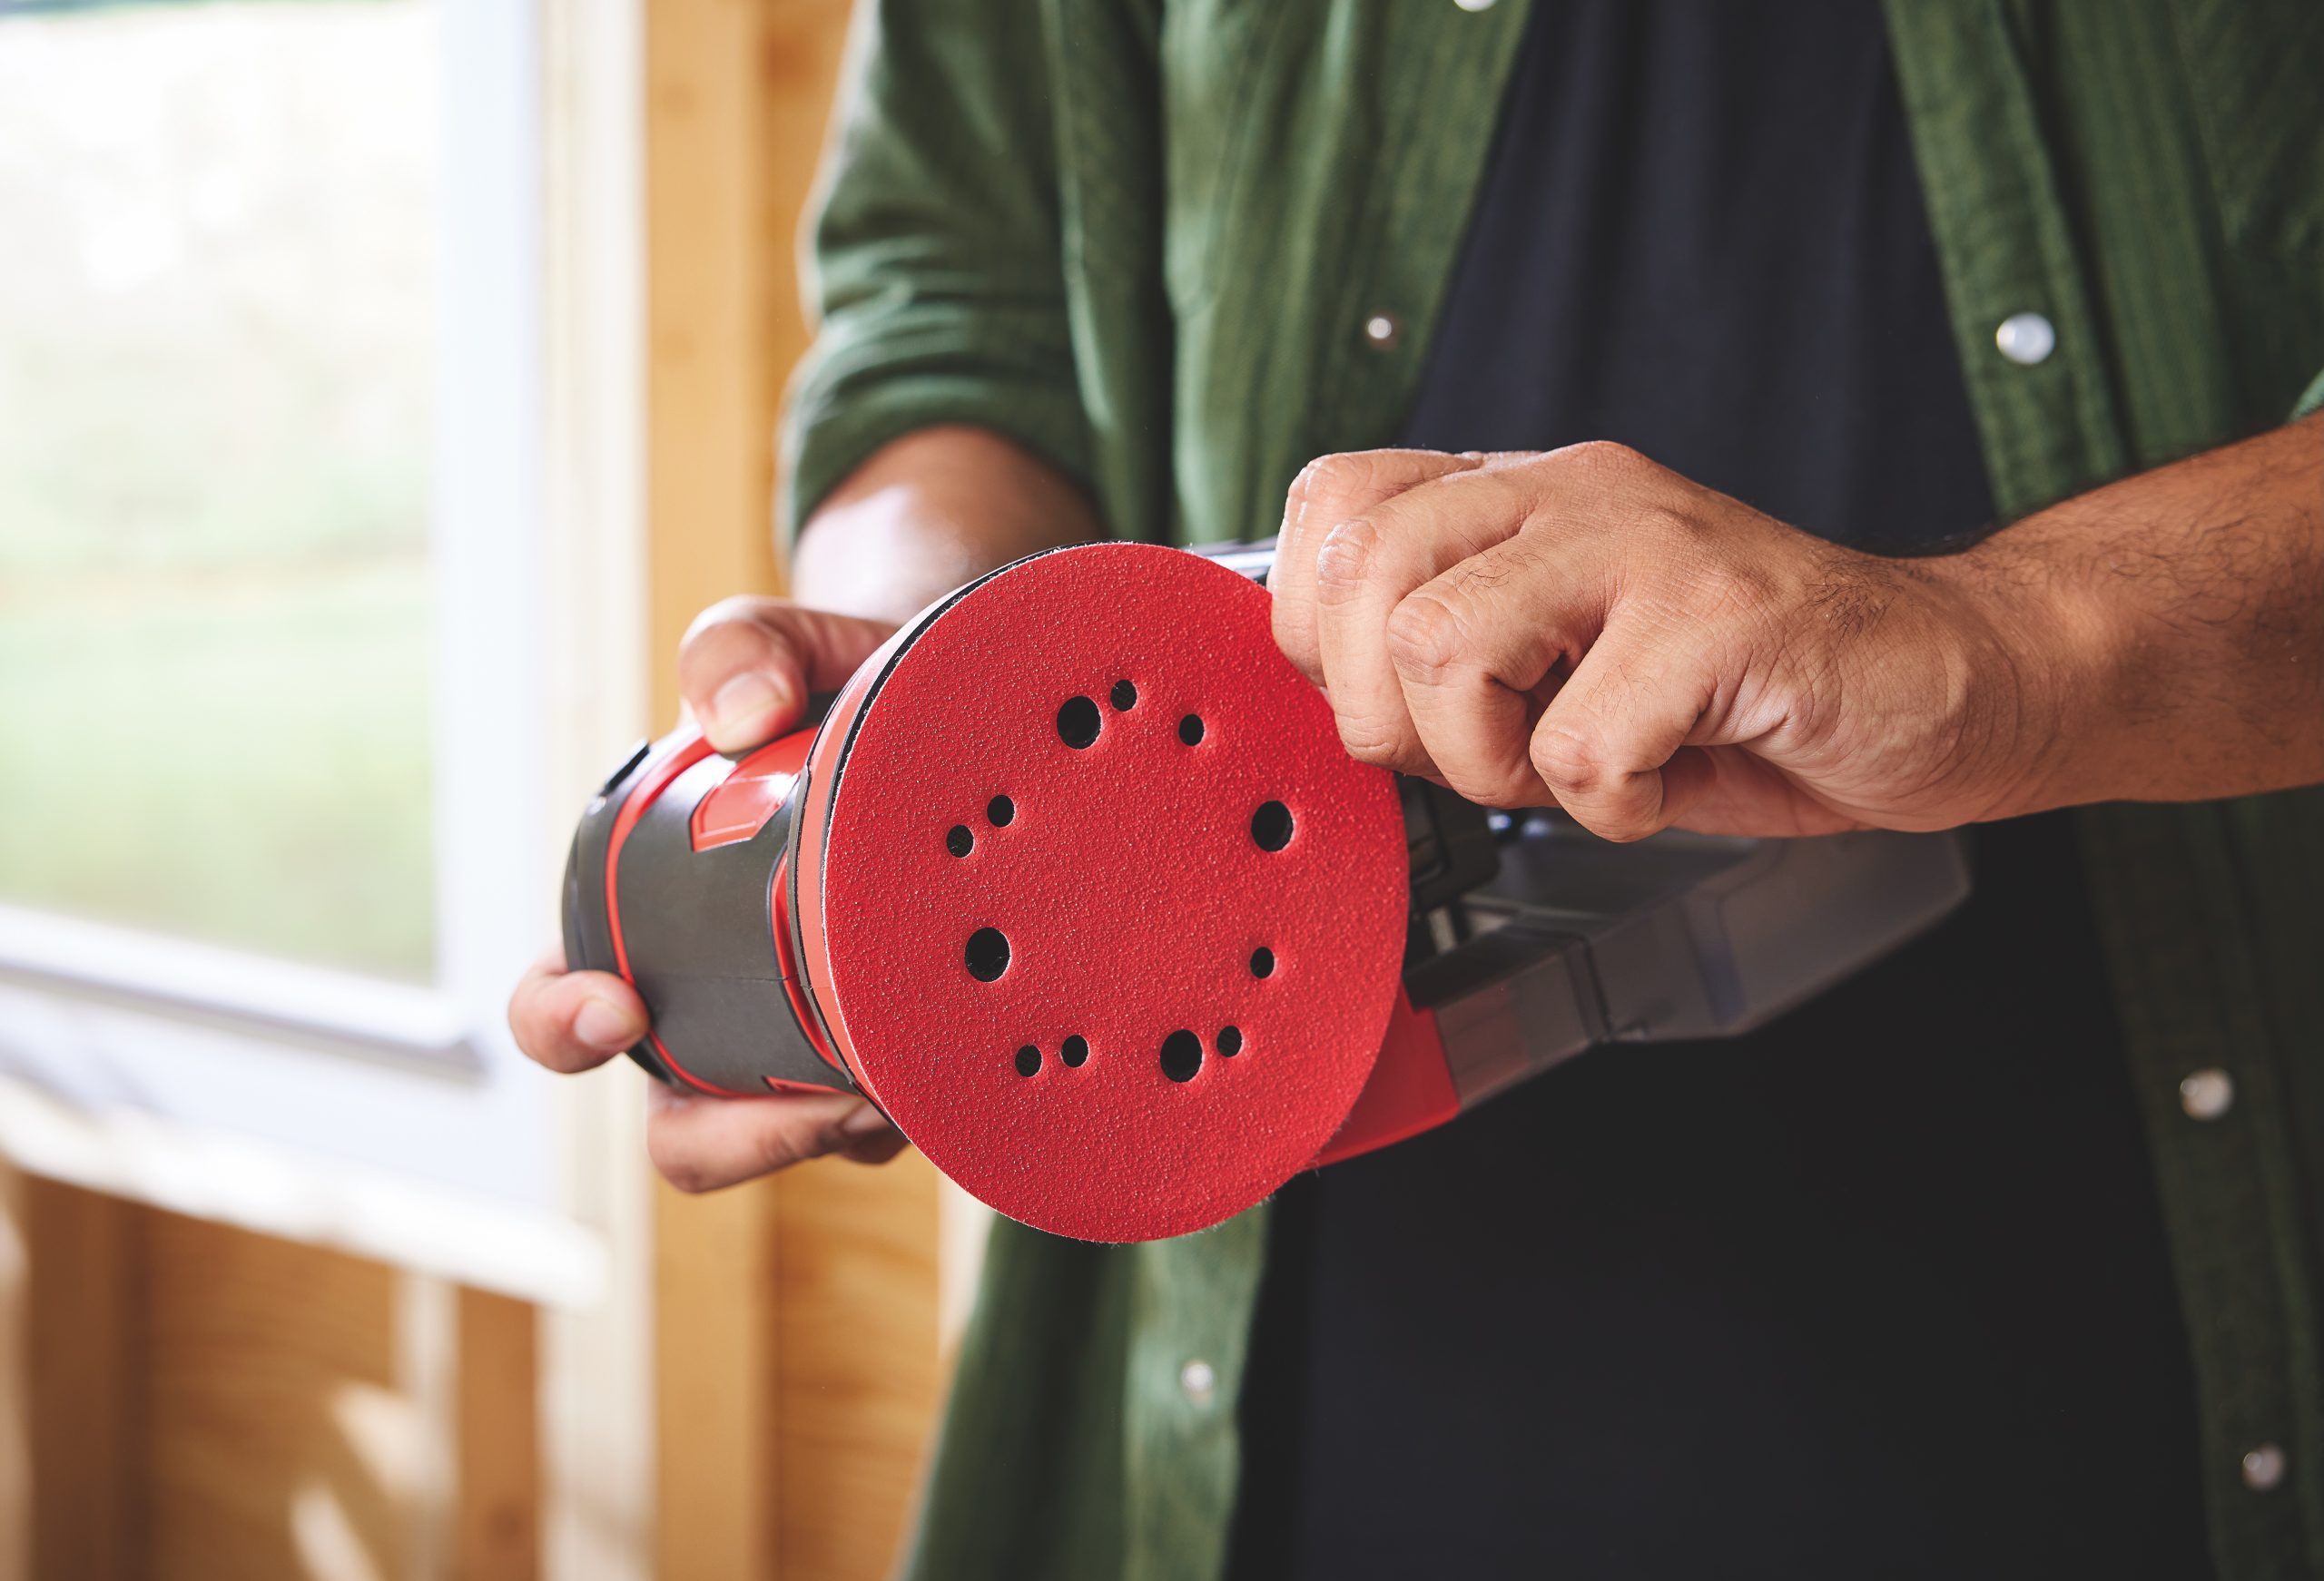
Step 3 Choose the Right Tools
For this project, we recommend choosing an orbital sander. This makes it easier to smooth out any roughness before staining.
You may find the orbital sander can’t reach certain corners or tight spaces. In this case, you’ll need something like a sanding block or sanding sponge.
Step 4 Go With the Grain
You’ll want to move along the wood grain to prevent scratching or scuffing. Once you’ve cleared away all rough spots, you’re finished sanding!
Time to apply stain. We’ll show you how: click here (link TBD).