Tools
Supplies
Reasons to Use a Spreader
- Dispense products properly in the exact amounts in a precise pattern.
- Prevents wasting product or over-applying product and burning grass.
- Edge guards and spray patterns put the product where it needs to go.
- Ideal for dispensing fertilizer, grass seed, pesticide, and soil amendments.
Before You Get Started
- Wear work gloves and protective eyewear to avoid direct contact.
- Always follow directions from the manufacturer.
- Visit your local Ace for advice if you have questions.
Select the Correct Application Tool for Your Yard
Spreaders for Dry, Bagged, and Granular Products
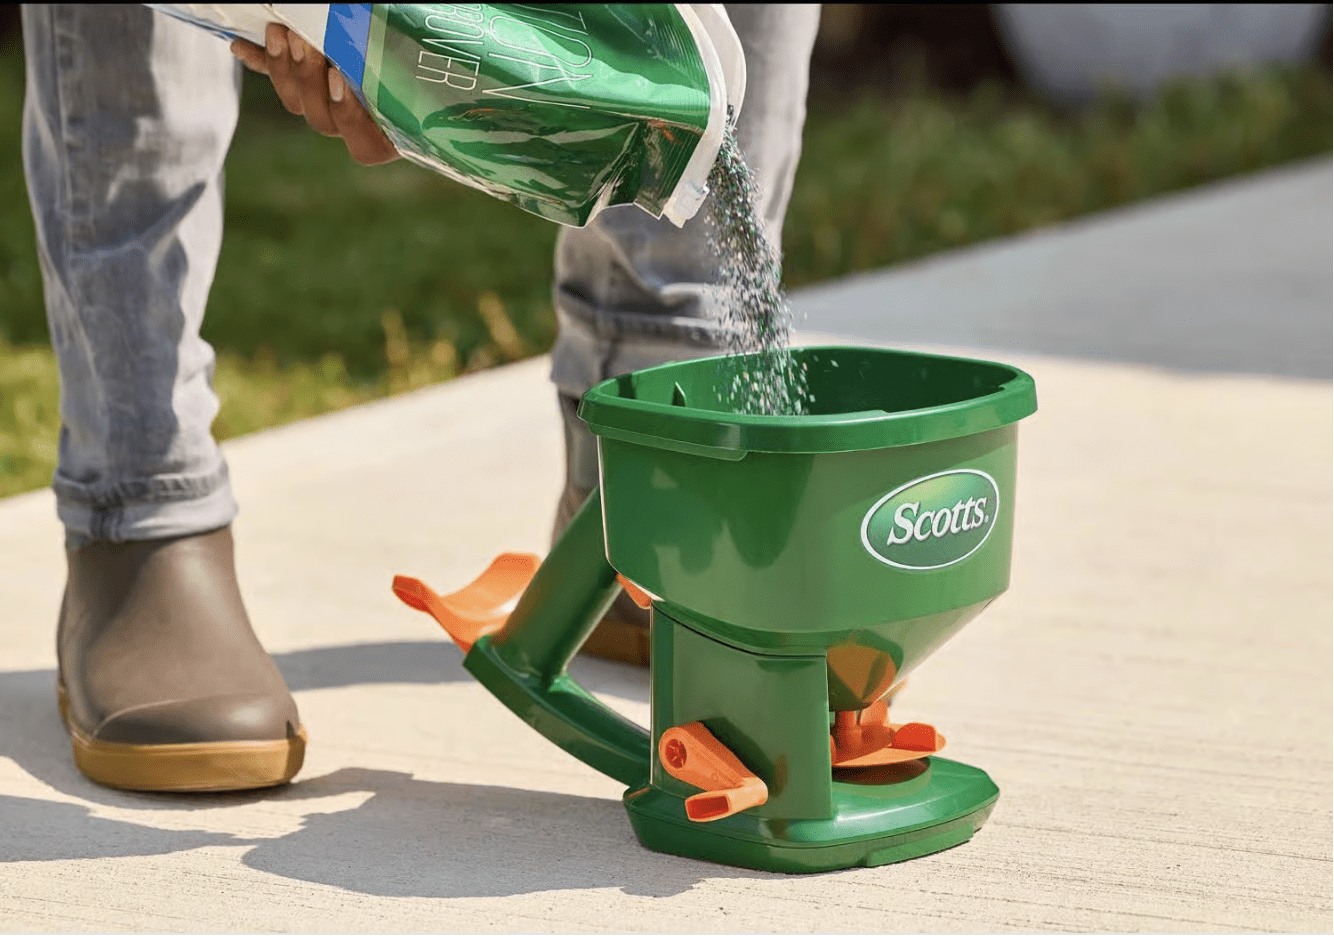
Hand-Held Spreaders
- A smaller hopper that you hold and turn a crank handle to dispense.
- Great for use in smaller yards.
- Also handy to use for dispensing ice melt.
Drop Spreaders
- Drops the contents in the hopper onto an area the width of the hopper.
- Excellent if your lawn has a lot of contours and you need to follow a precise path.
- Good for small to medium-sized yards.
Broadcast Spreaders
- A larger hopper and rotary dispenser disperse product over a large area.
- A handle lever allows you to start and stop dispensing product.
- An edge guard helps prevent dispensing product on sidewalks and driveways.
Sprayers for Liquid Products
Hose Sprayers
- Attaches directly to your garden hose to mix product with water.
- Easy to use, but often has fewer adjustments.
- Usually included with the product container.
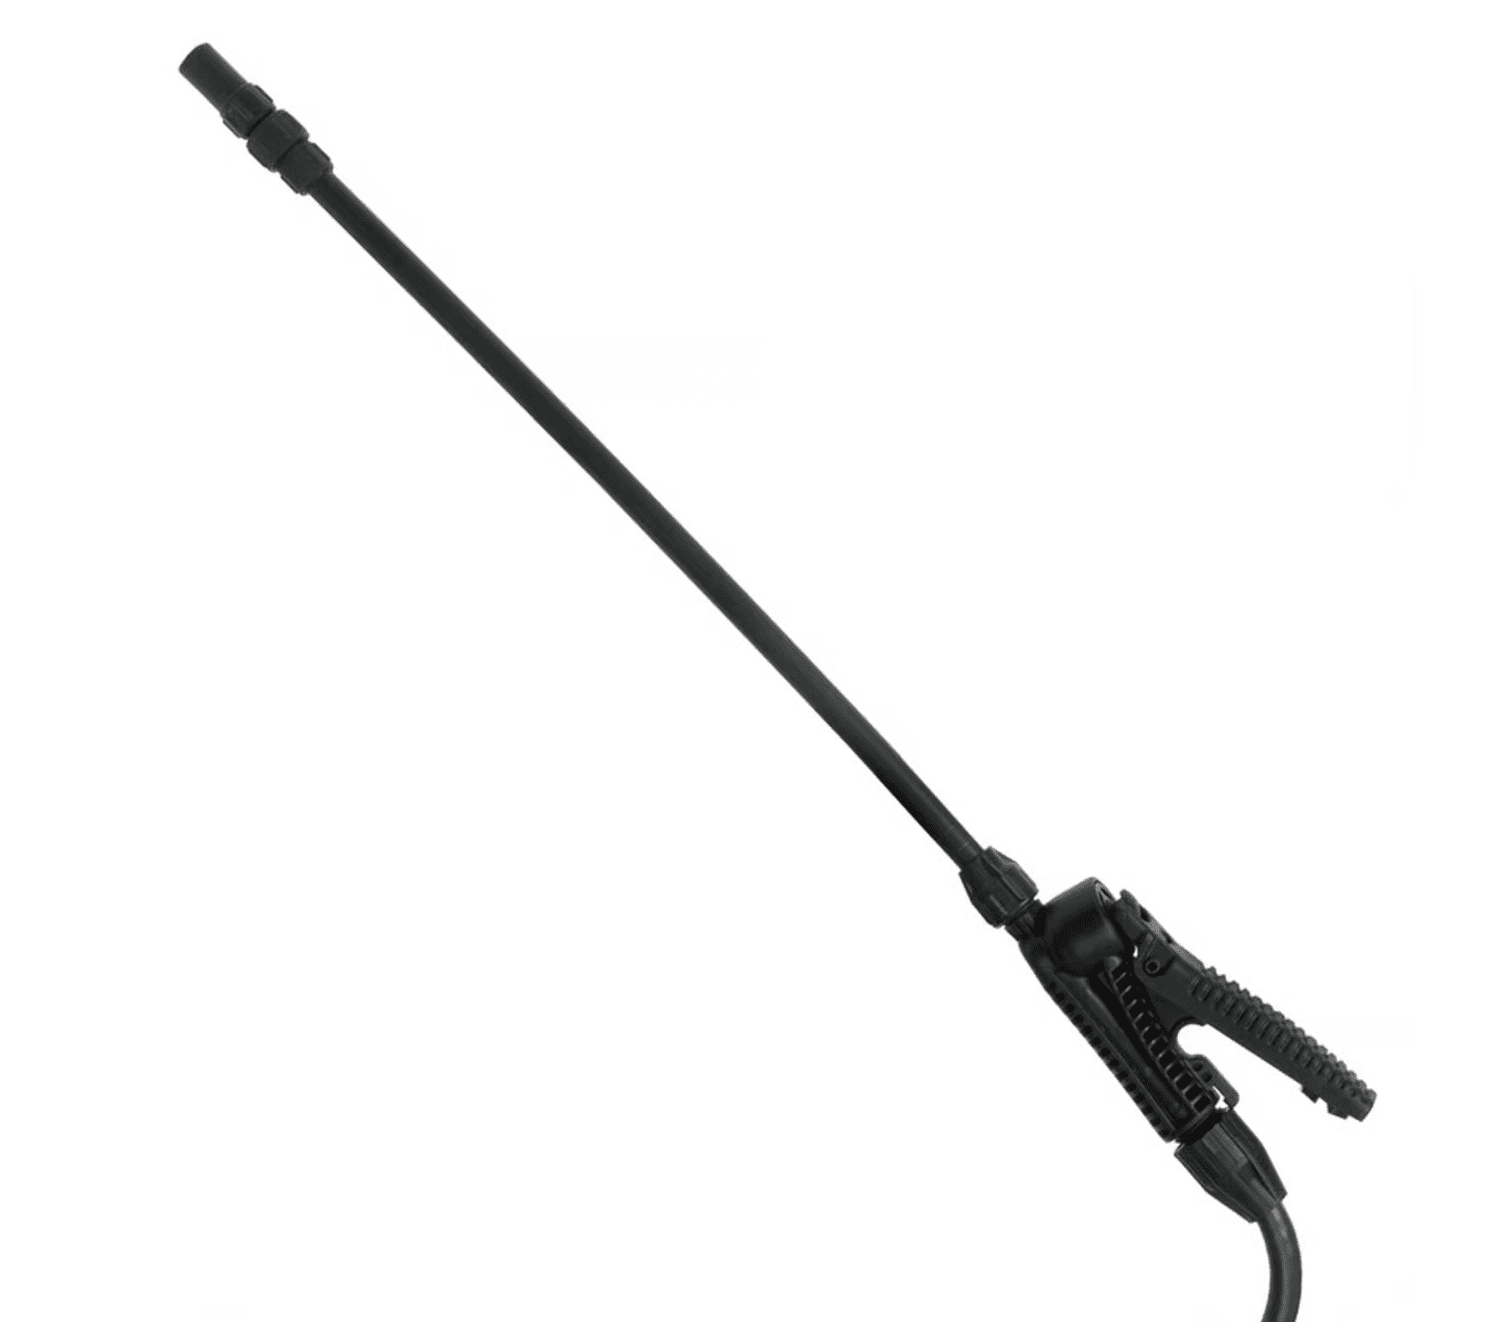
Pressurized Tank Sprayers
- Precise application of liquid products to controlled areas of lawn or garden.
- Requires measuring and filling.
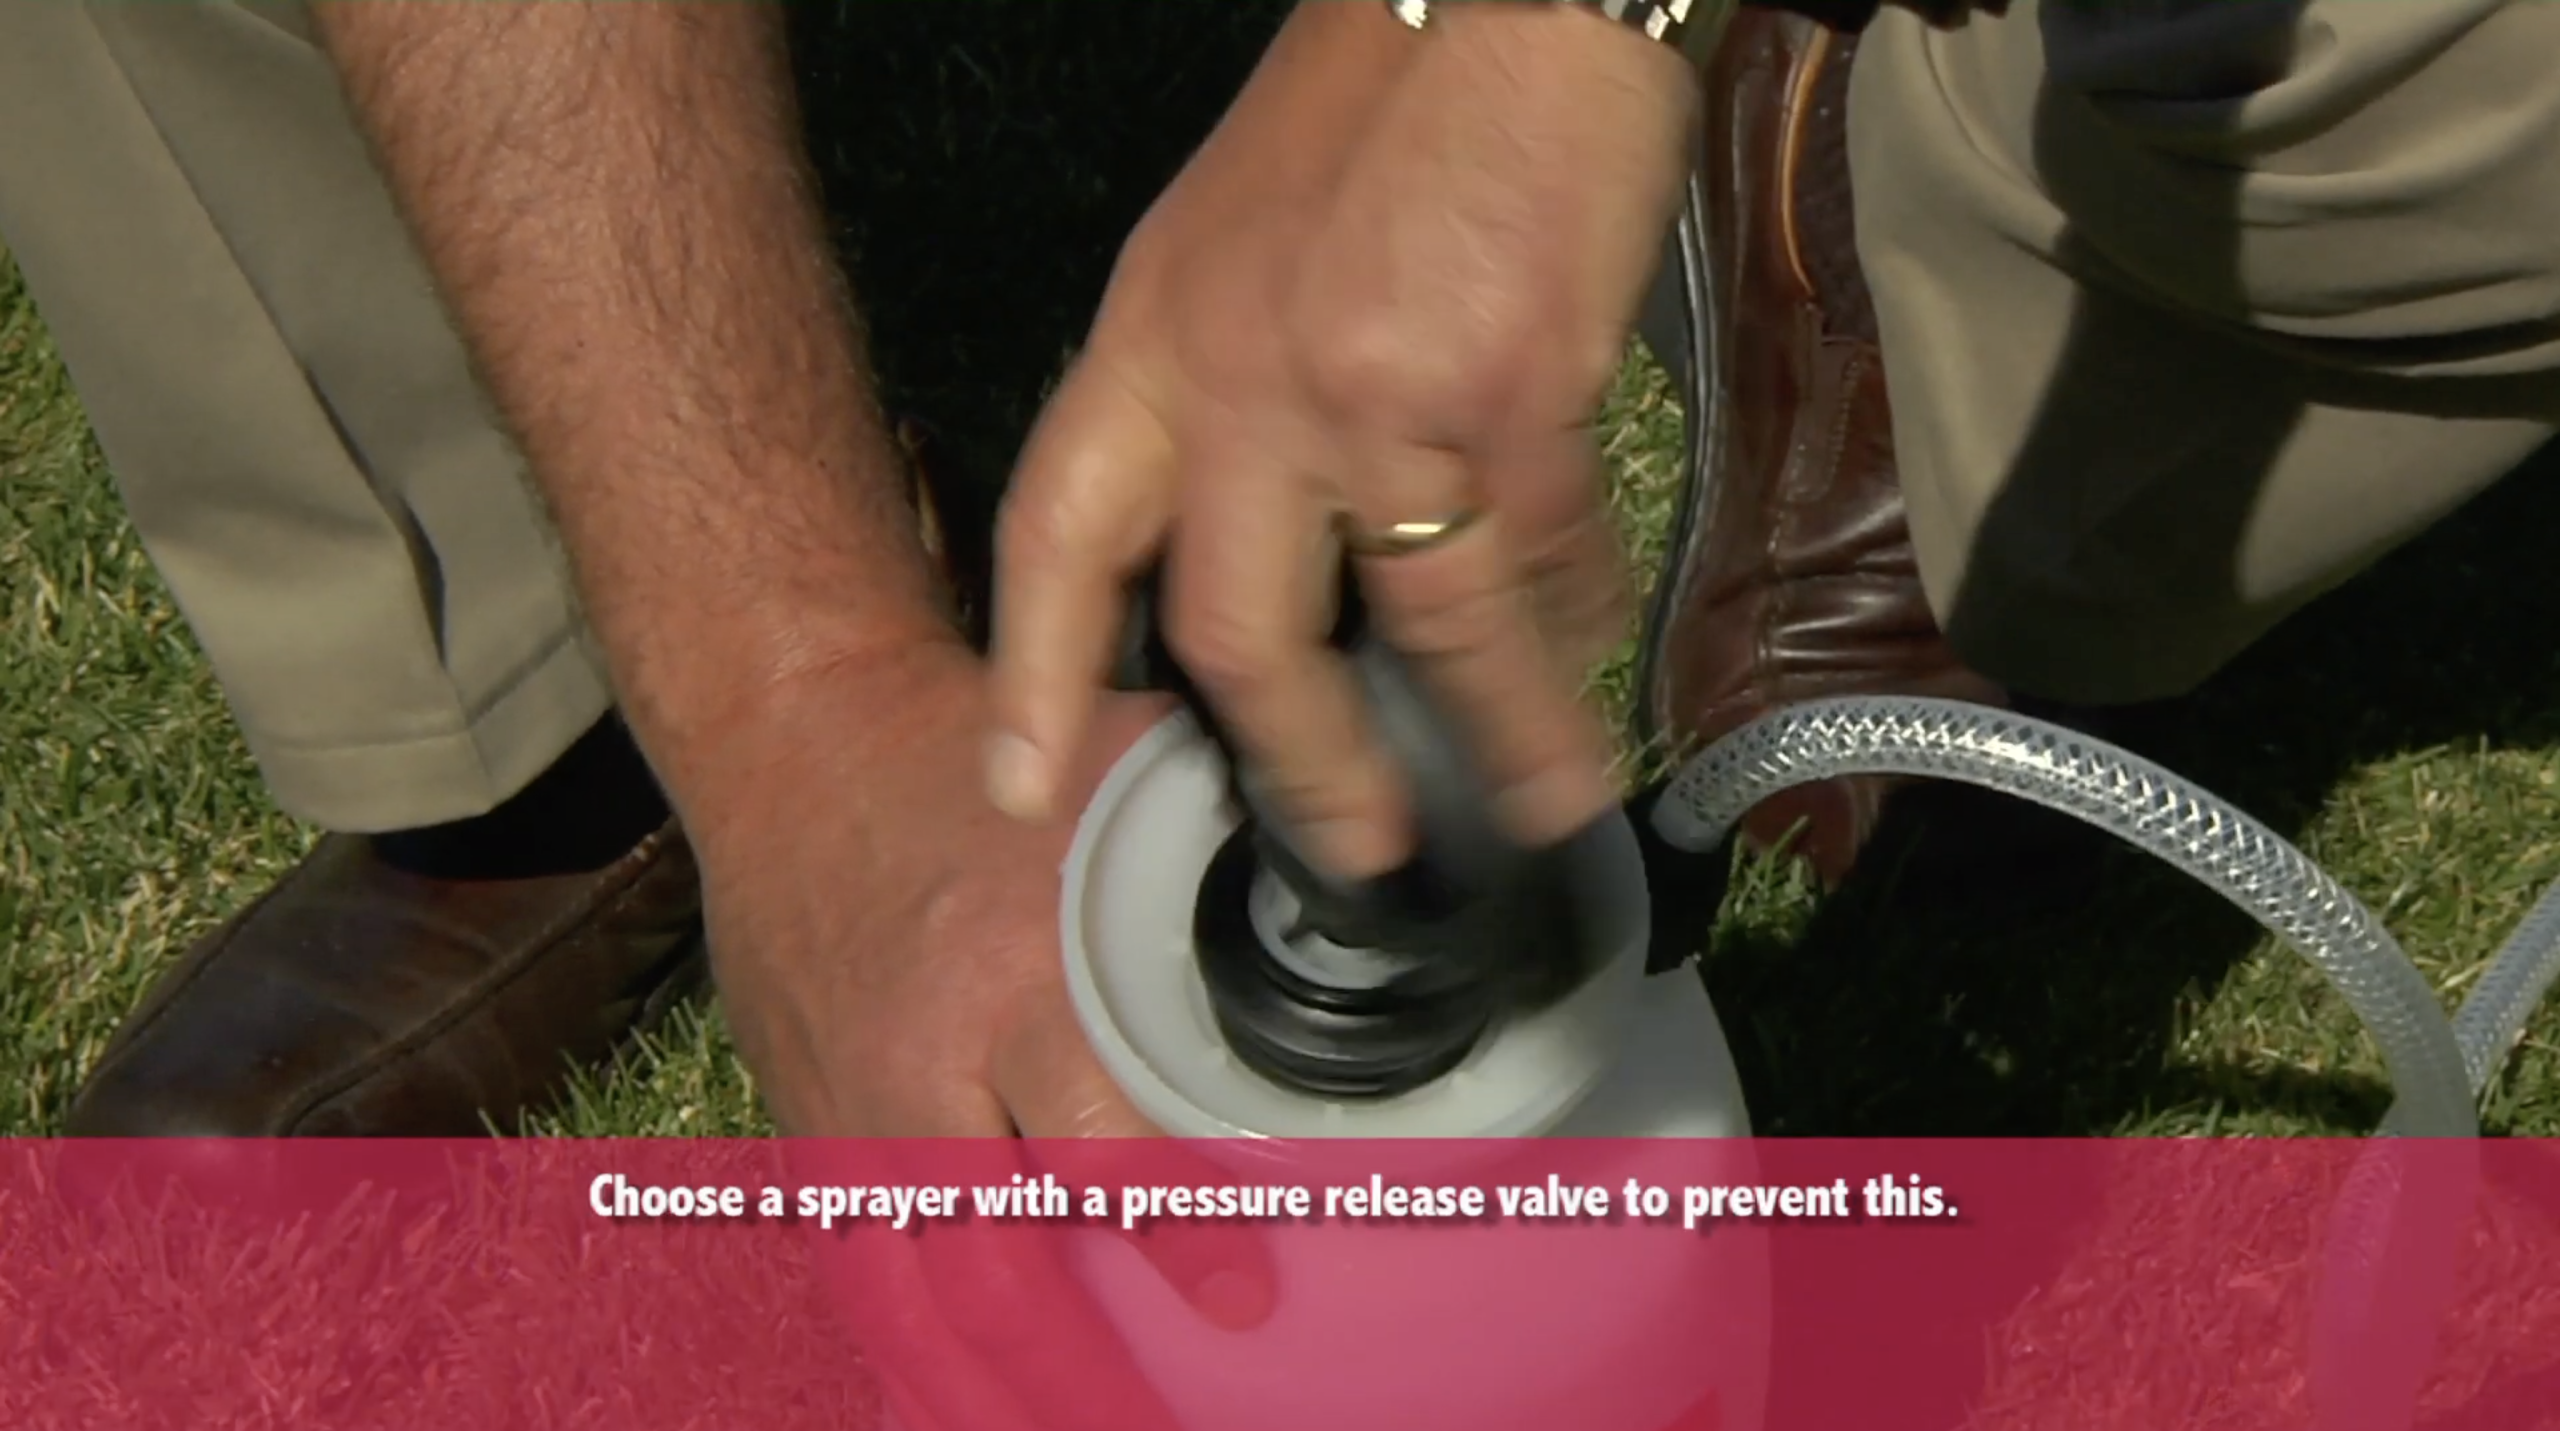
- Pump the handle to increase pressure. Release pressure with the valve to avoid spilling.
How to Use a Hand-Held Spreader
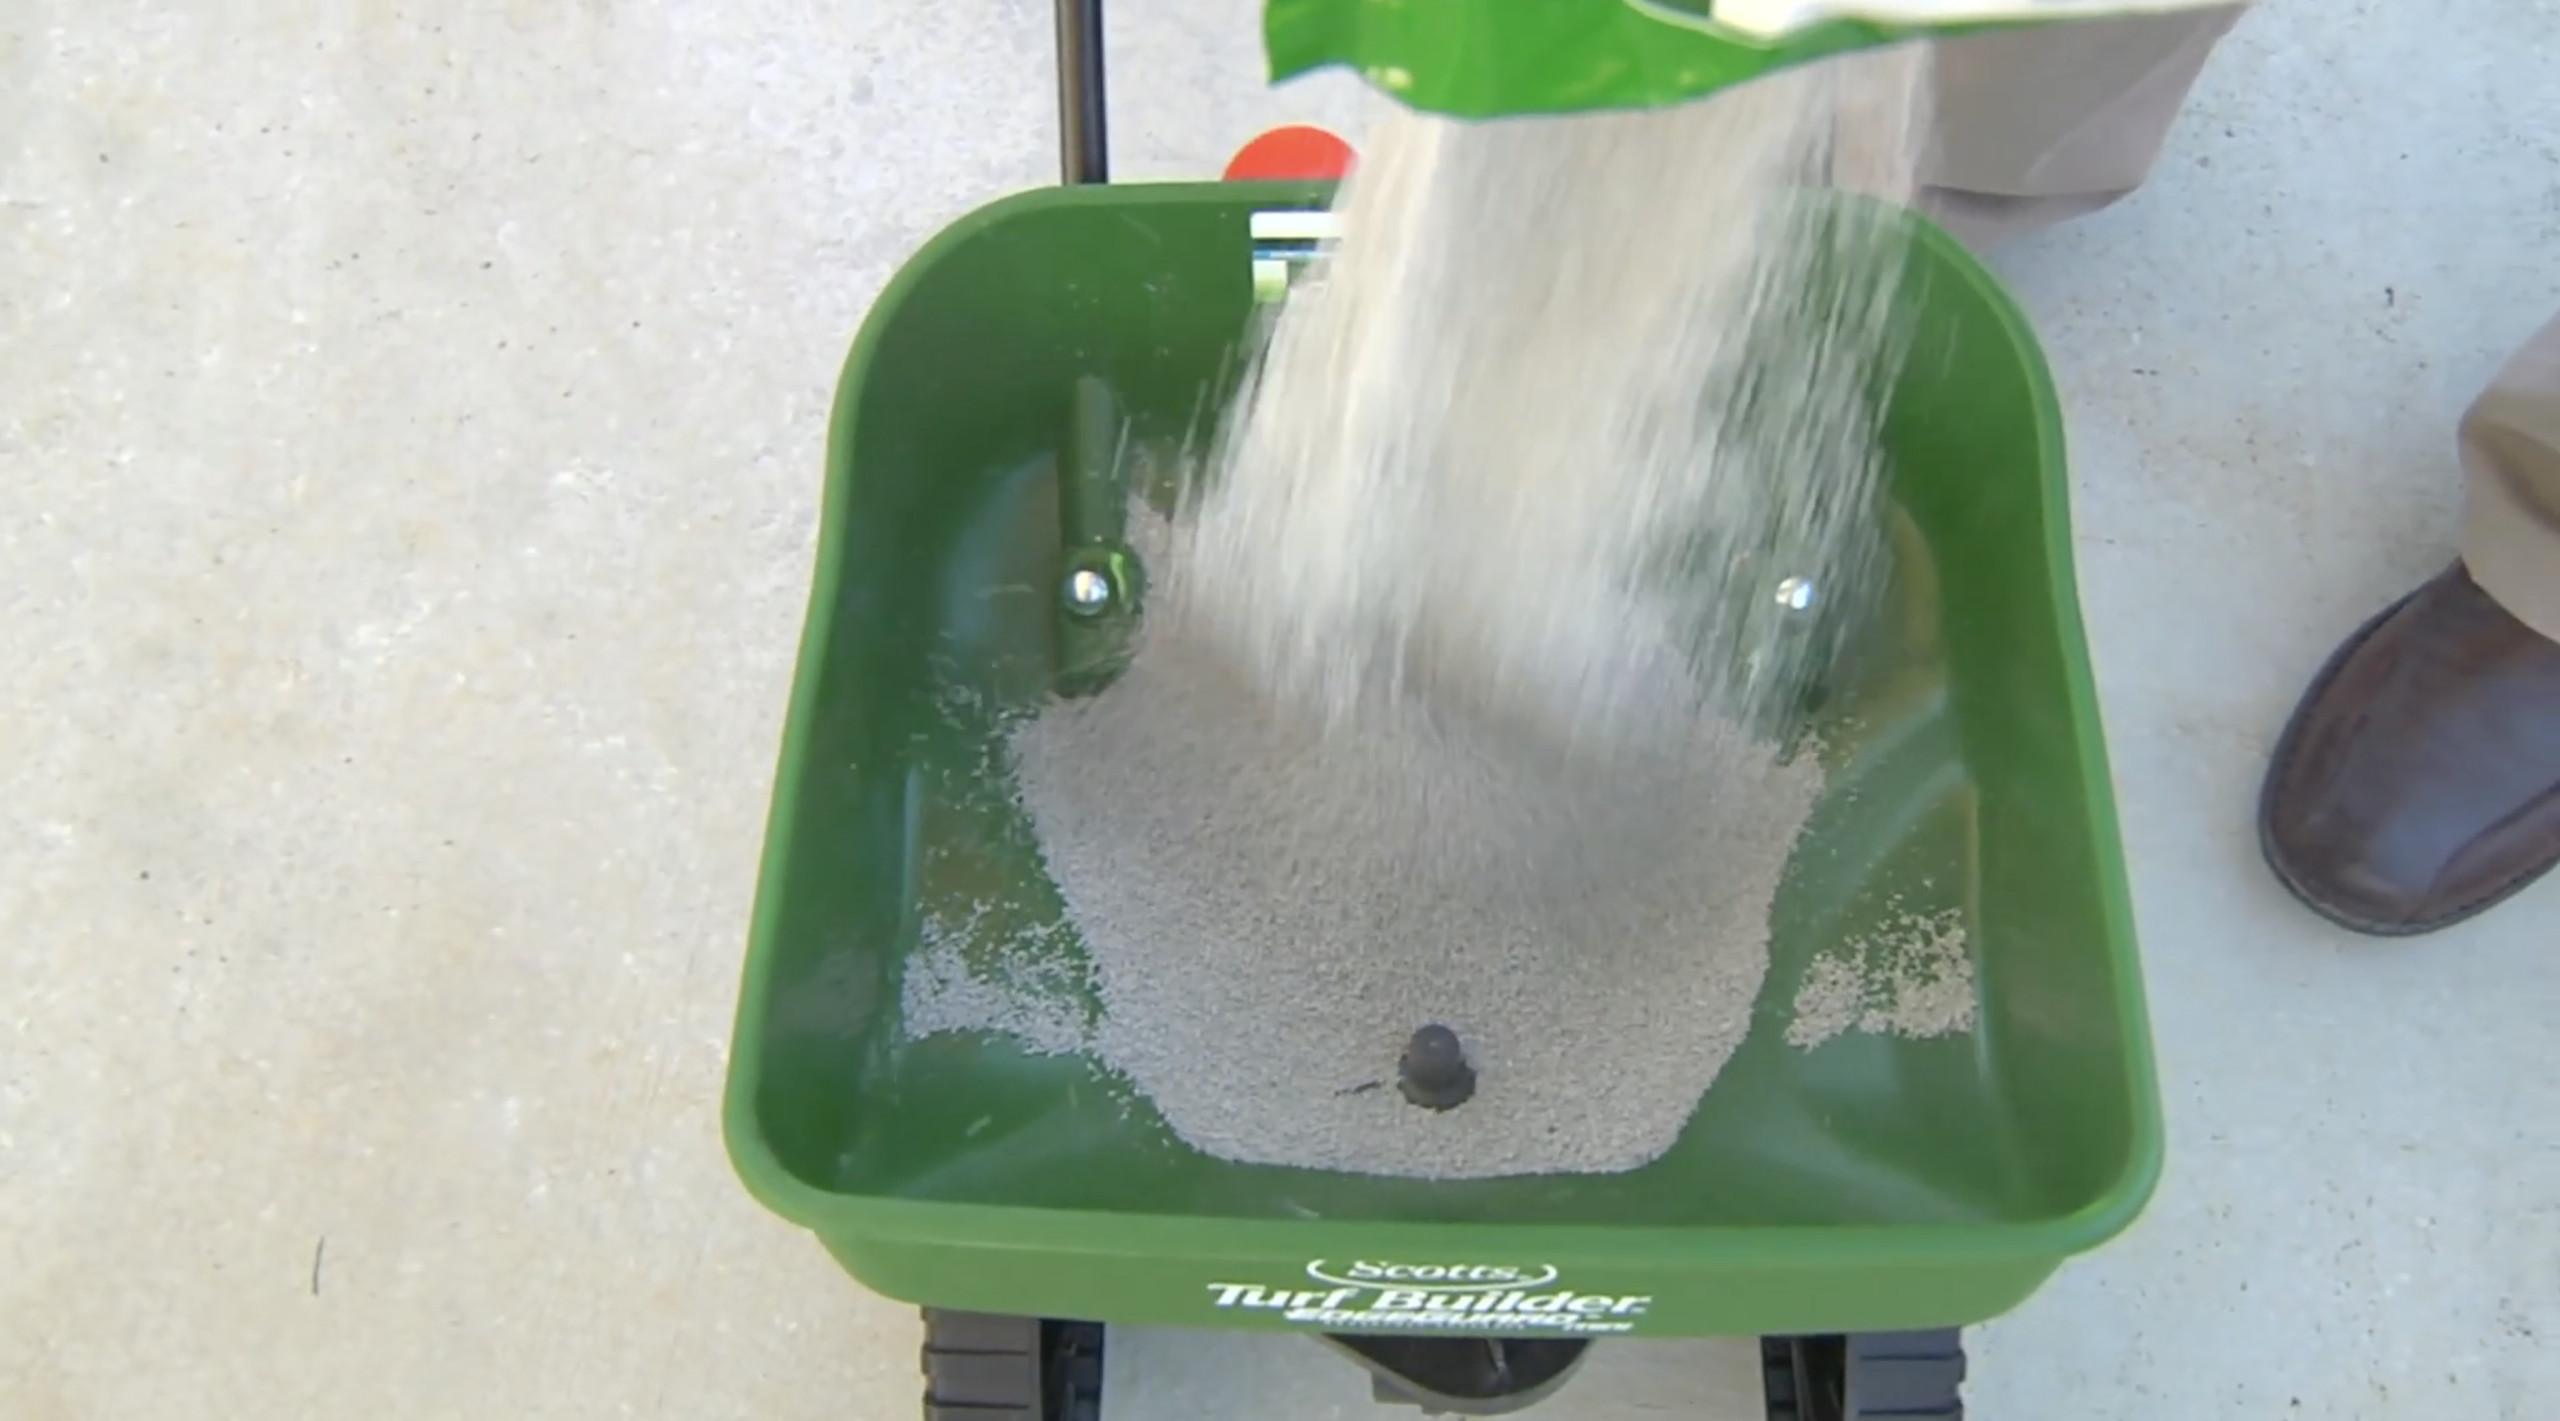
Step 1 Load
Pour product into the hopper.
PRO TIP
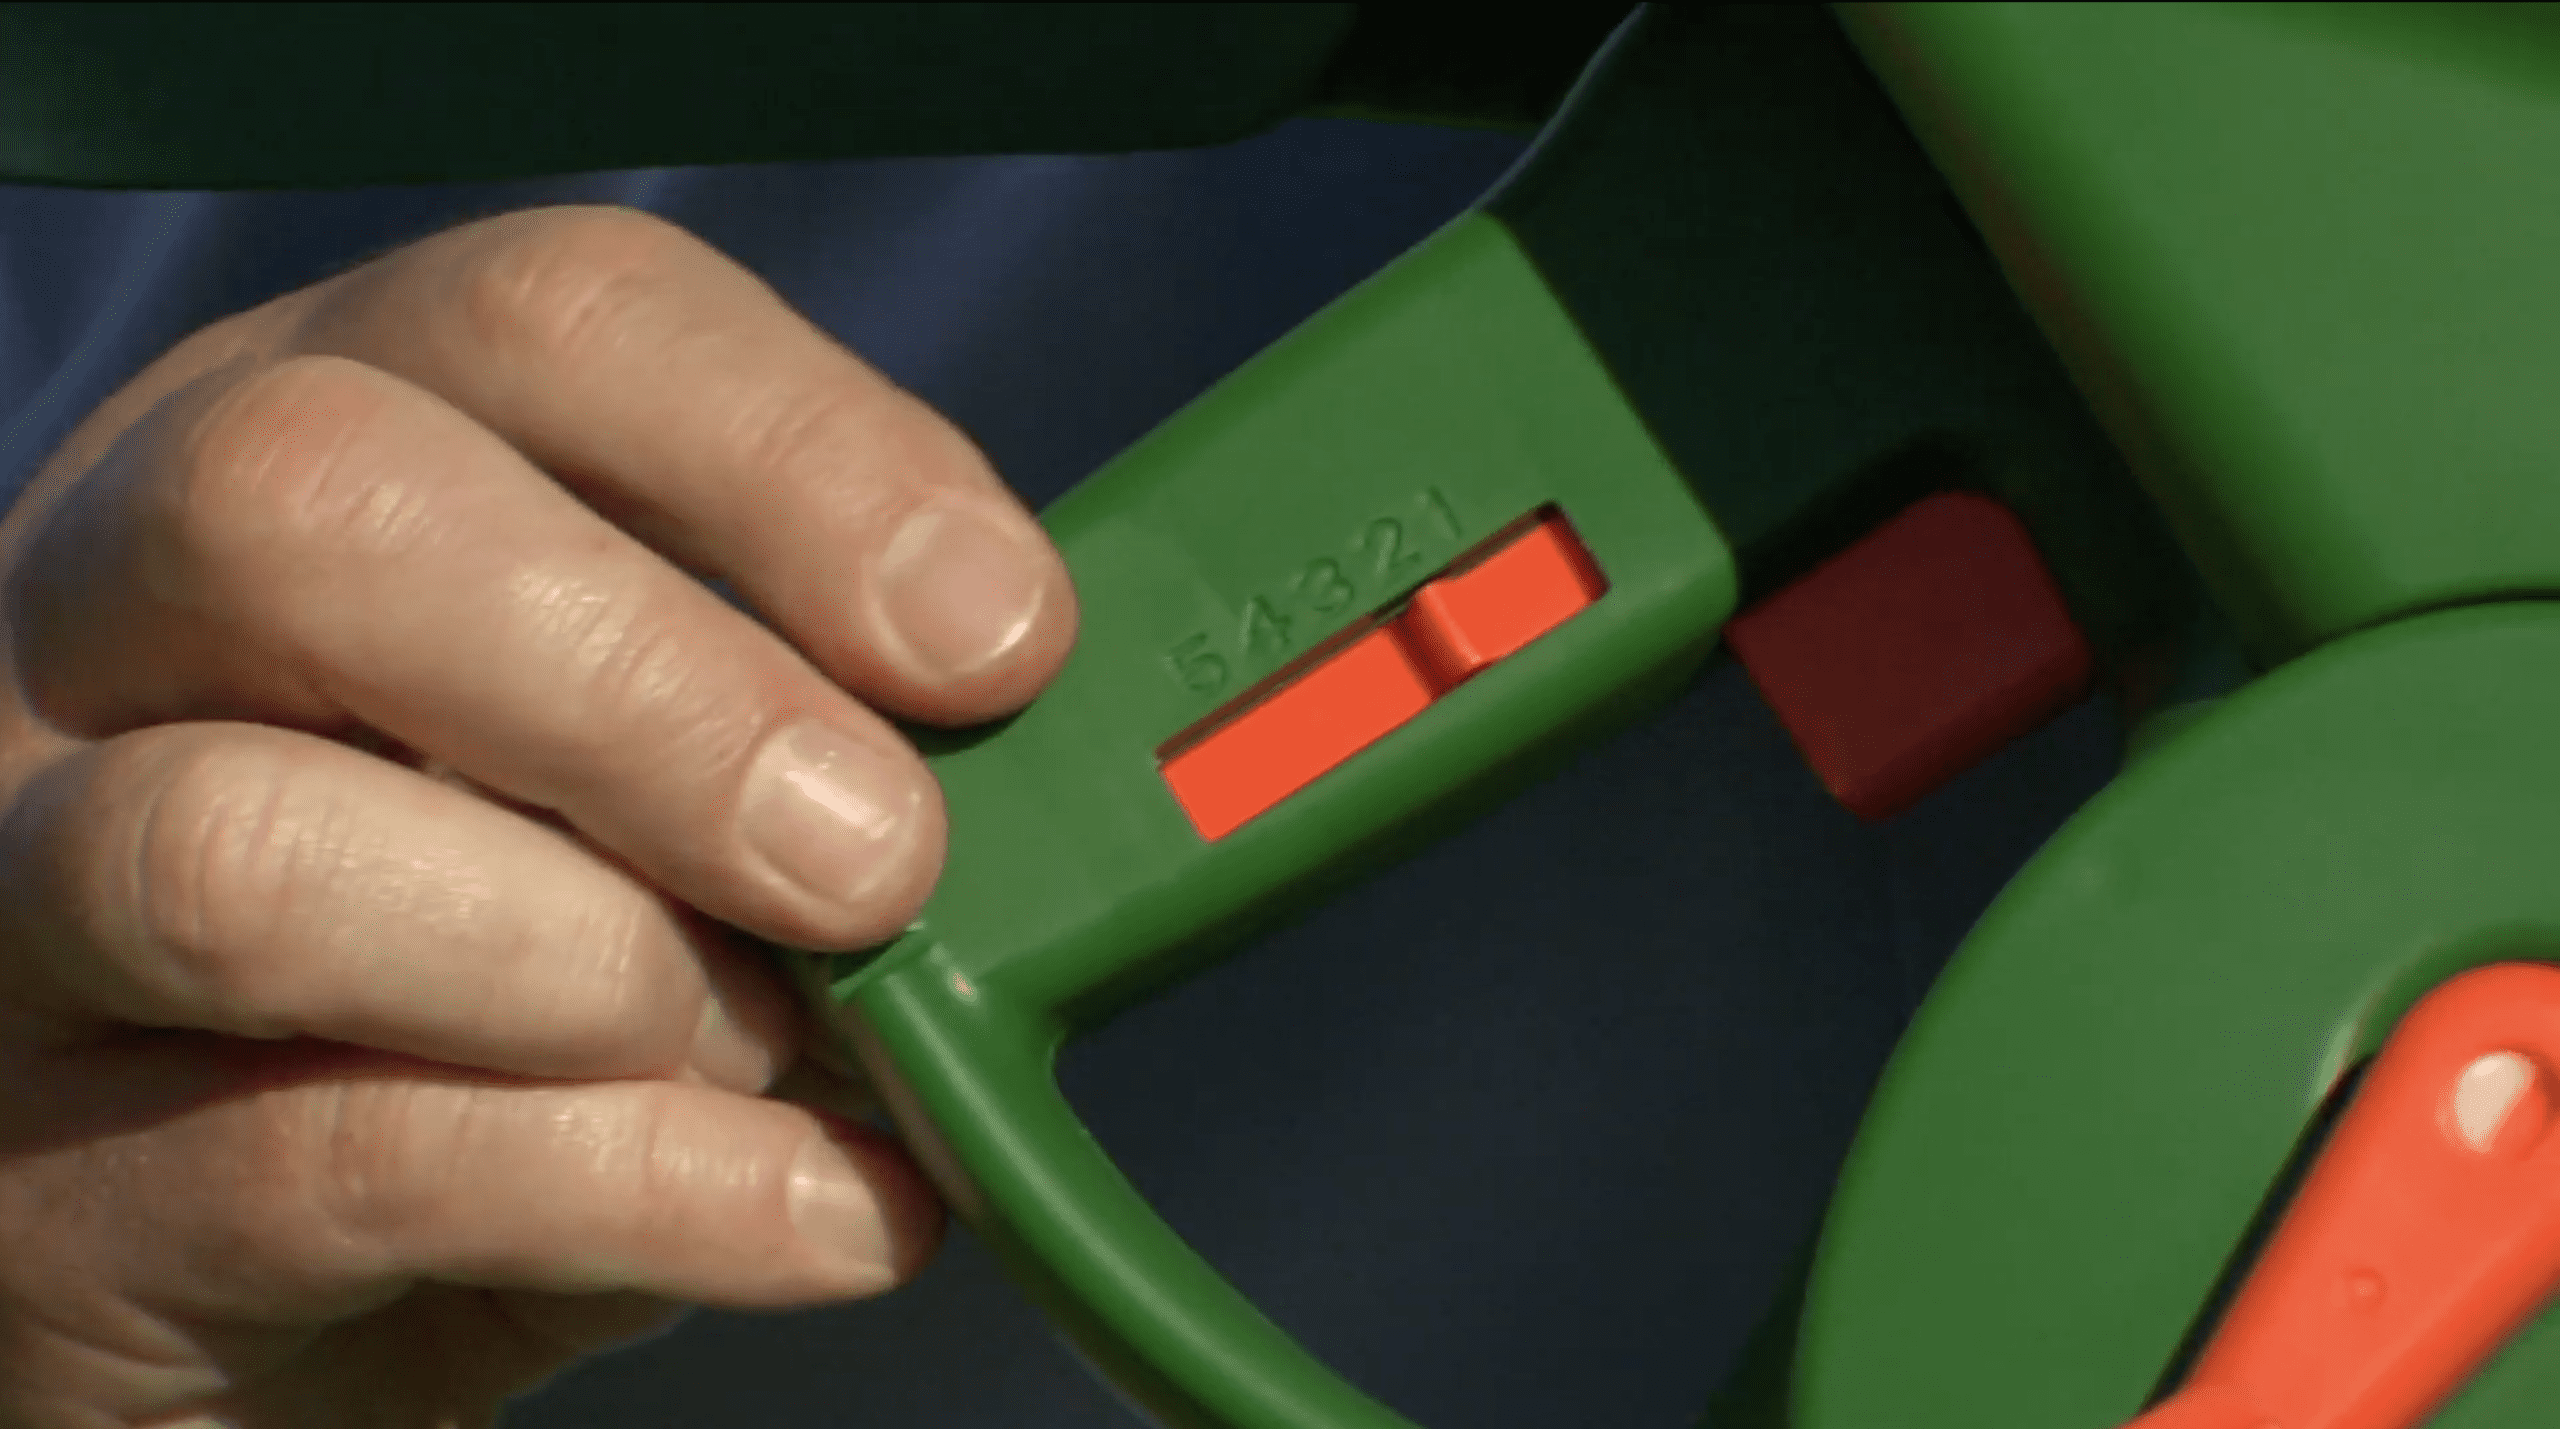
Step 2 Set
Select the correct dispenser setting on the handle, per the manufacturer’s suggestions.
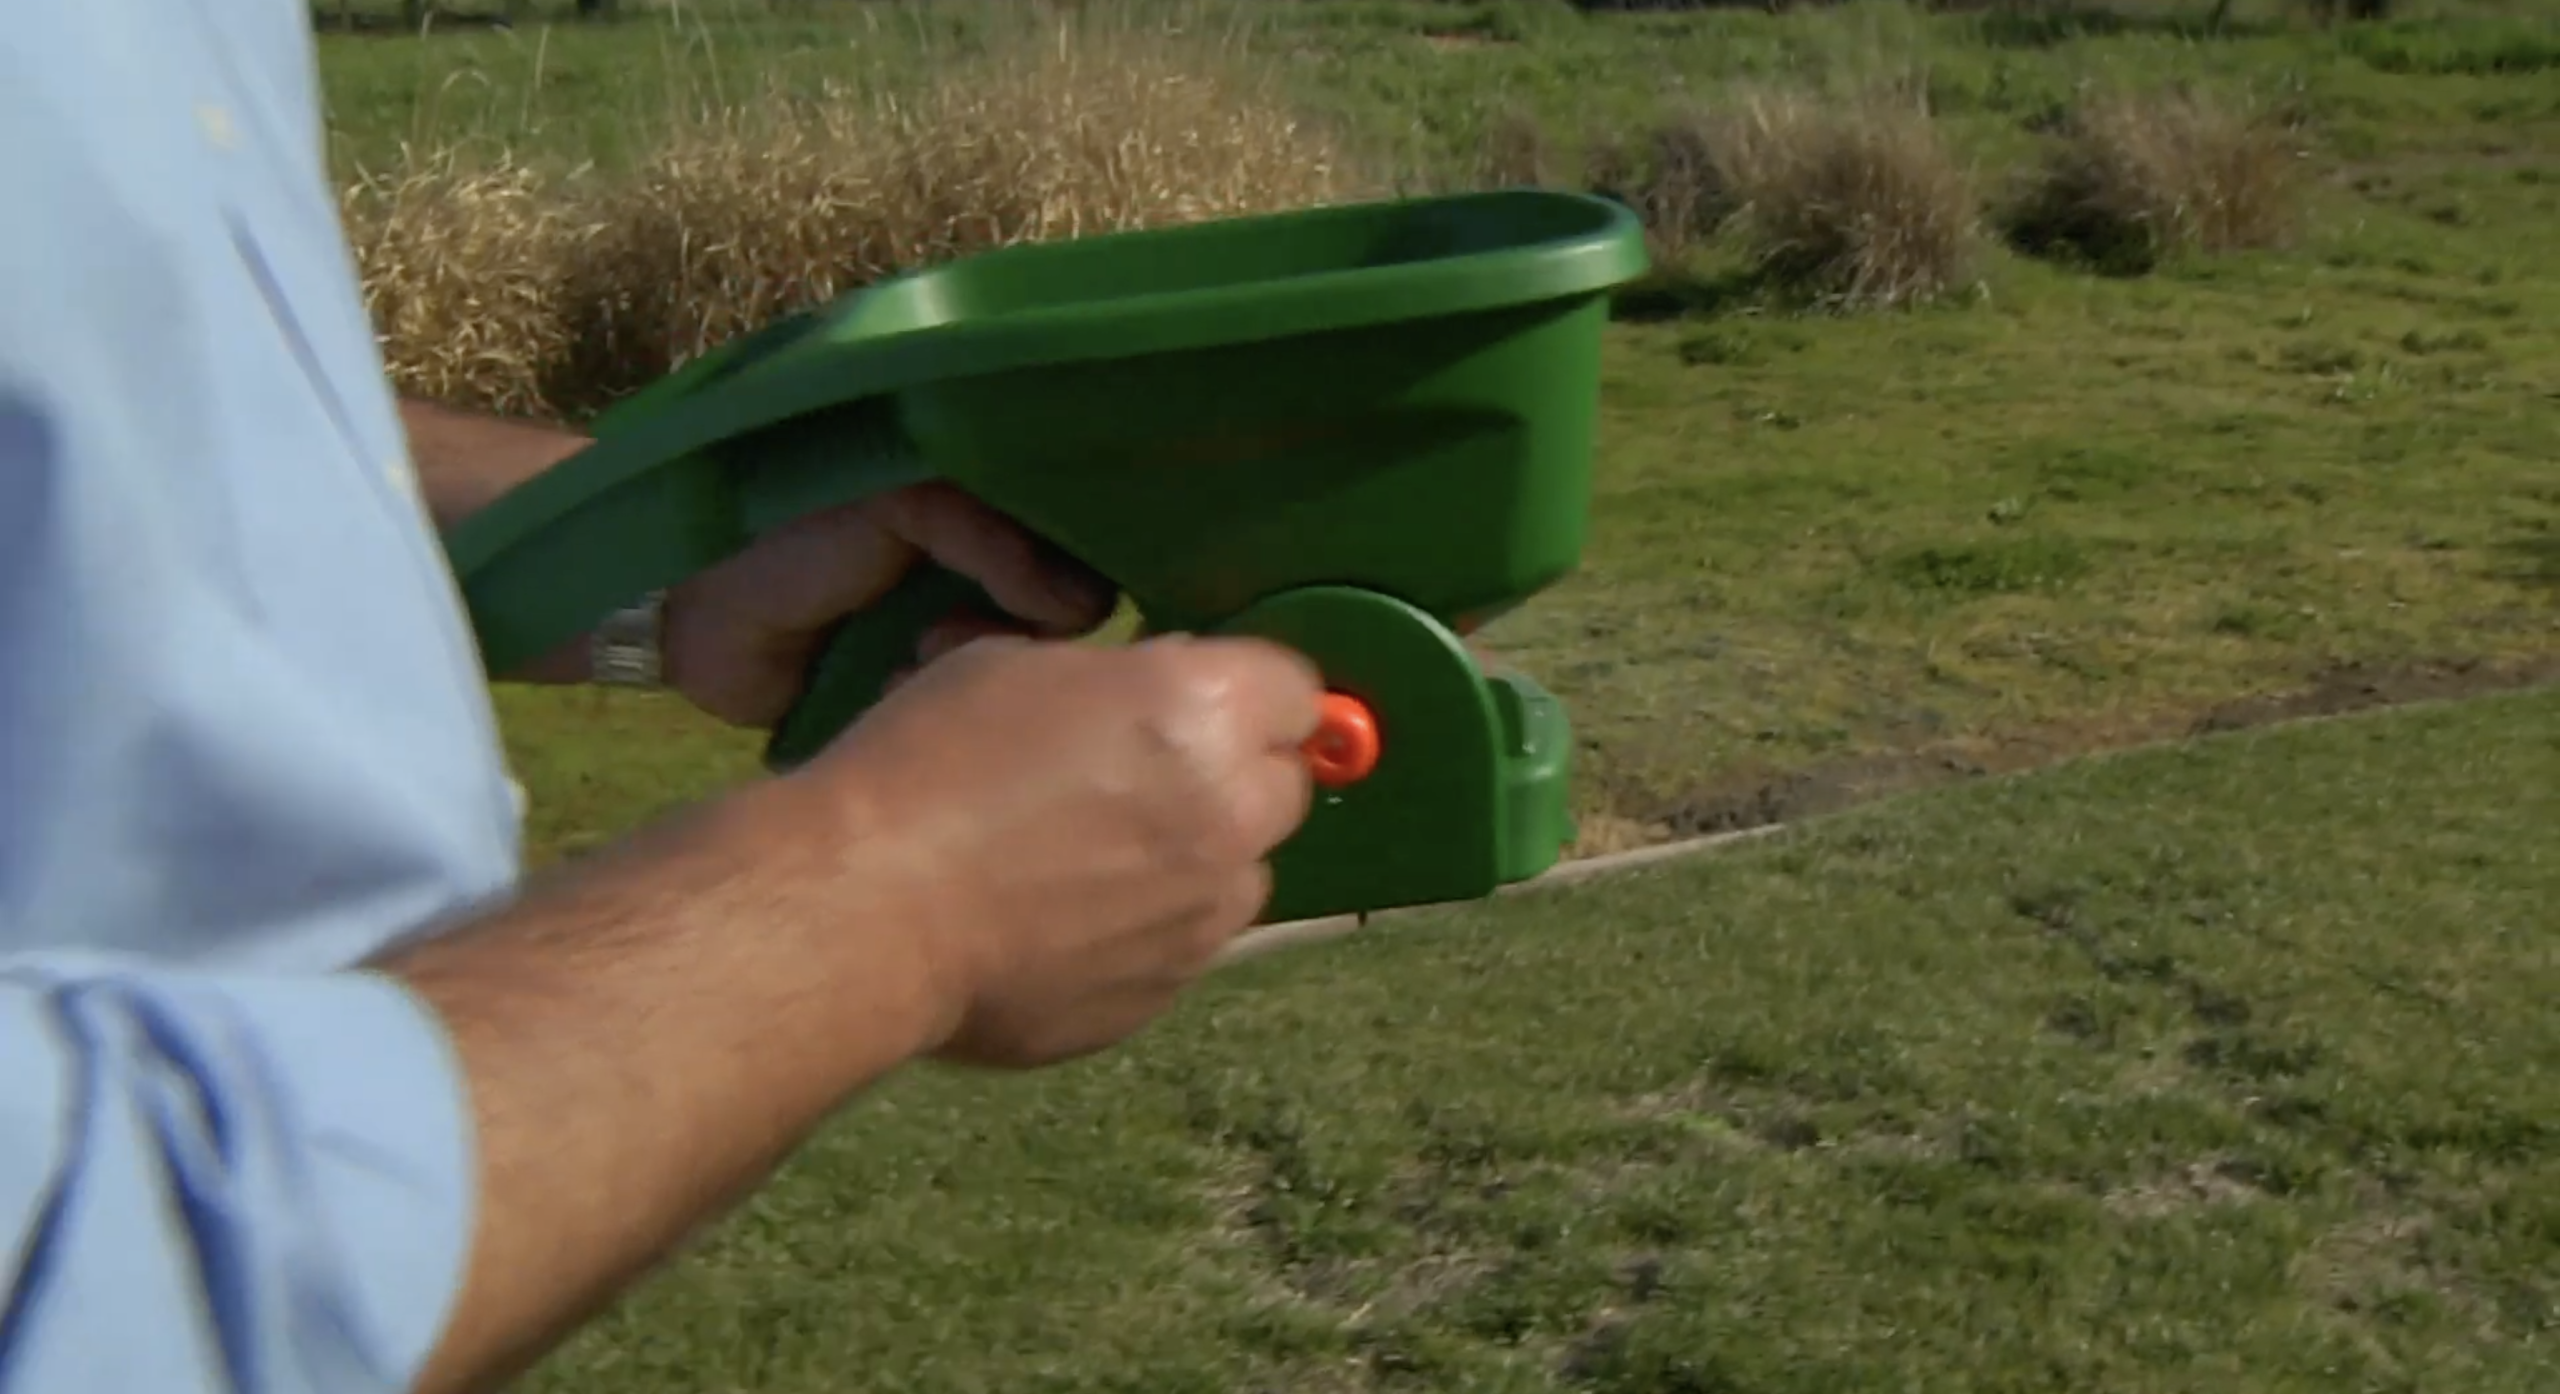
Step 3 Dispense
Crank the handle to disperse, walking along your preferred path.
How to Use a Drop Spreader
Step 1 Load
Pour product into the hopper. Fill it over a sidewalk or driveway to prevent burn marks on the lawn.
Step 2 Set
Select the correct dispenser setting, per the manufacturer’s suggestions.
Step 3 Dispense
Walk the spreader along to disperse, following a path that does not overlap, similar to mowing the lawn. Follow the wheel tracks from the previous path.
How to Use a Broadcast Spreader
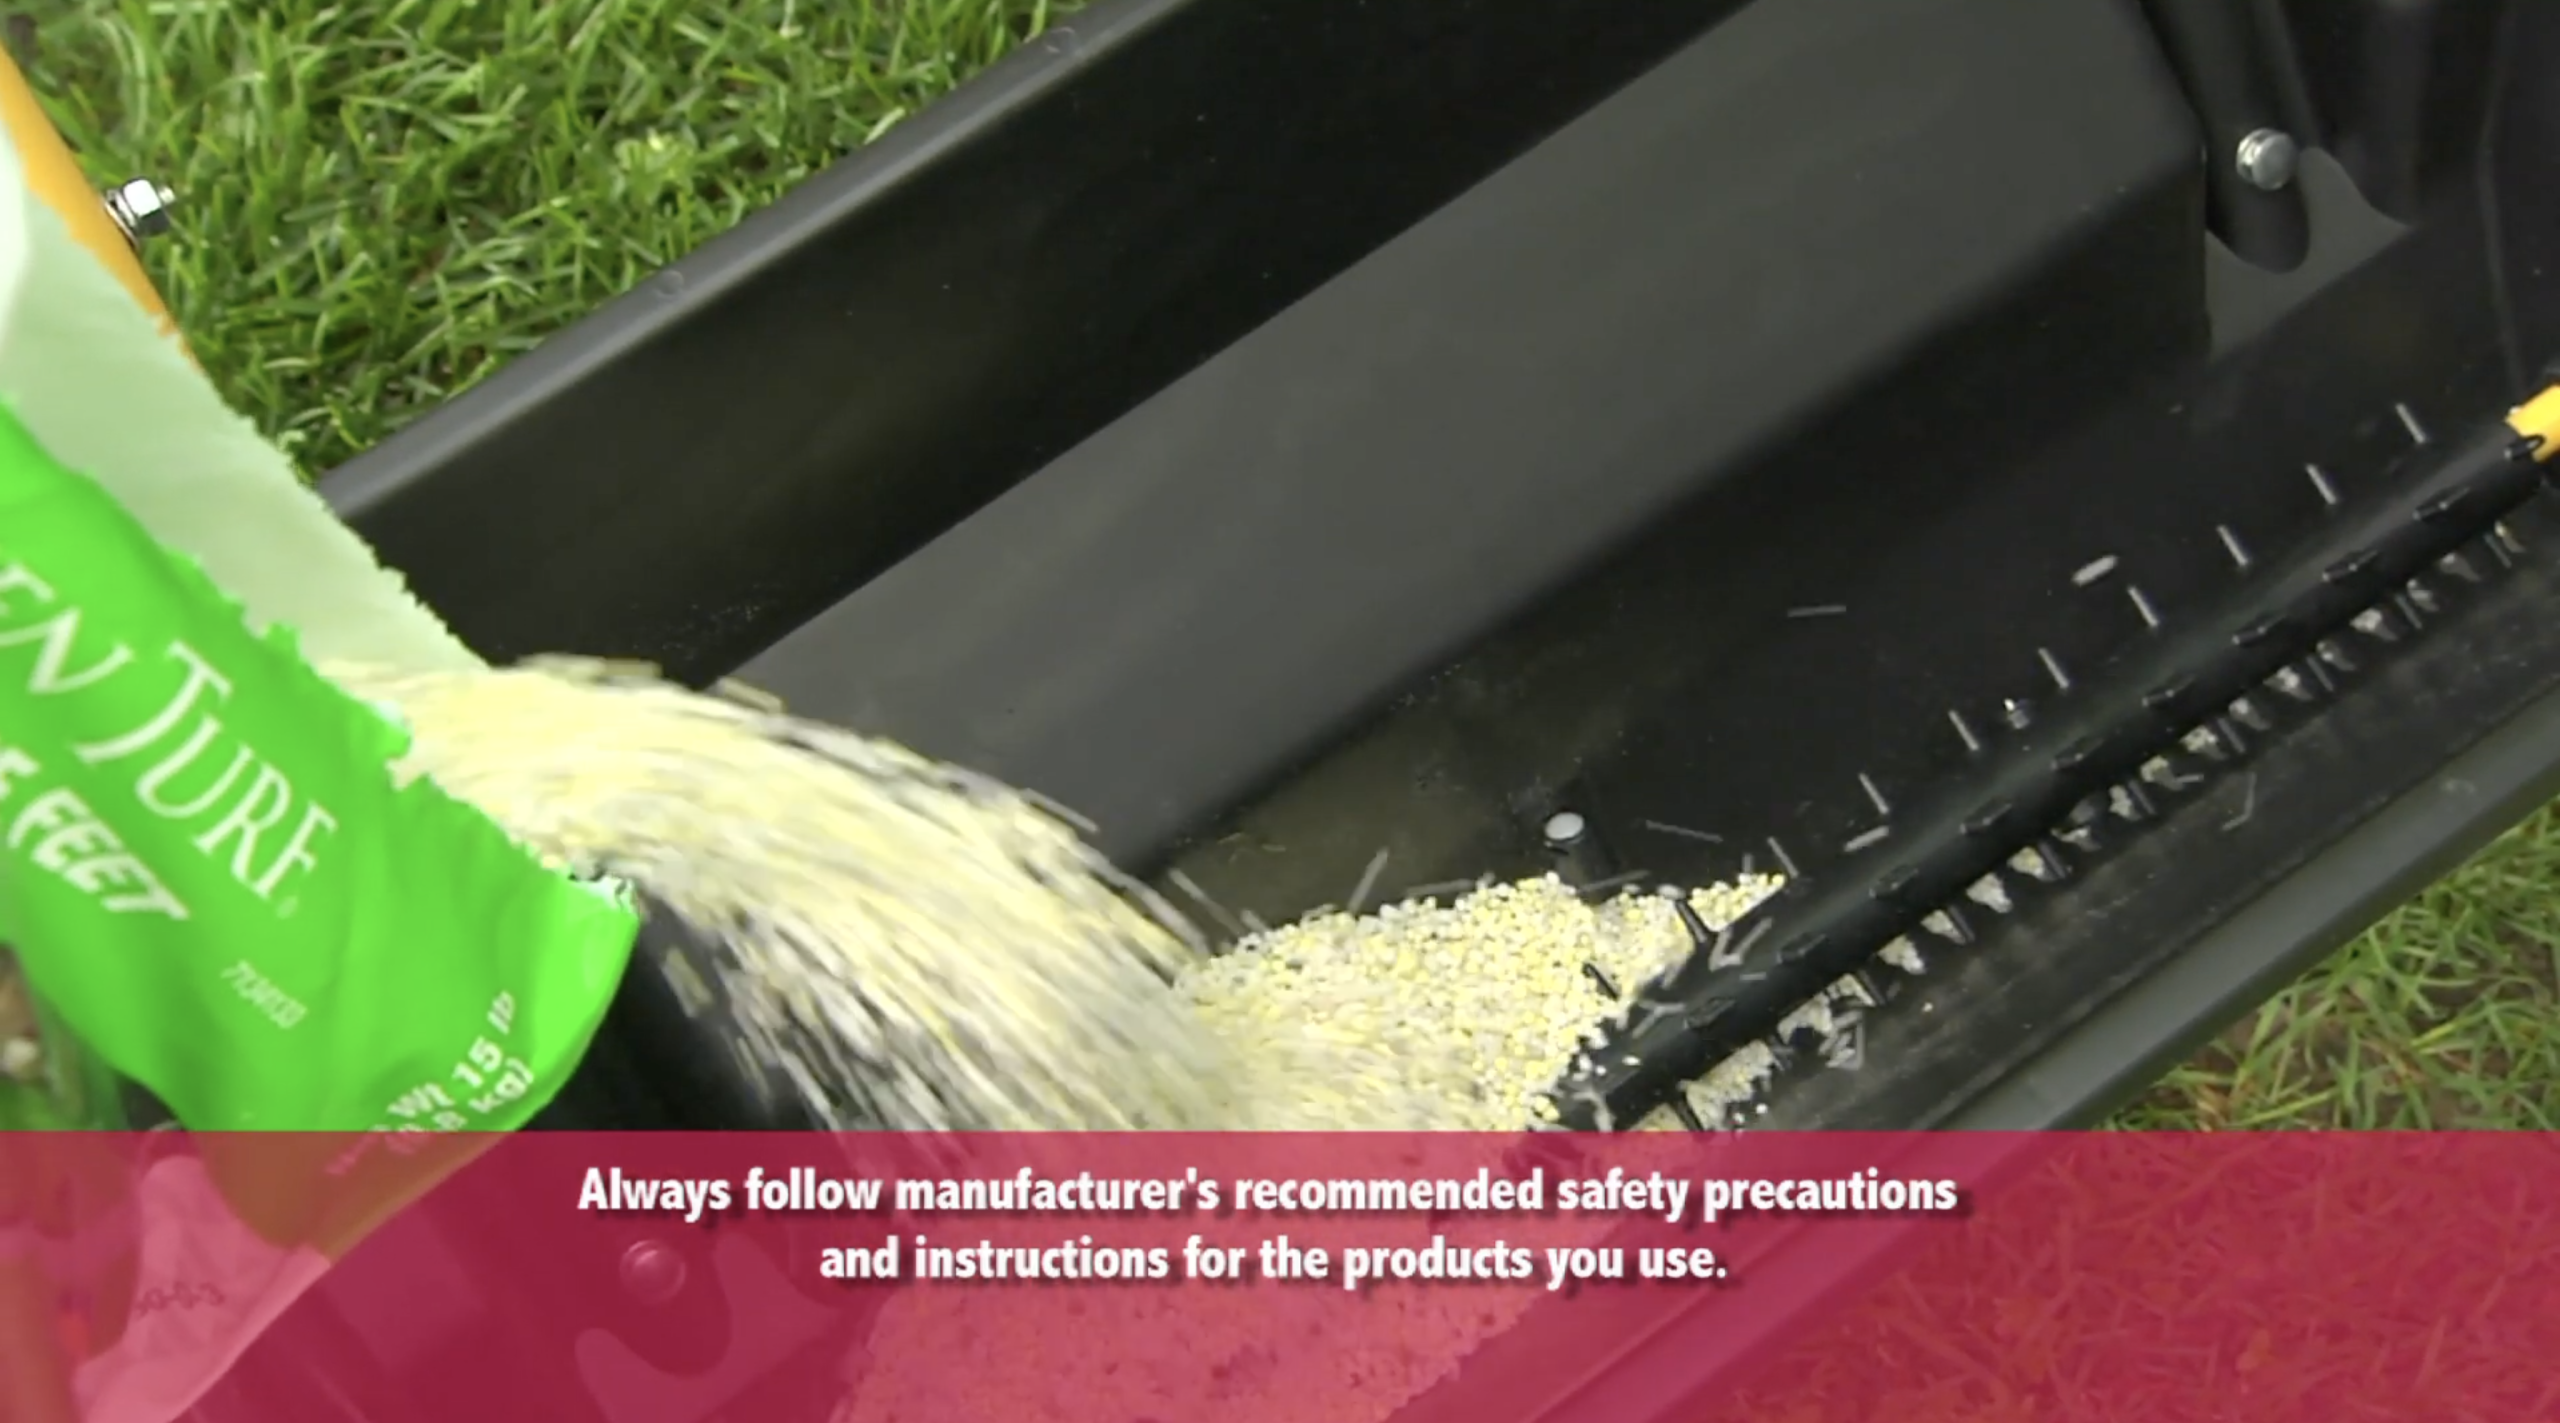
Step 1 Load
Pour product into the hopper. Fill it over a sidewalk or driveway to prevent burn marks on the lawn.
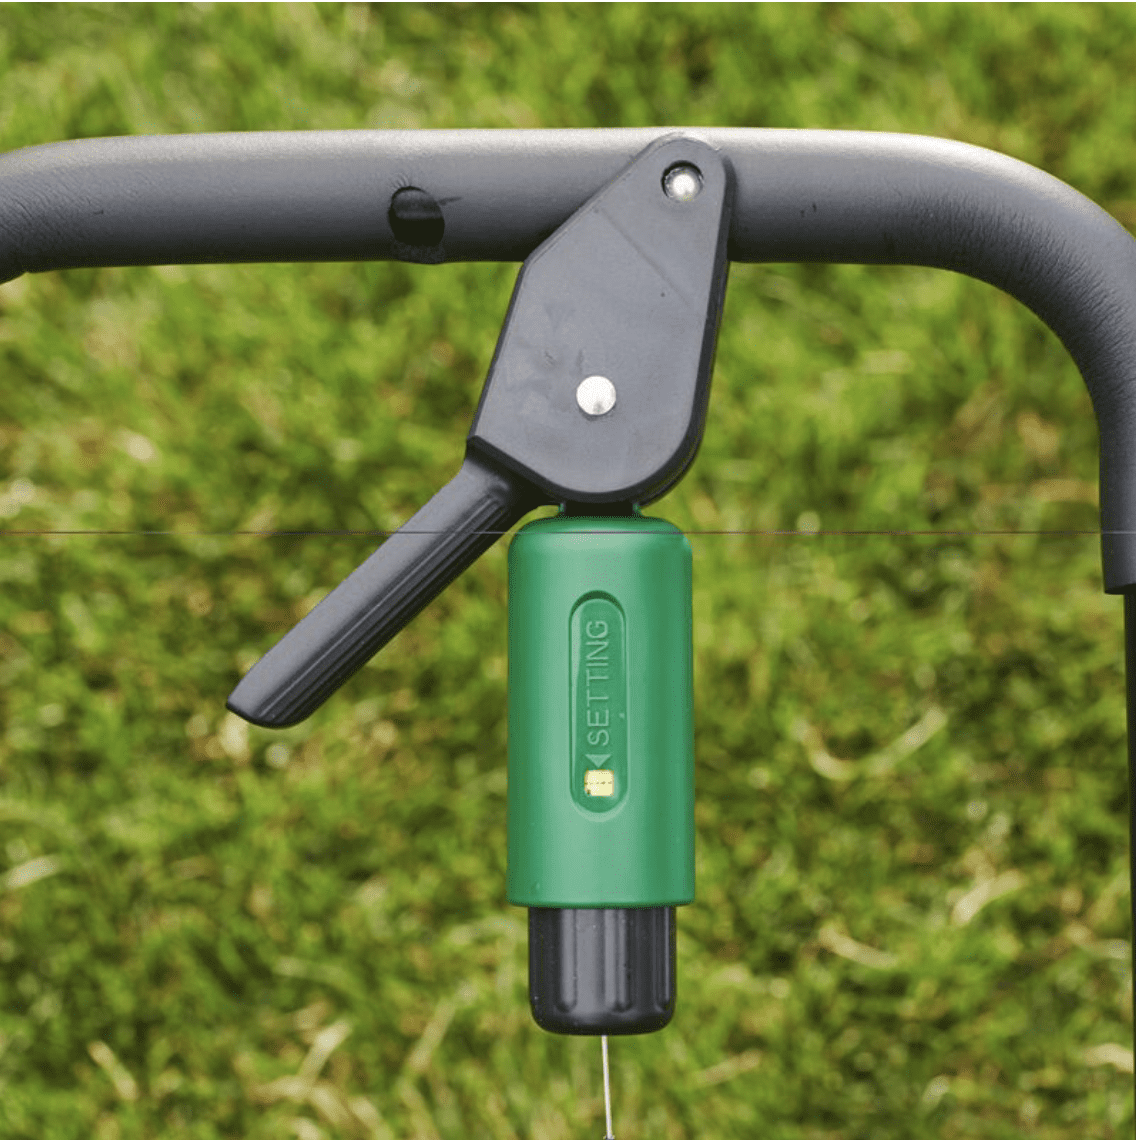
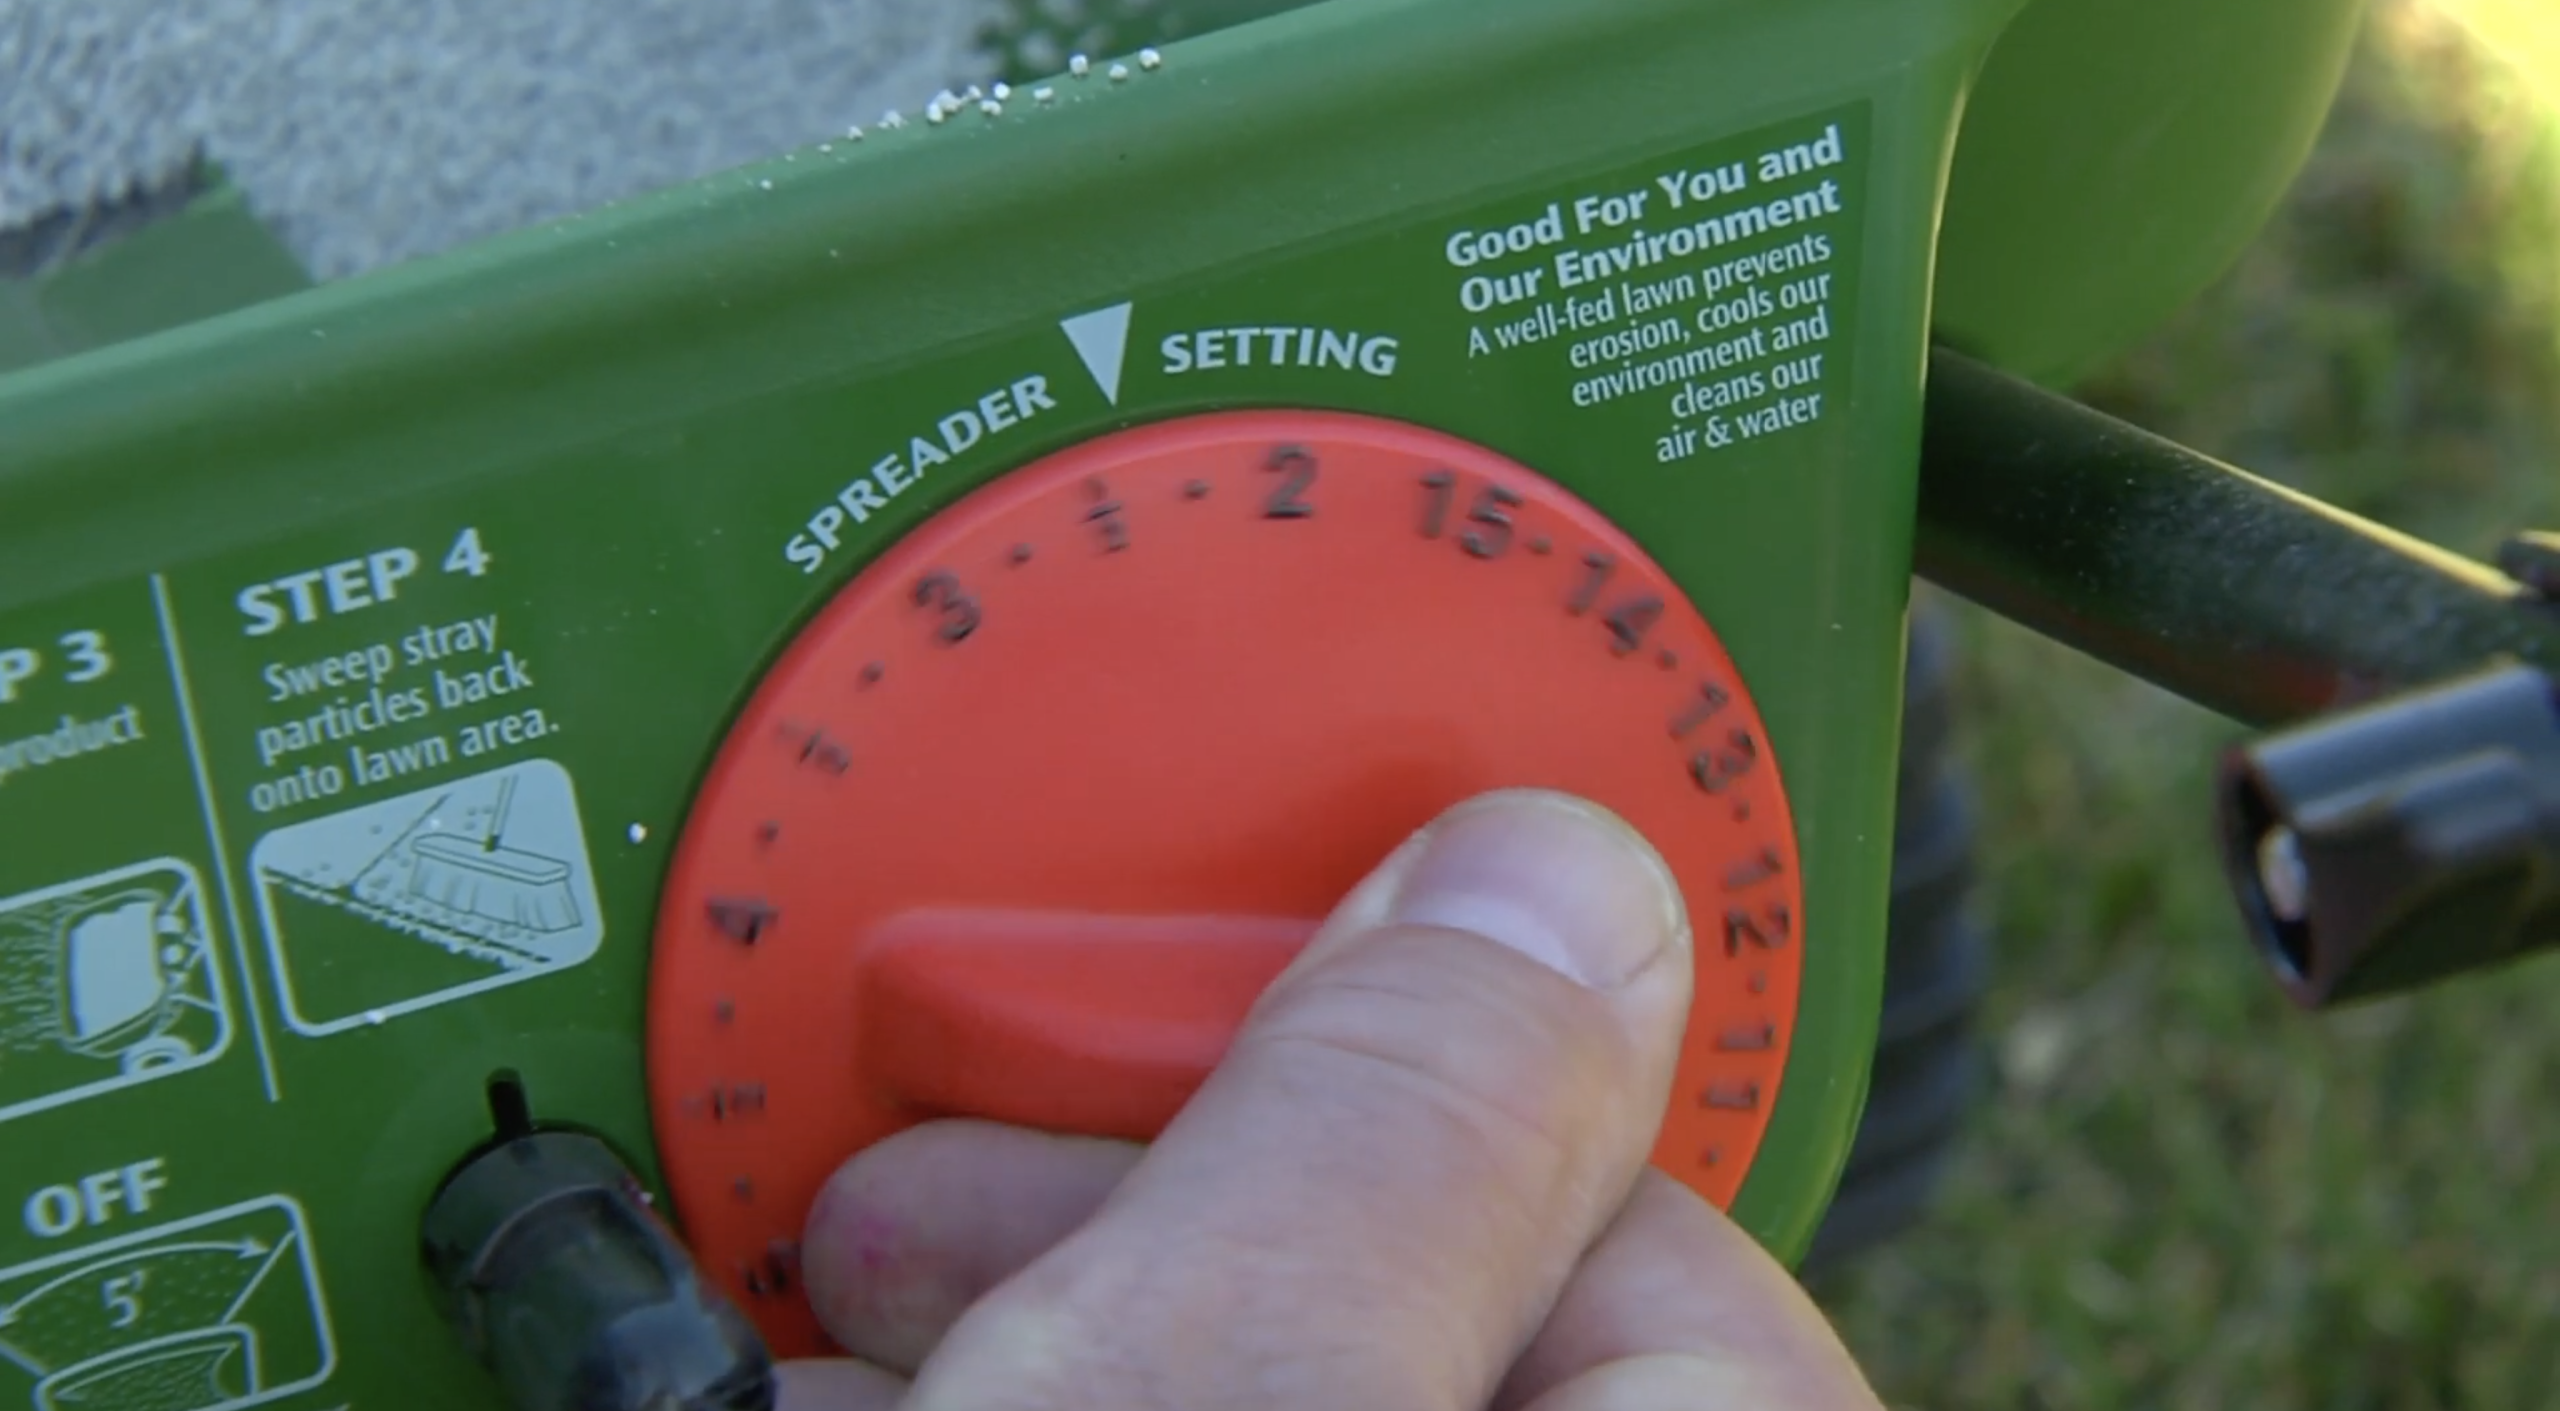
Step 2 Set
Select the correct dispenser setting, per the manufacturer’s suggestions.
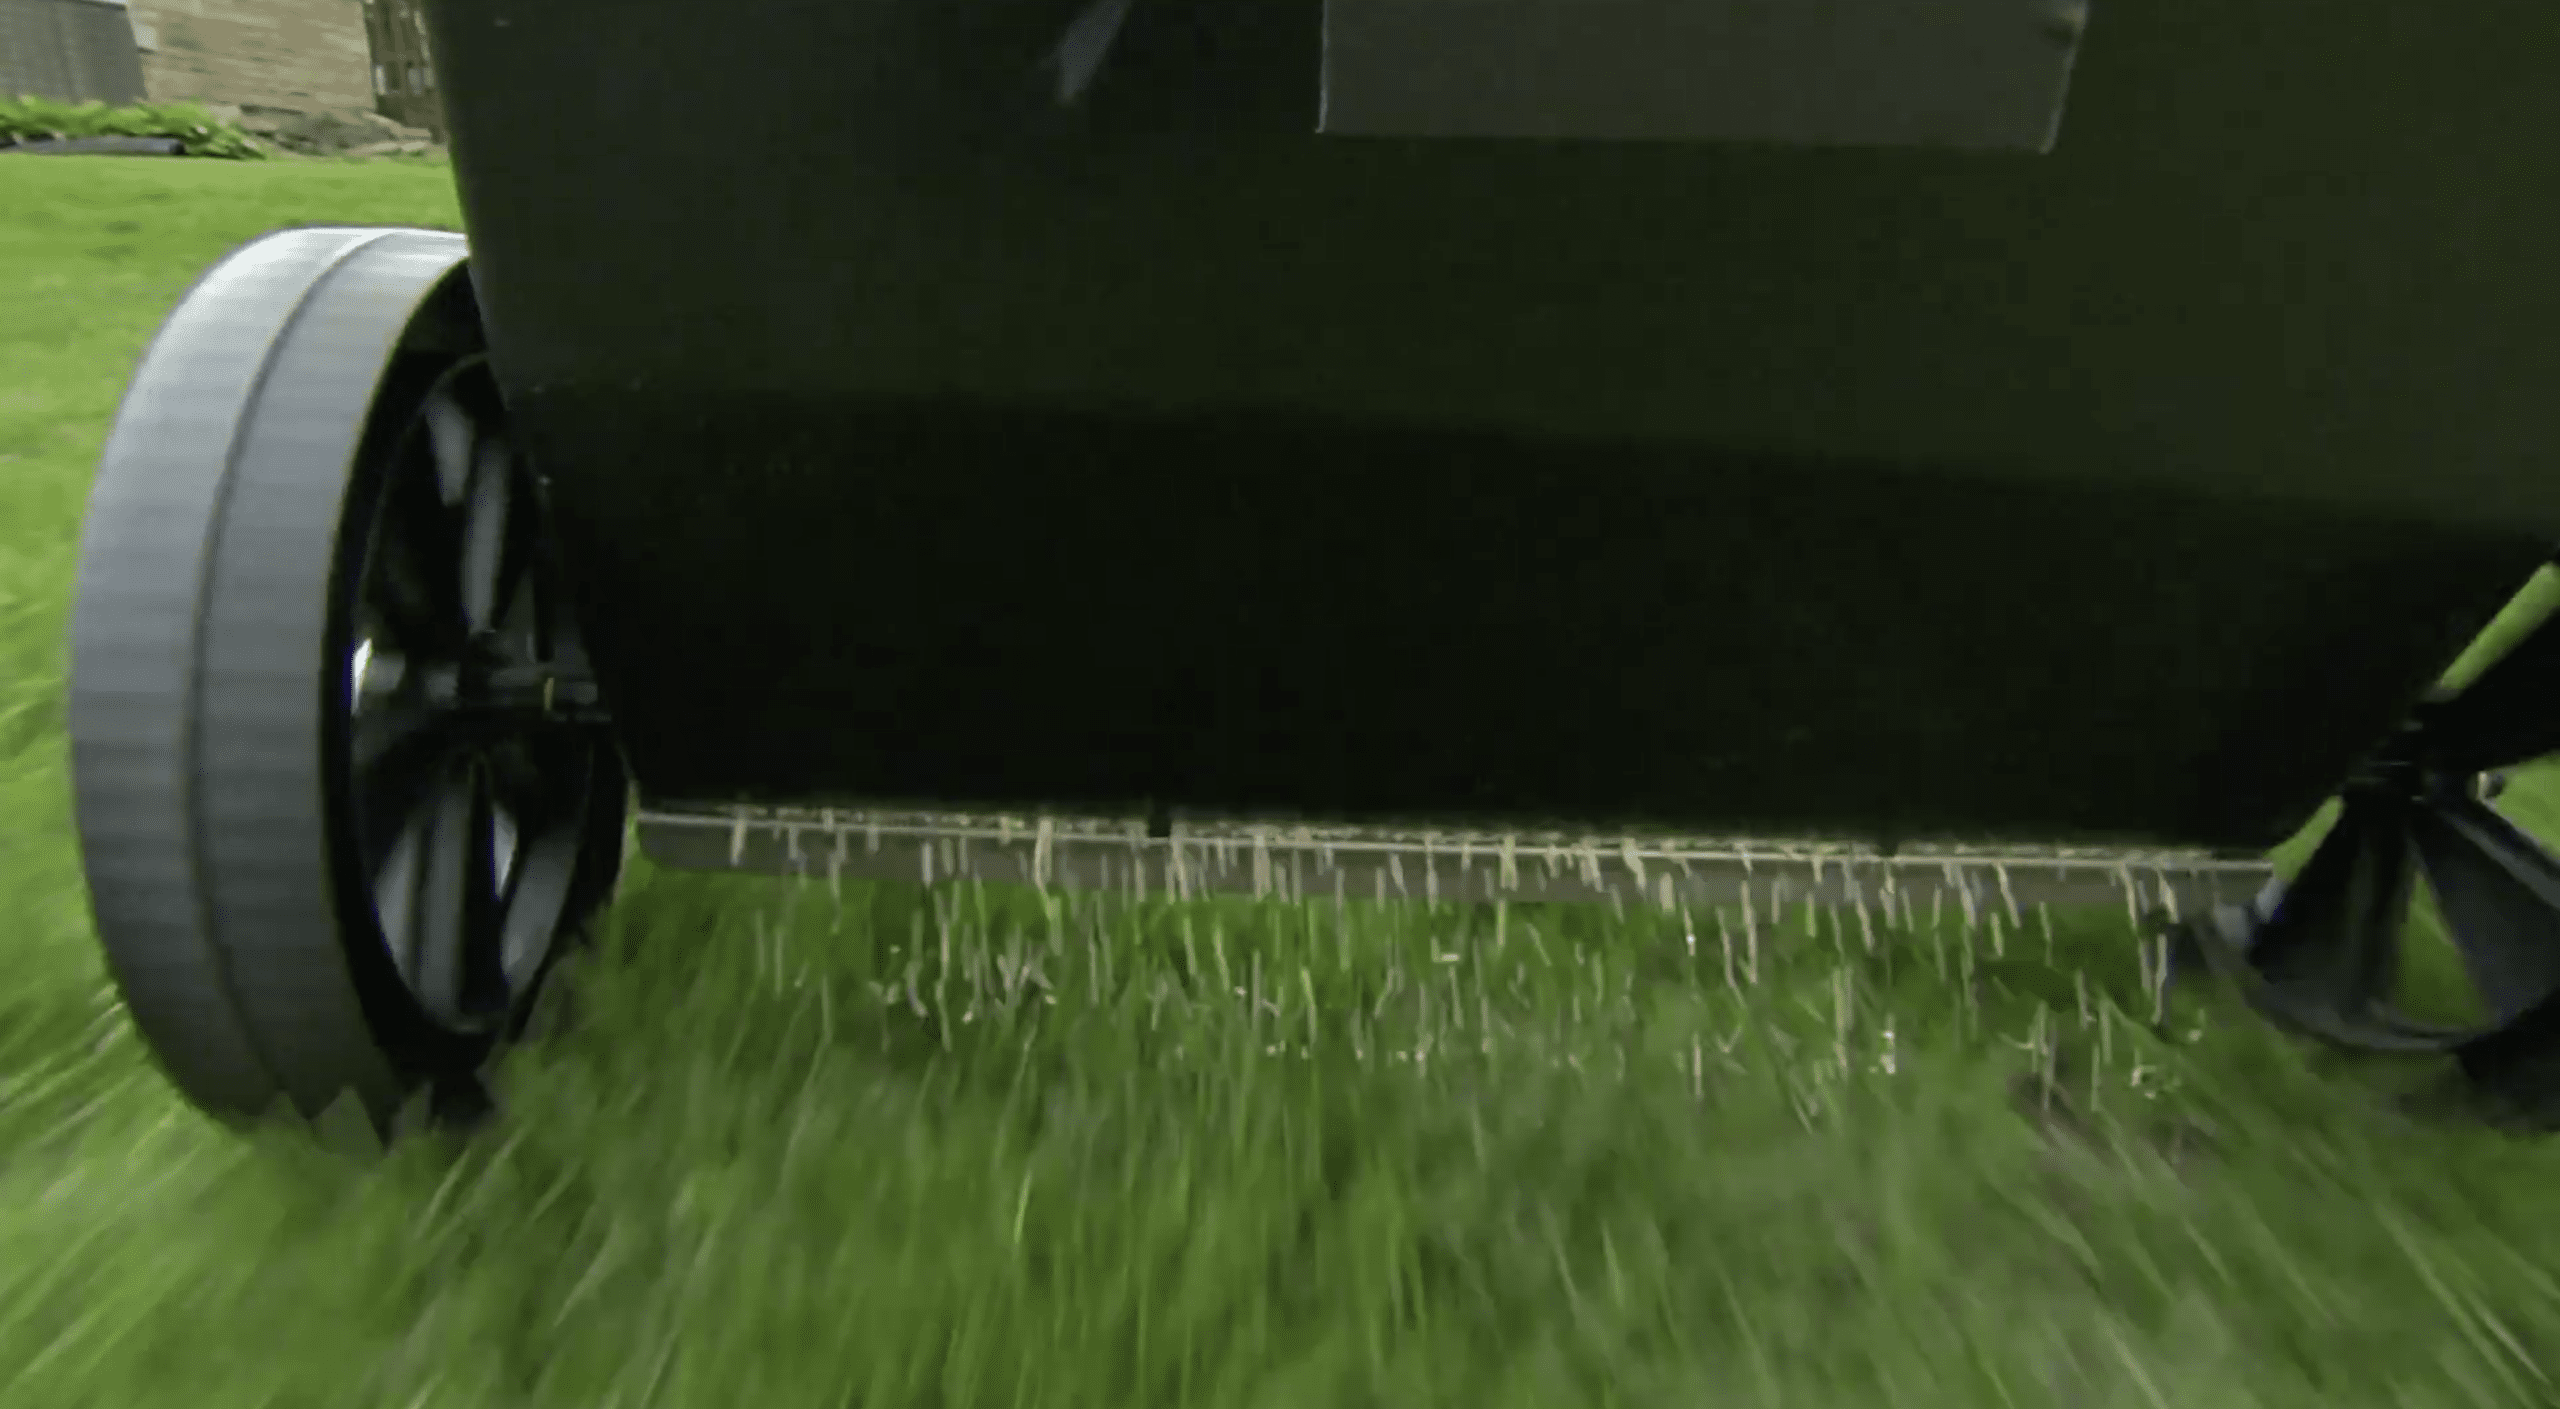
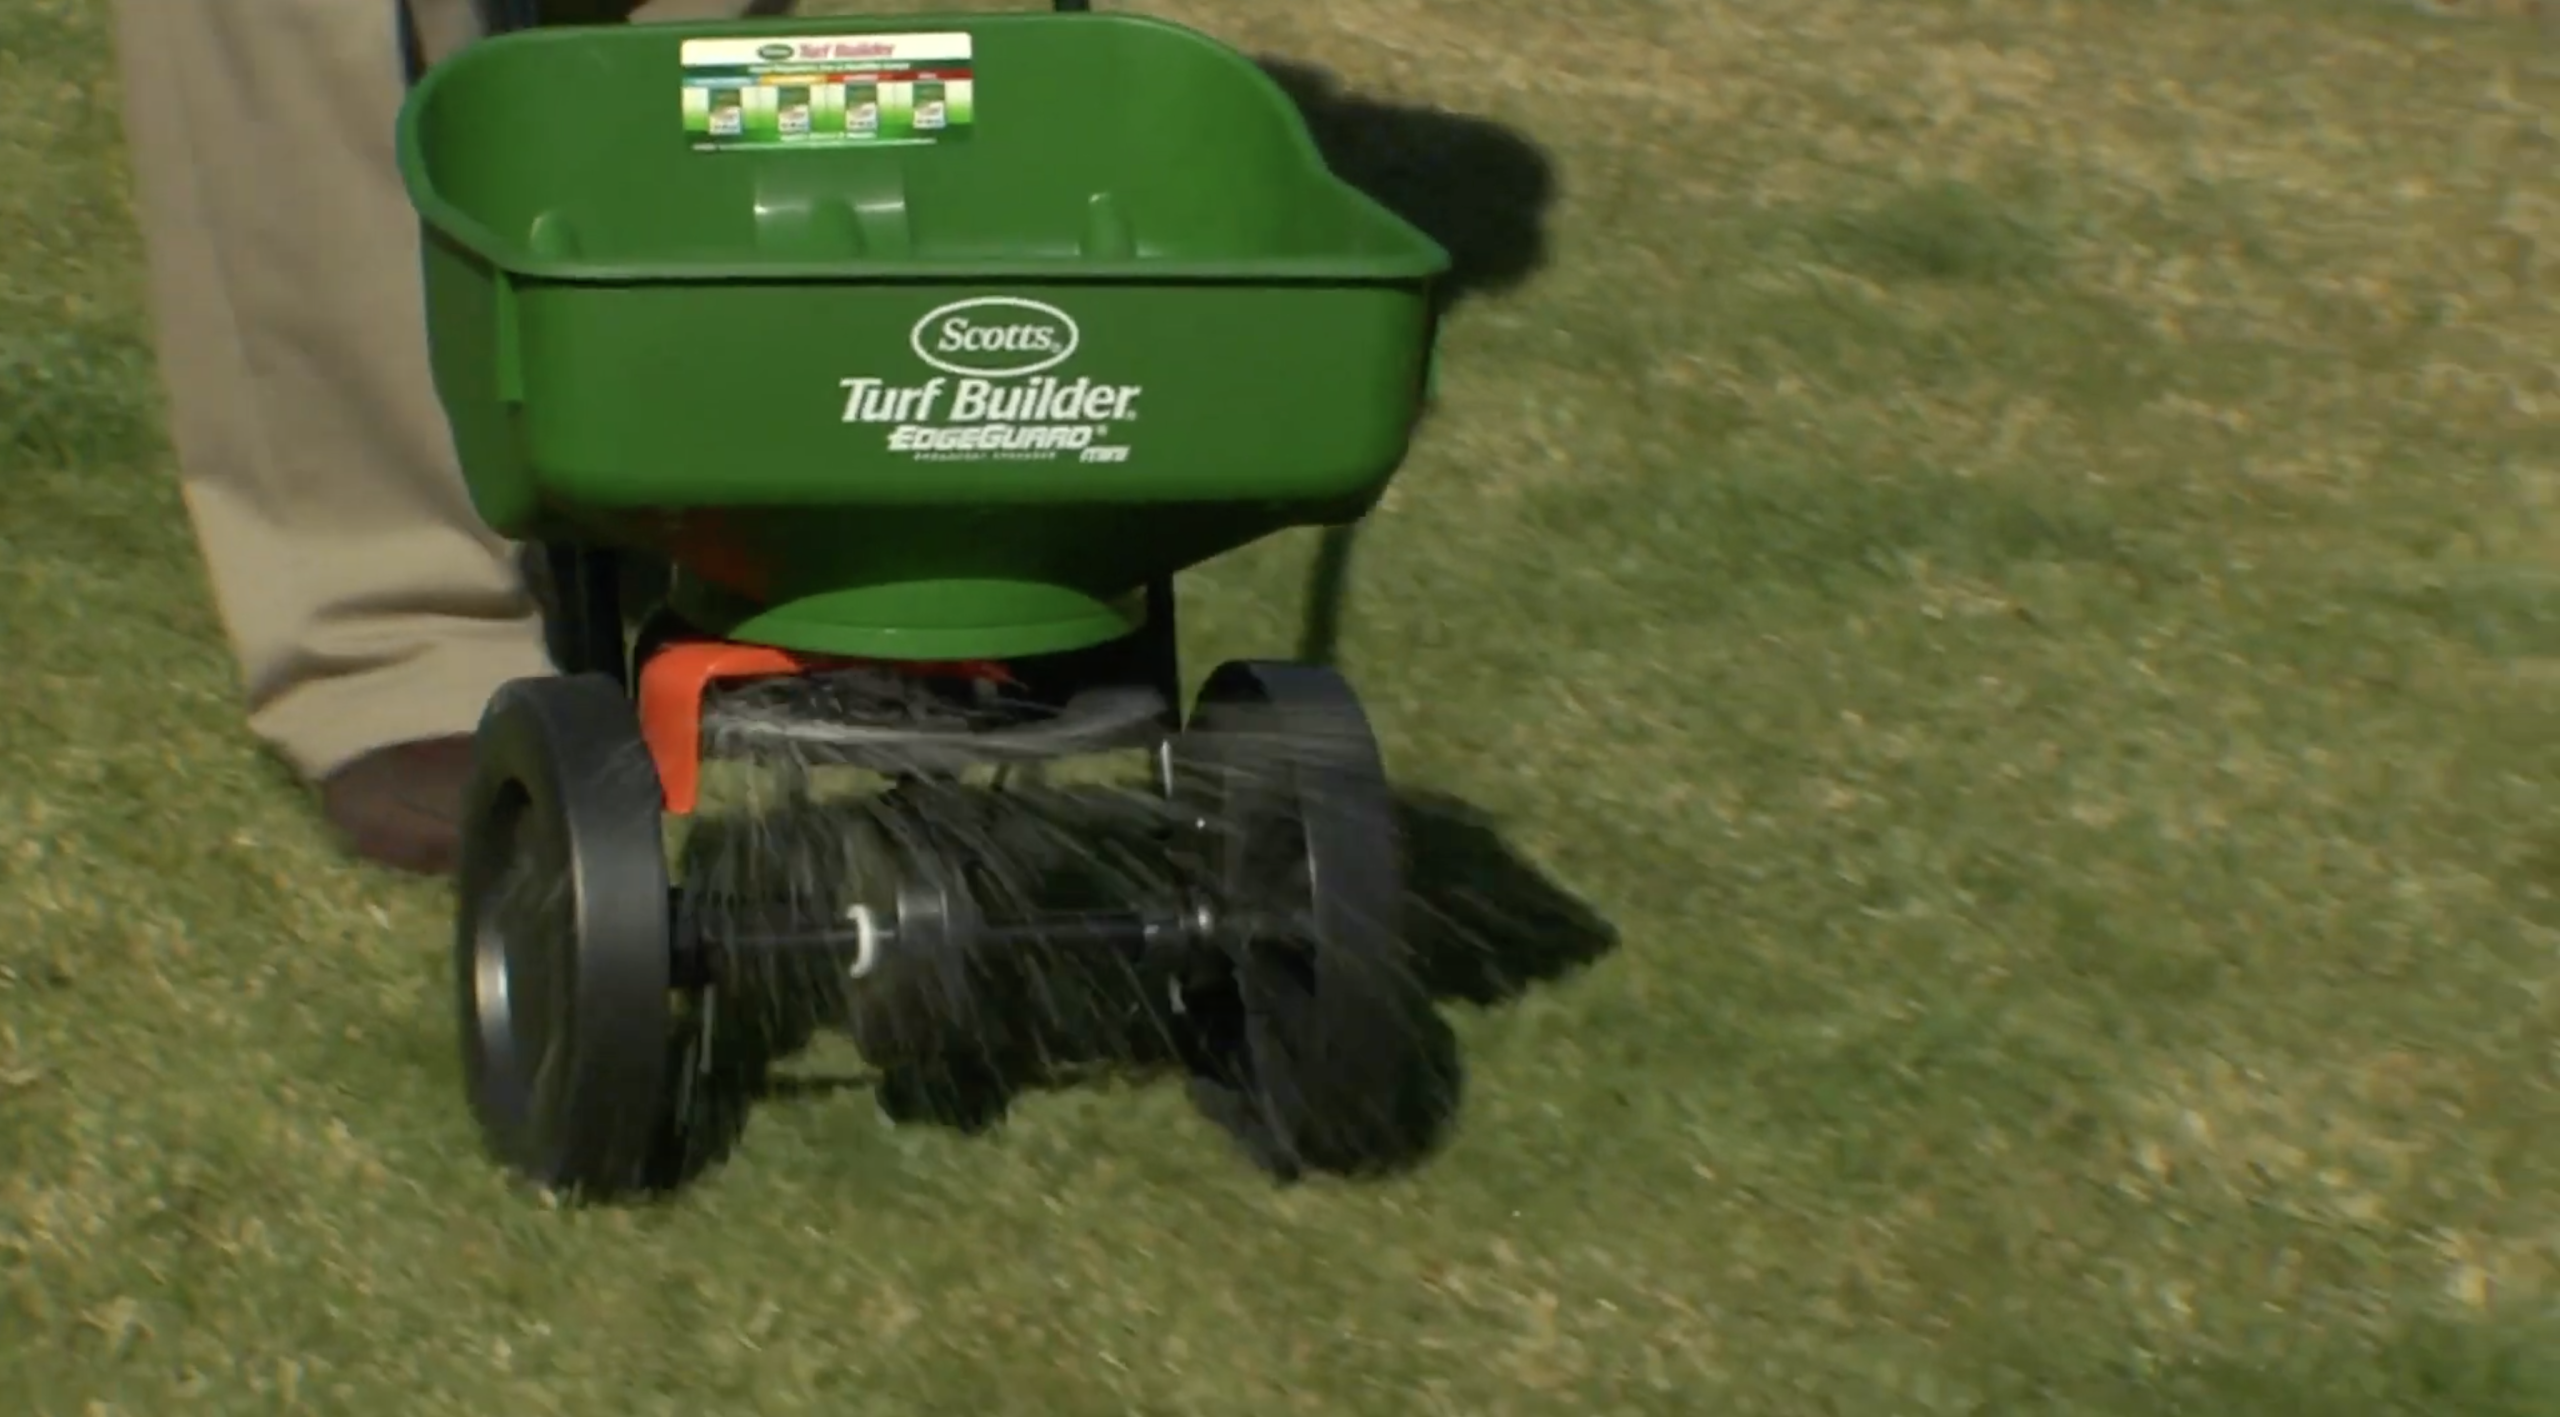
Step 3 Dispense
Walk the spreader along to disperse, following a path that does not overlap, similar to mowing the lawn. Make a border along the edges of the lawn to prevent dispensing product into garden beds or walkways.
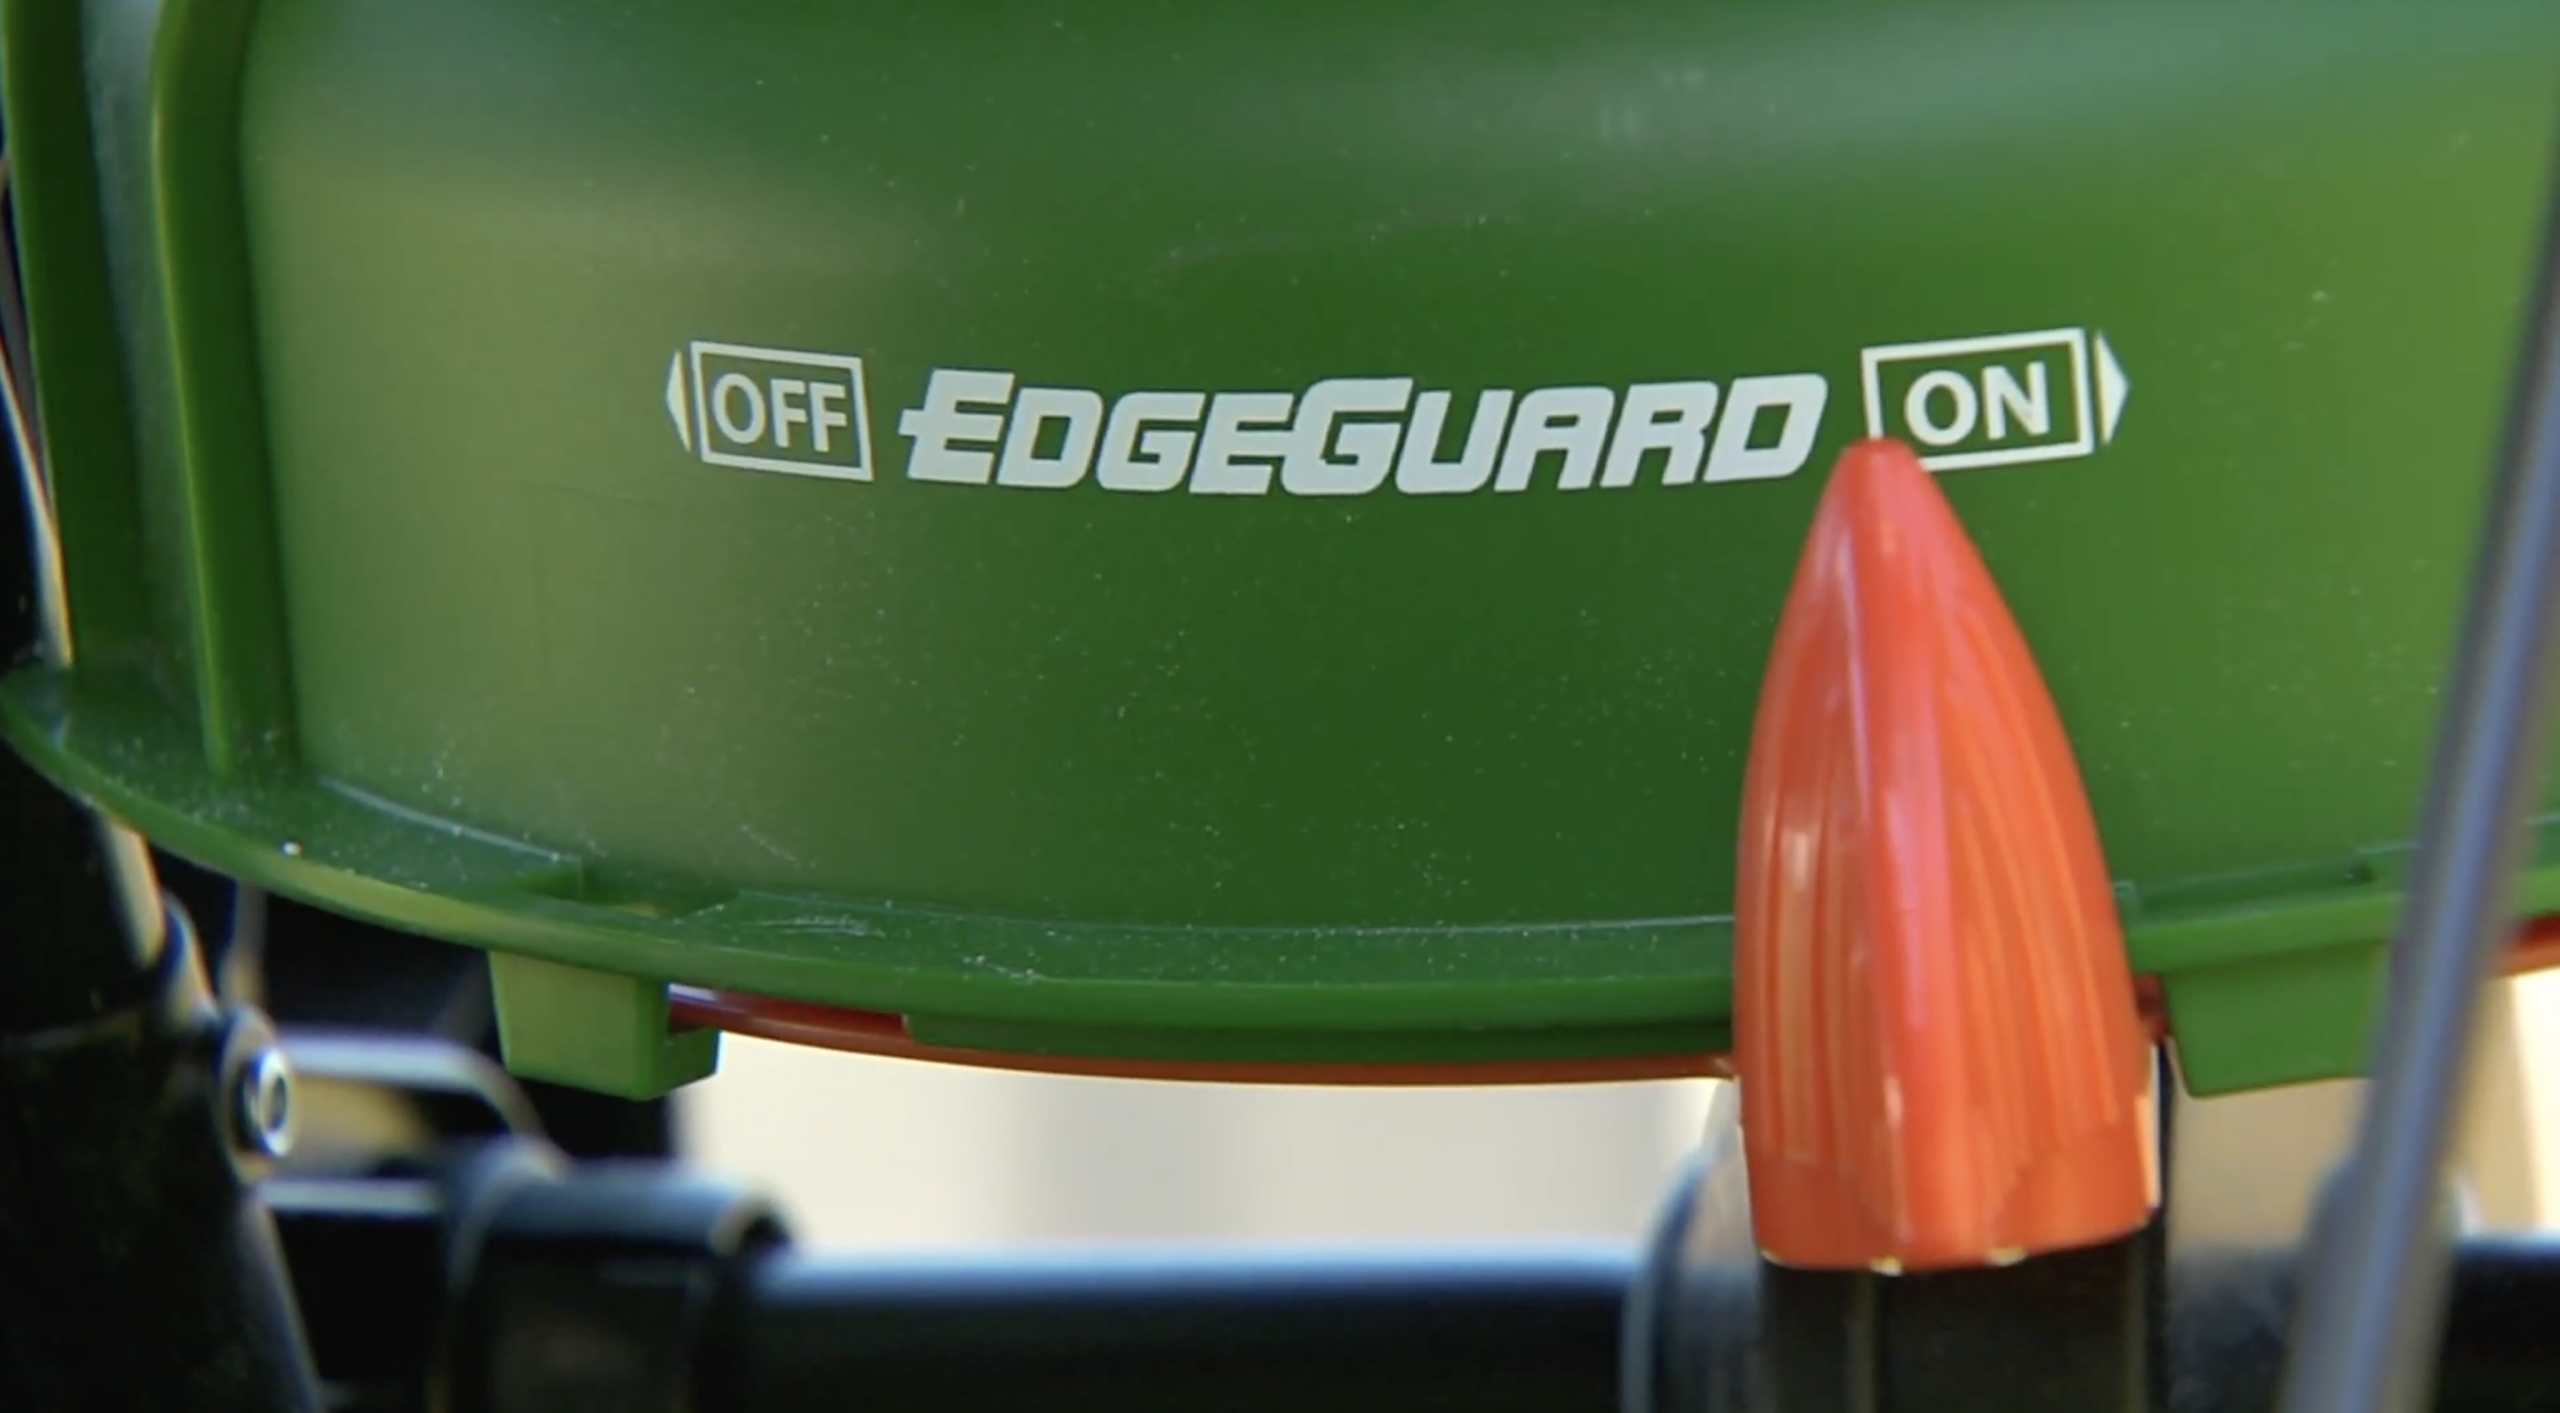
Step 4 Edge
Turn on the edge guard to prevent dispensing product to one side if needed.
Step 5 Regulate
When you reach the edges, turn off the spreader while you turn, and then back on when making a new pass across the lawn.

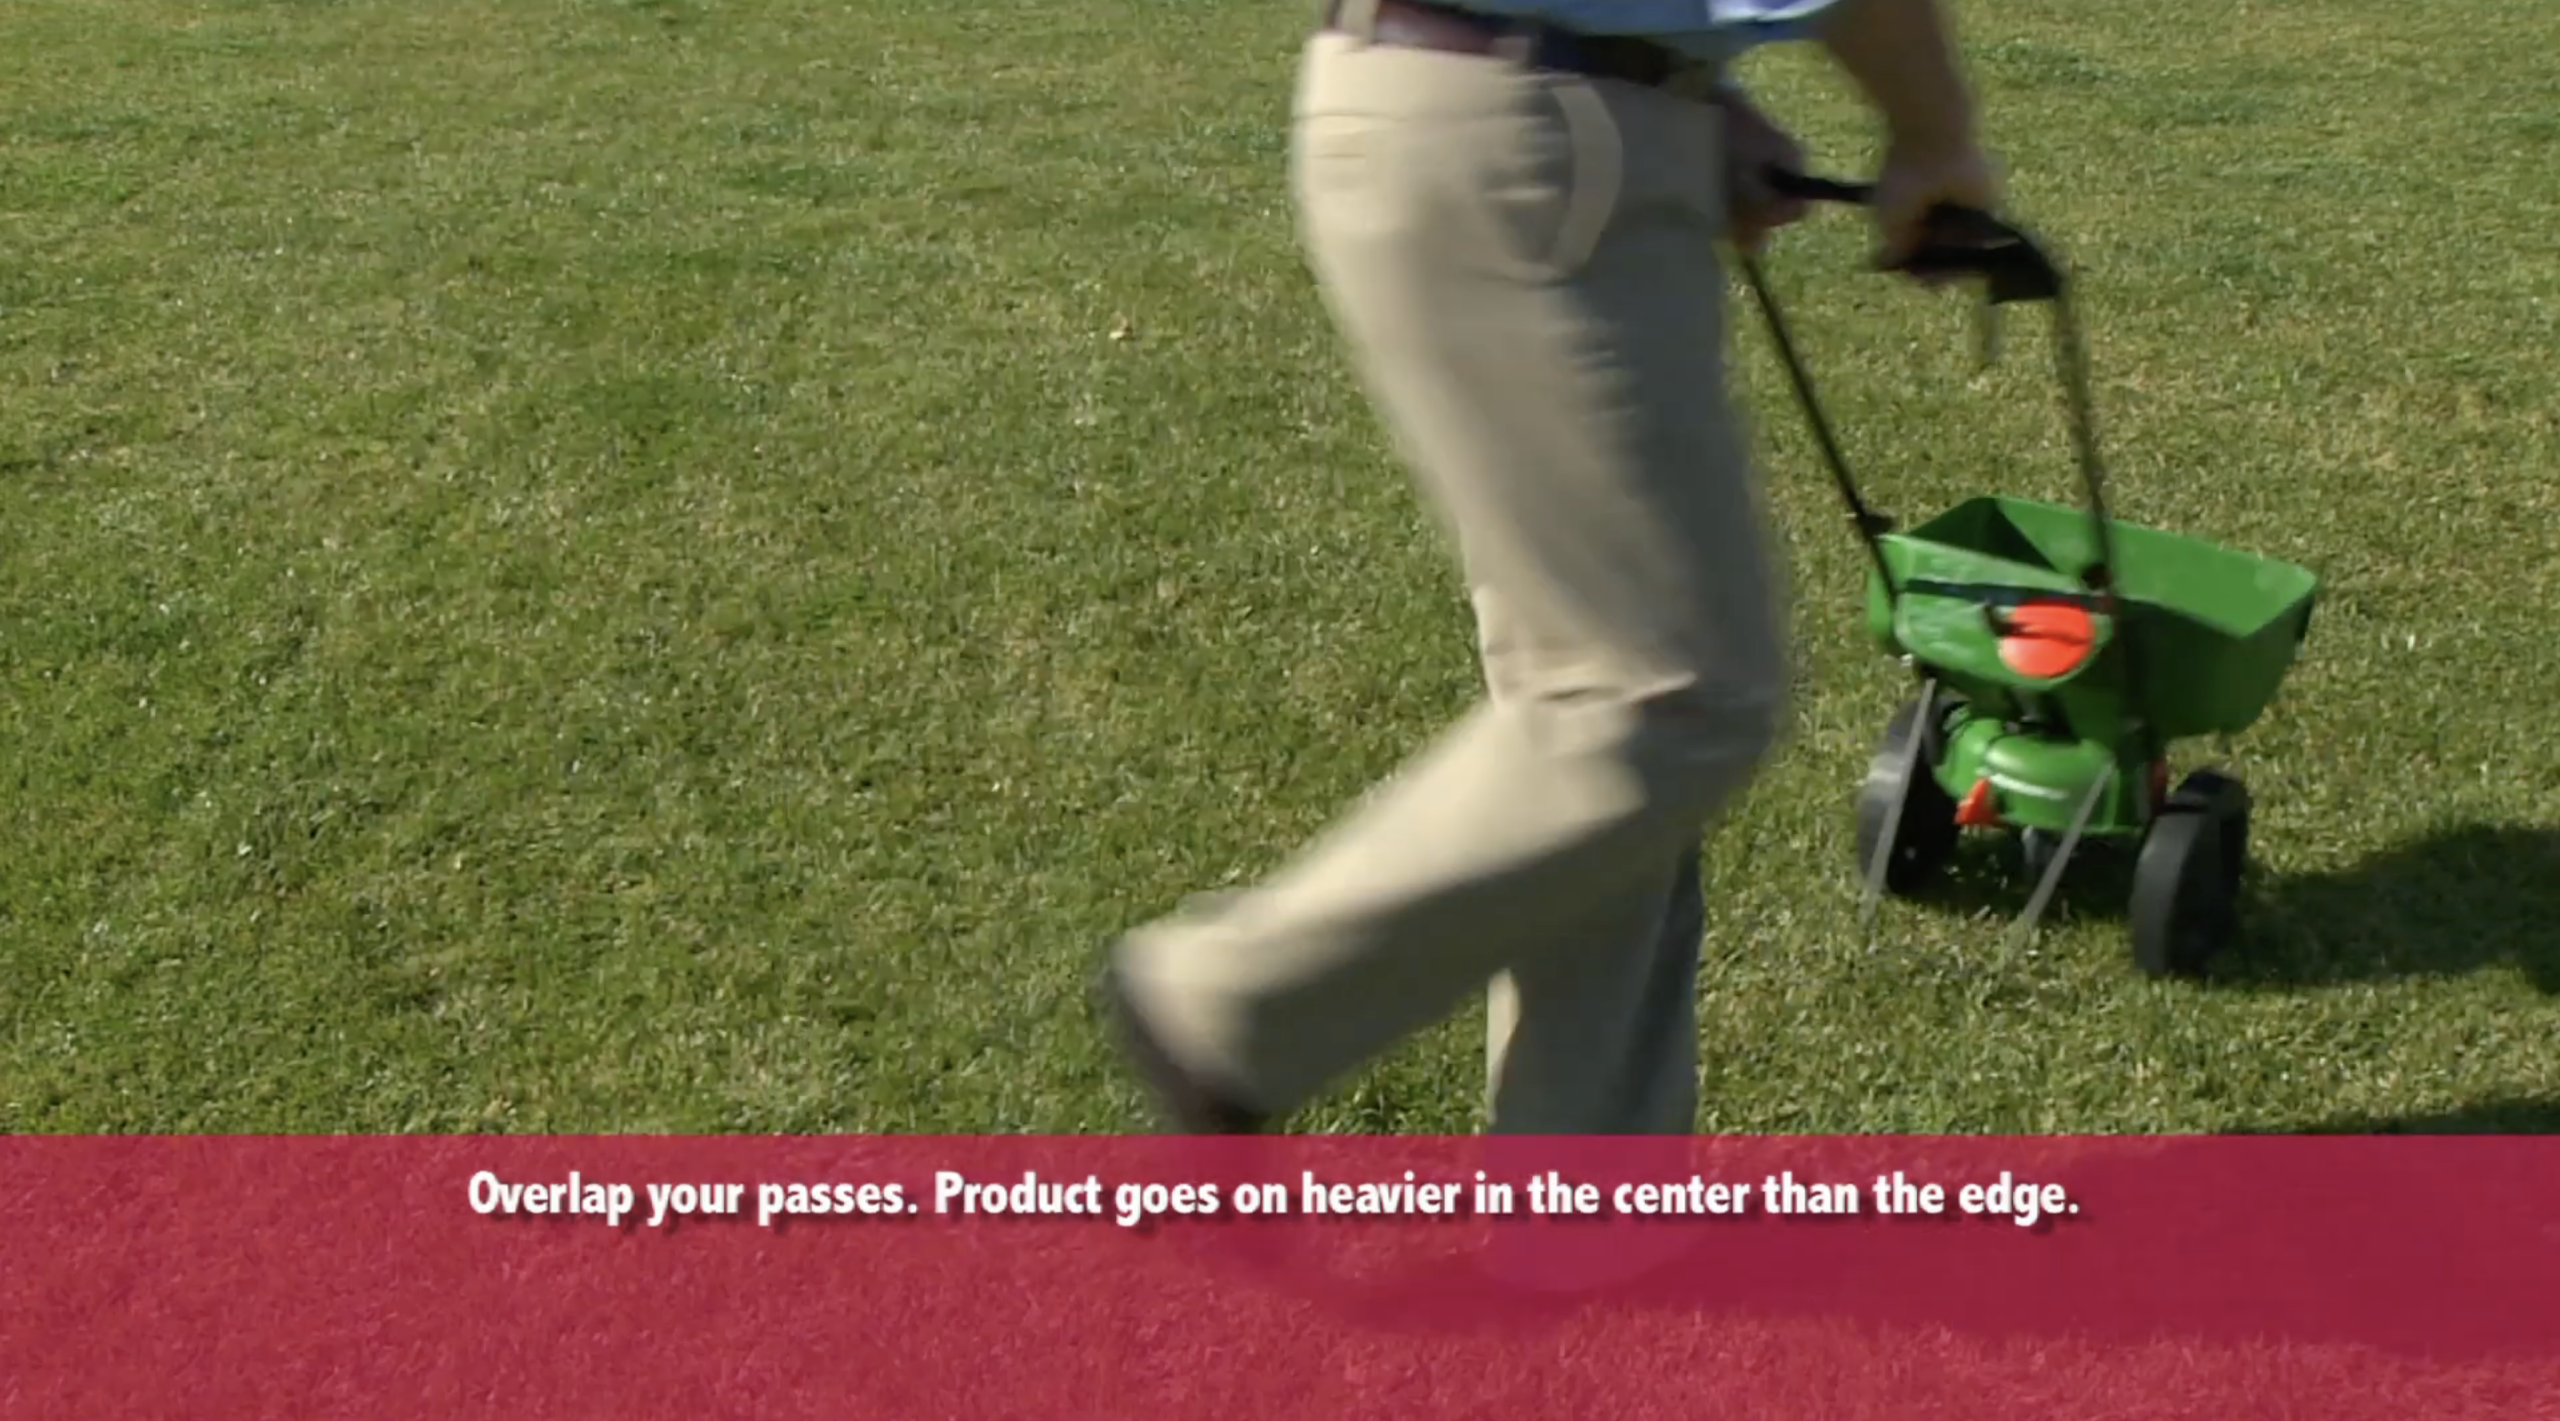
Step 6 Turn
When turning, it is OK to overlap a little at the edge of the previous pass, since more product is dispensed at the center than the edges.
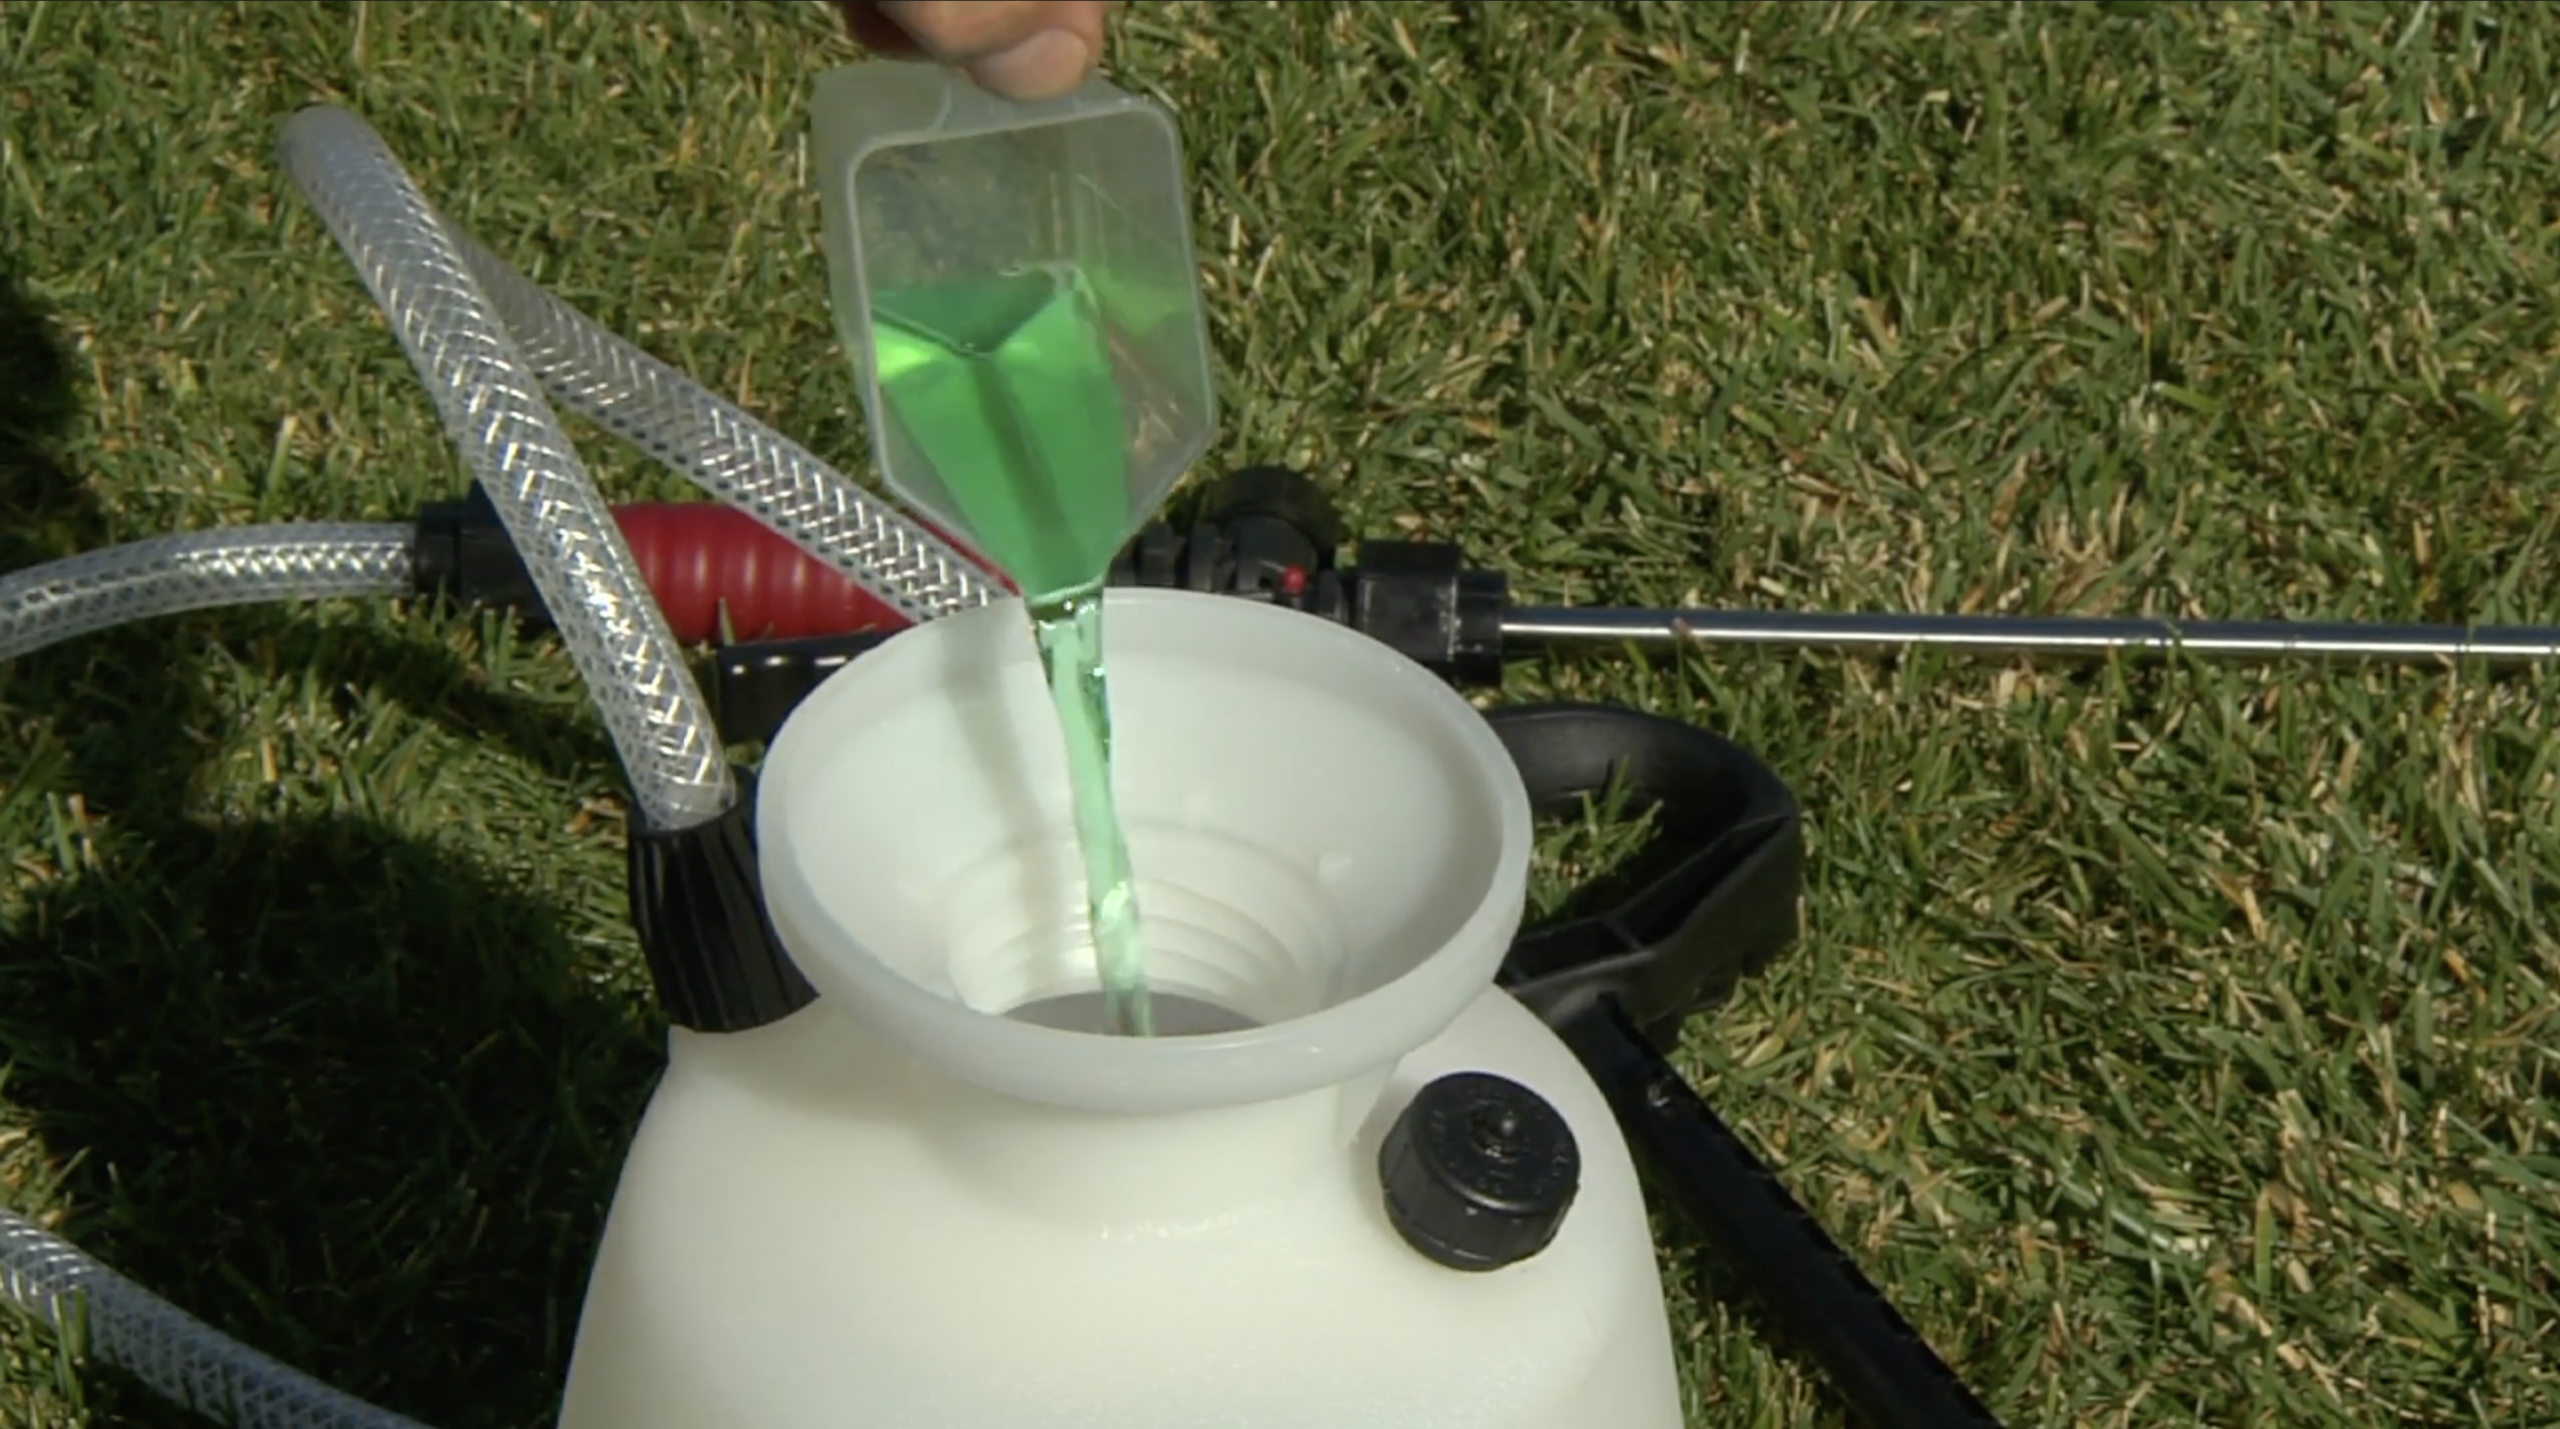
How to Use a Pressurized Tank Sprayer
Step 1 Load
Measure out the correct amount of product and fill the rest of the tank with water. Leave about 1/3 of the tank empty so you can pressurize the sprayer.
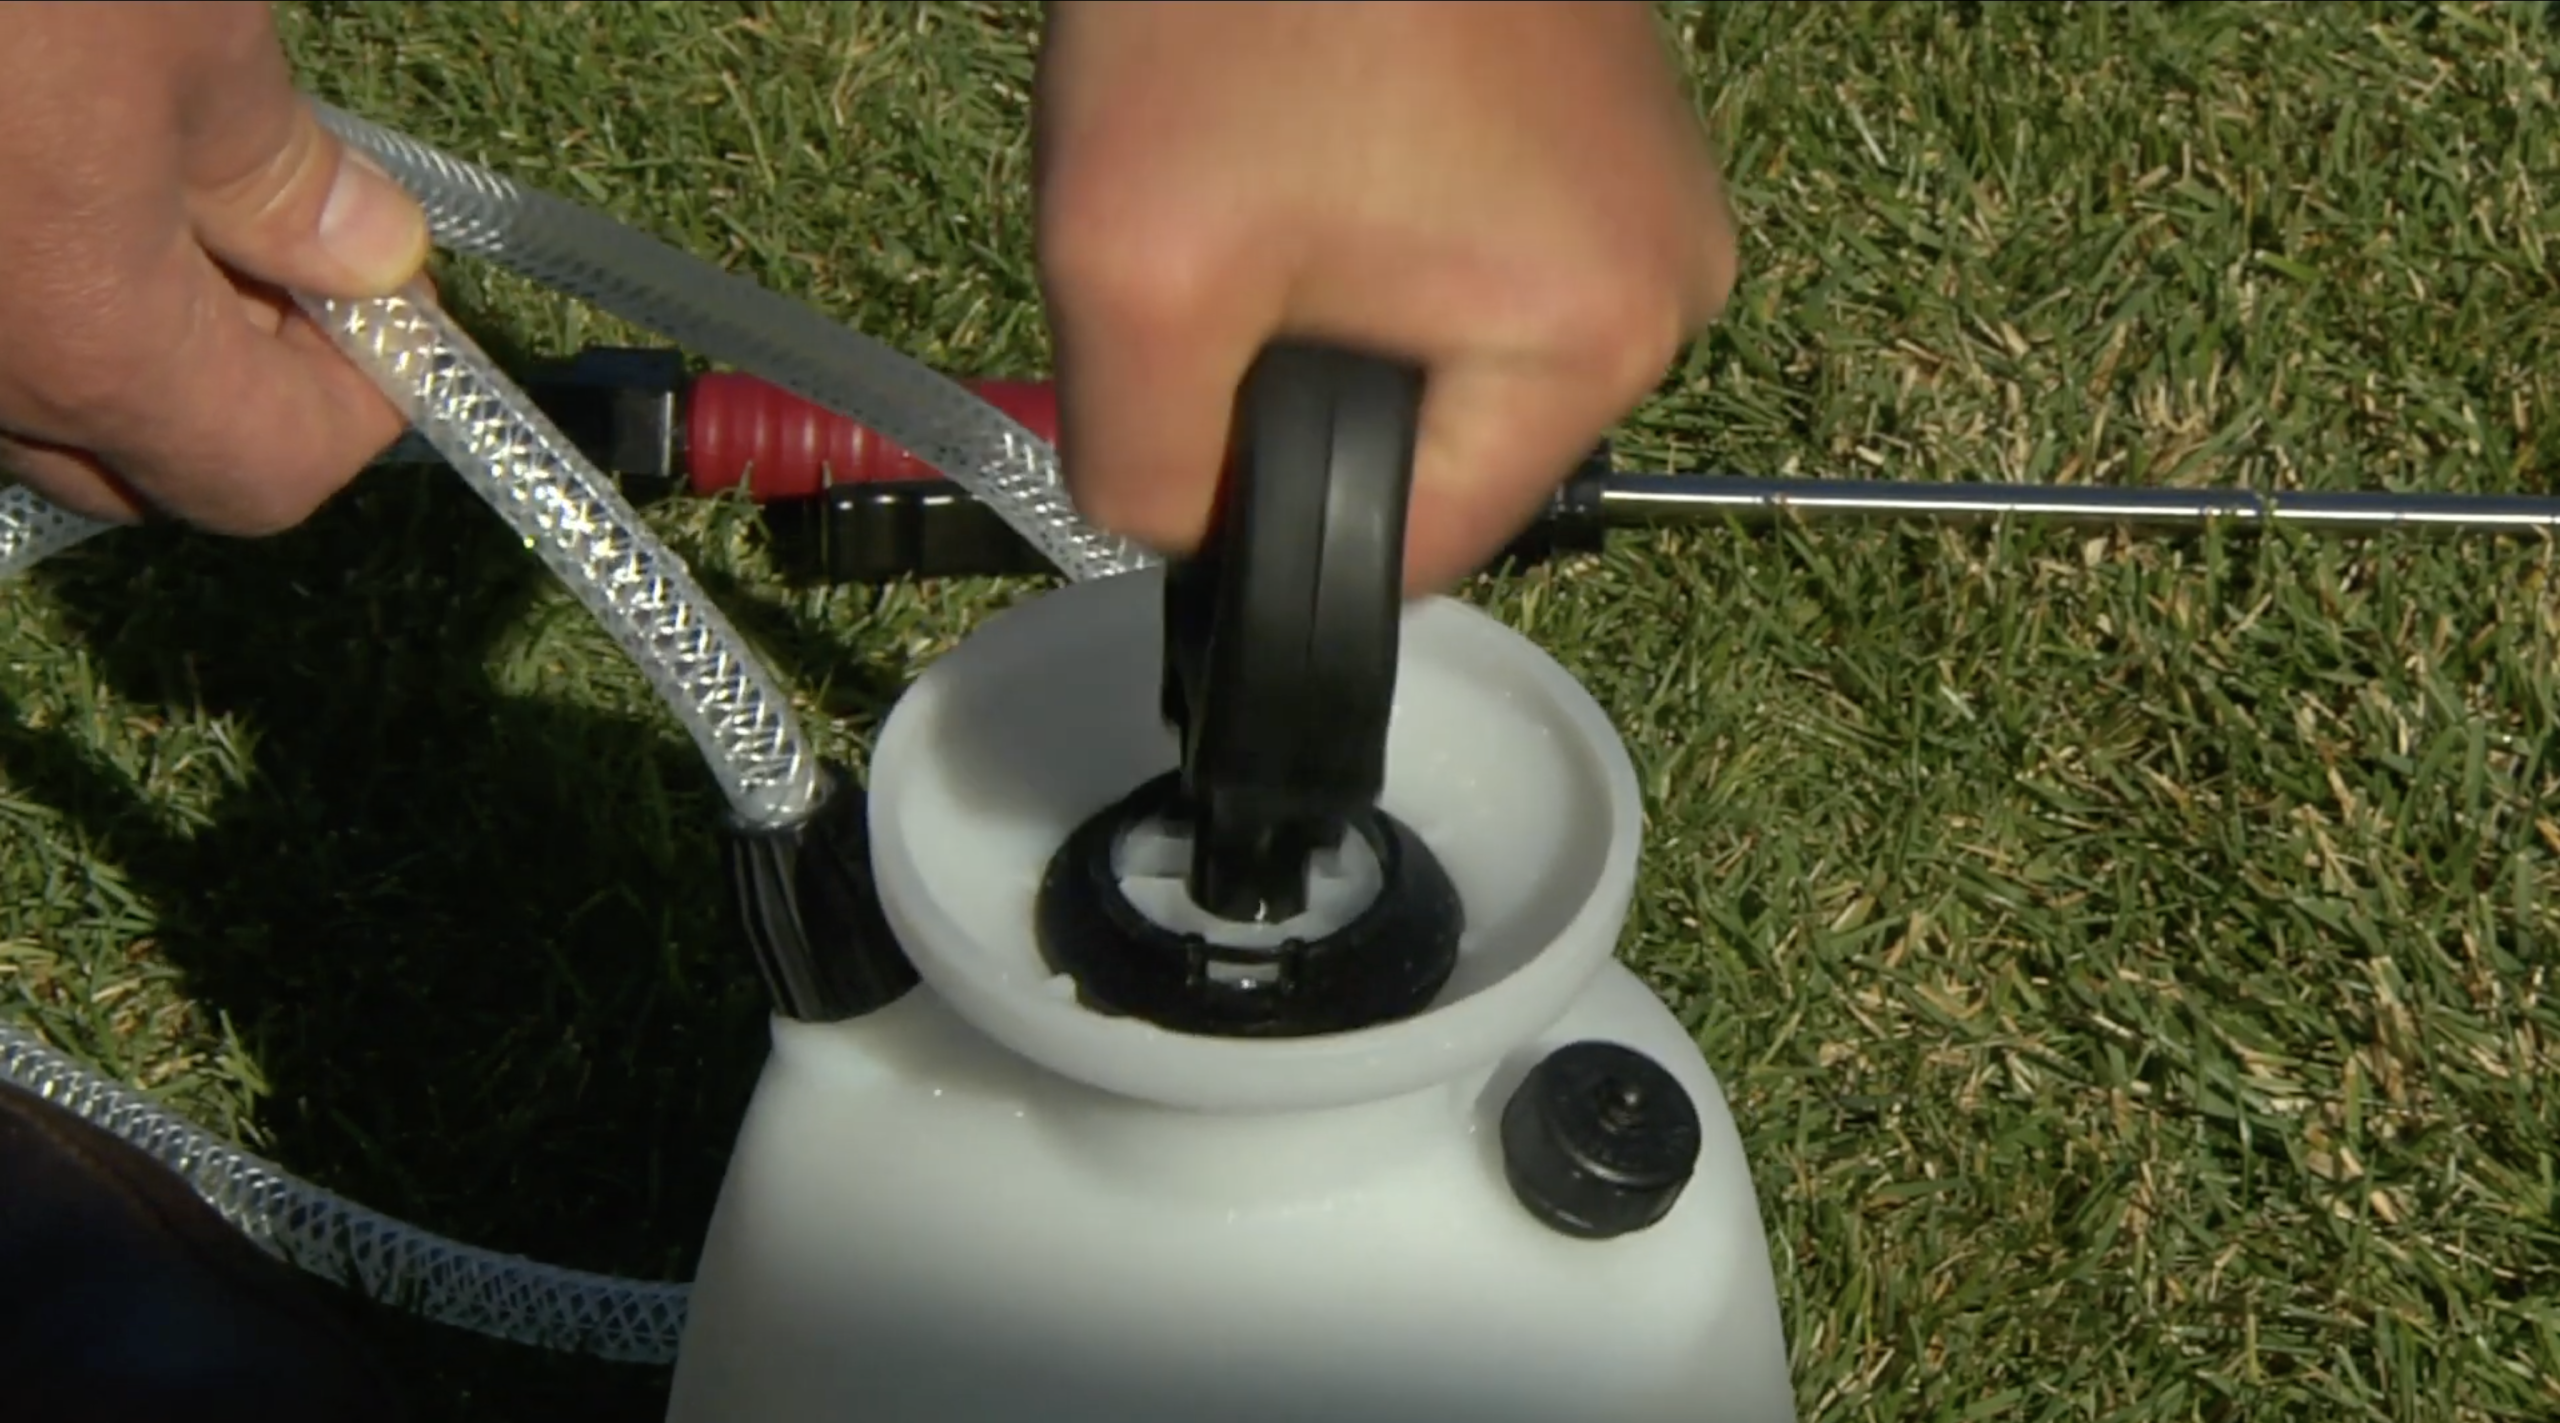
Step 2 Pressurize
Screw on the lid of the tank and pump the handle to pressurize the tank until the handle is difficult to press down. Lock in the handle when done.
Step 3 Adjust
Turn the nozzle to adjust the spray pattern on the sprayer.
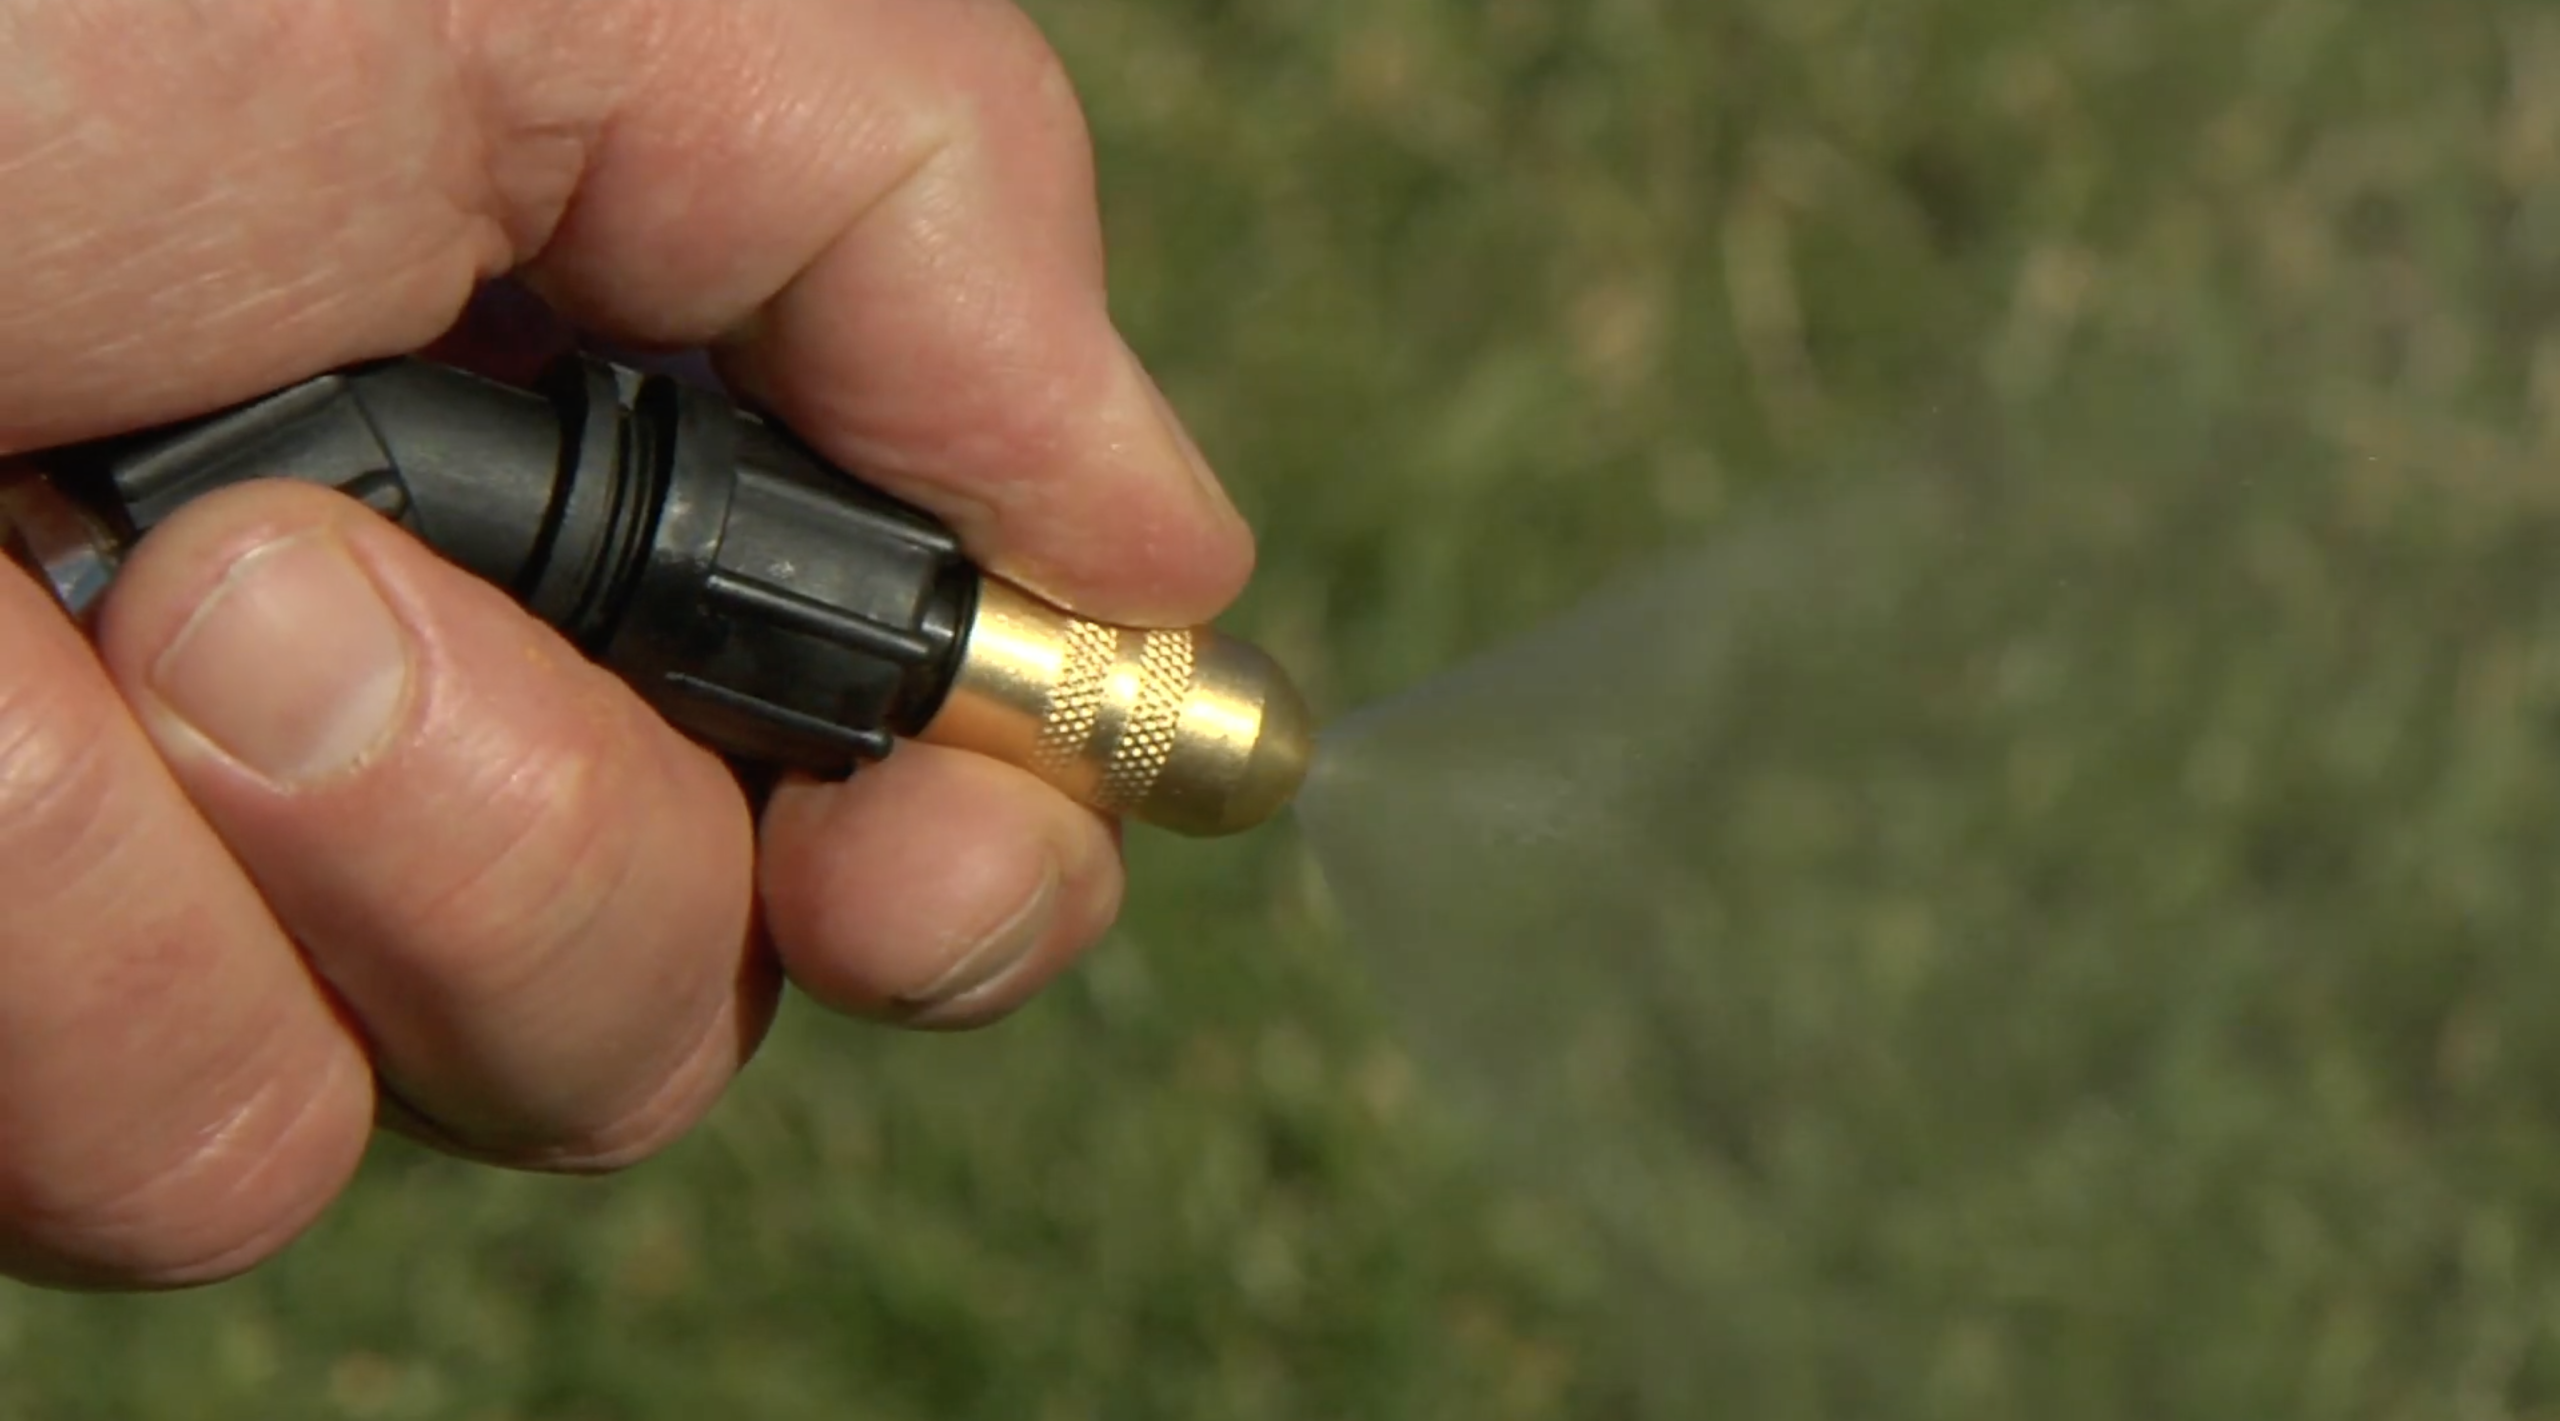
Step 4 Dispense
Pull the trigger to dispense the product out of the nozzle, pointing the wand in the correct direction.
Step 5 Refill
Unscrew the lid to refill the tank. Be careful to point it away from your face, turning slowly to release pressure, or engage the pressure relief valve.