How to Stain Your Deck
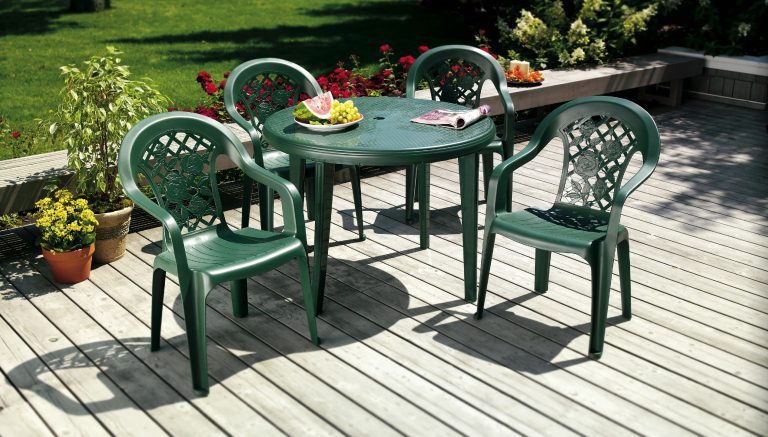
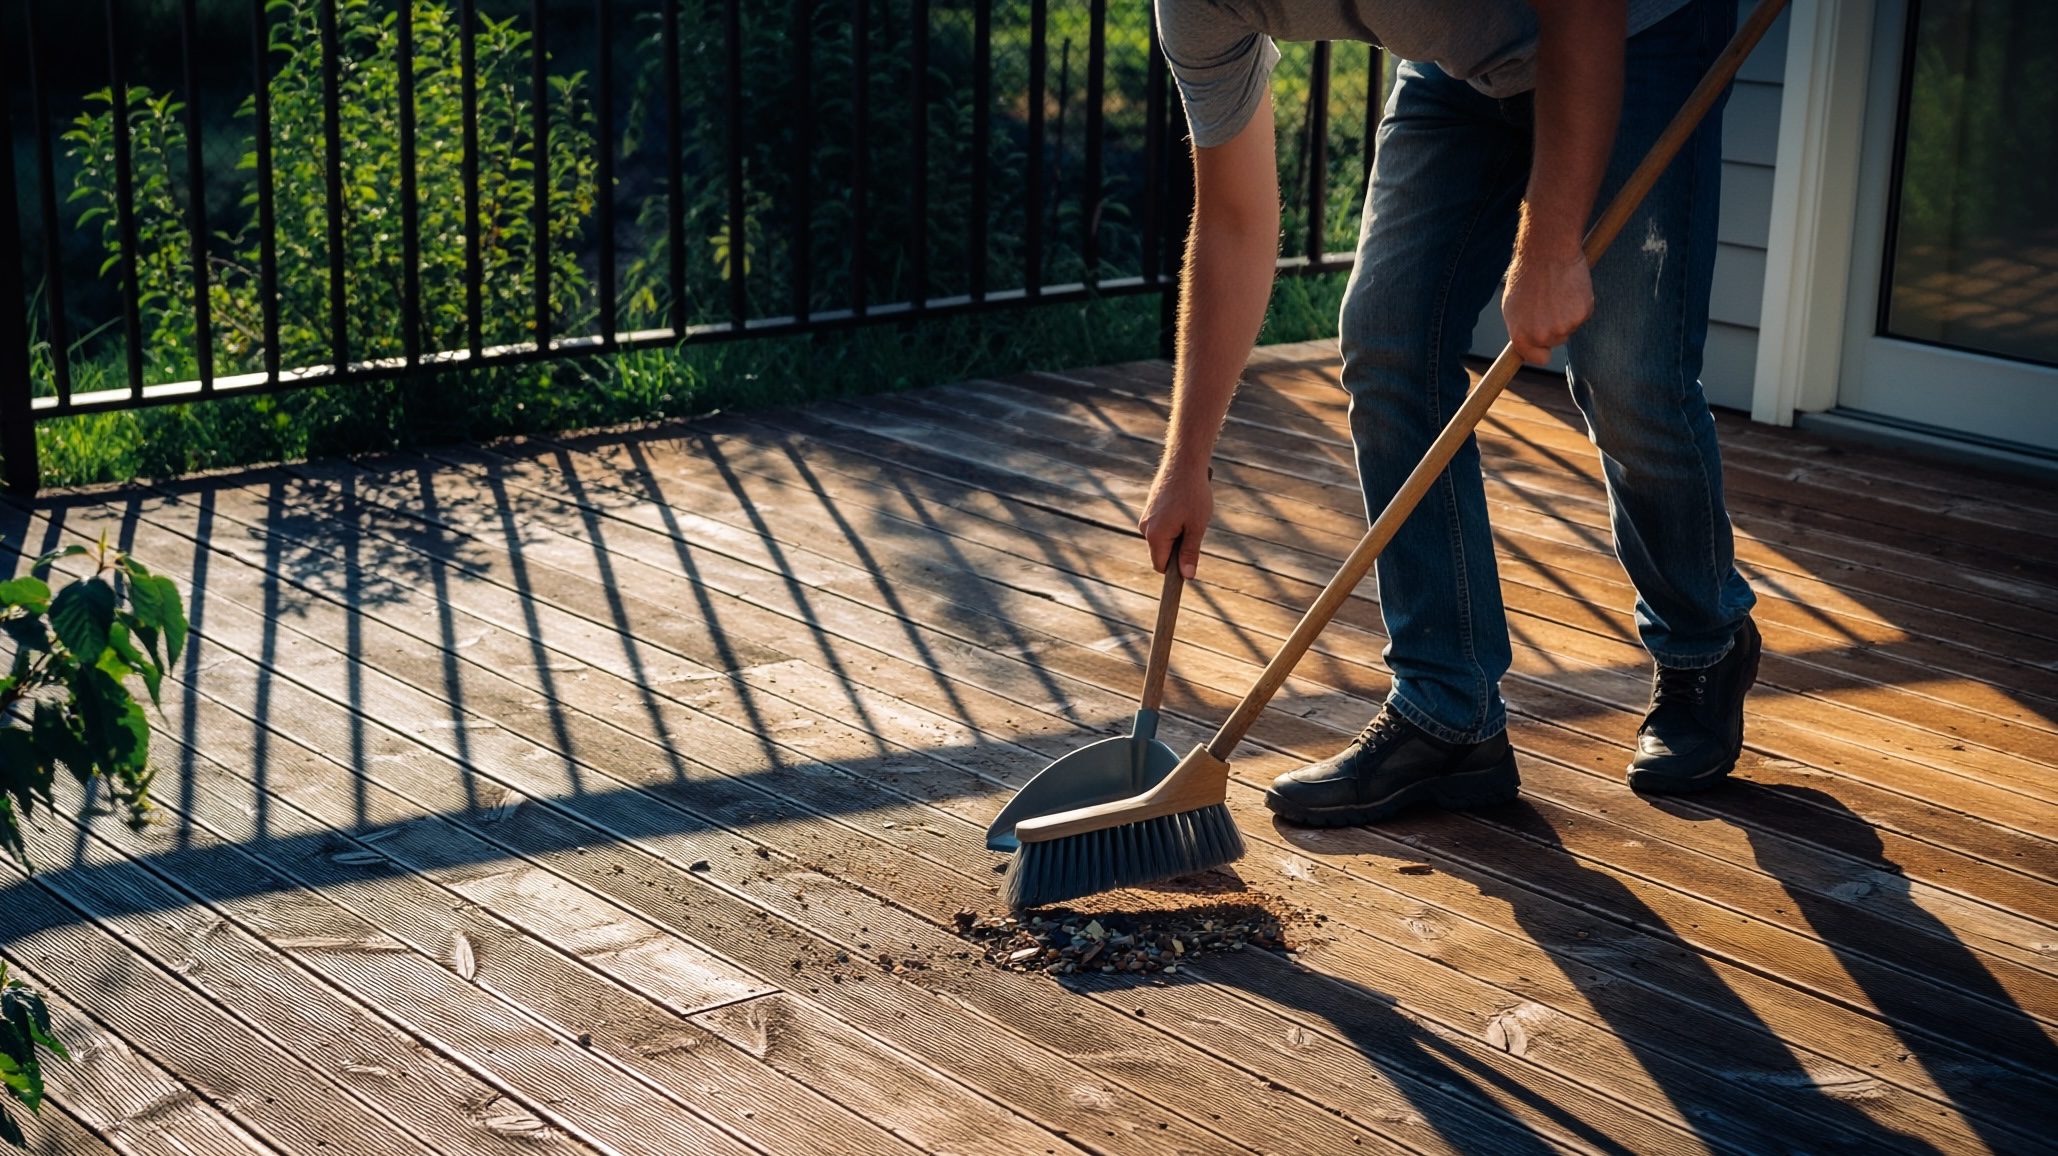
Step 1 Clean Your Deck
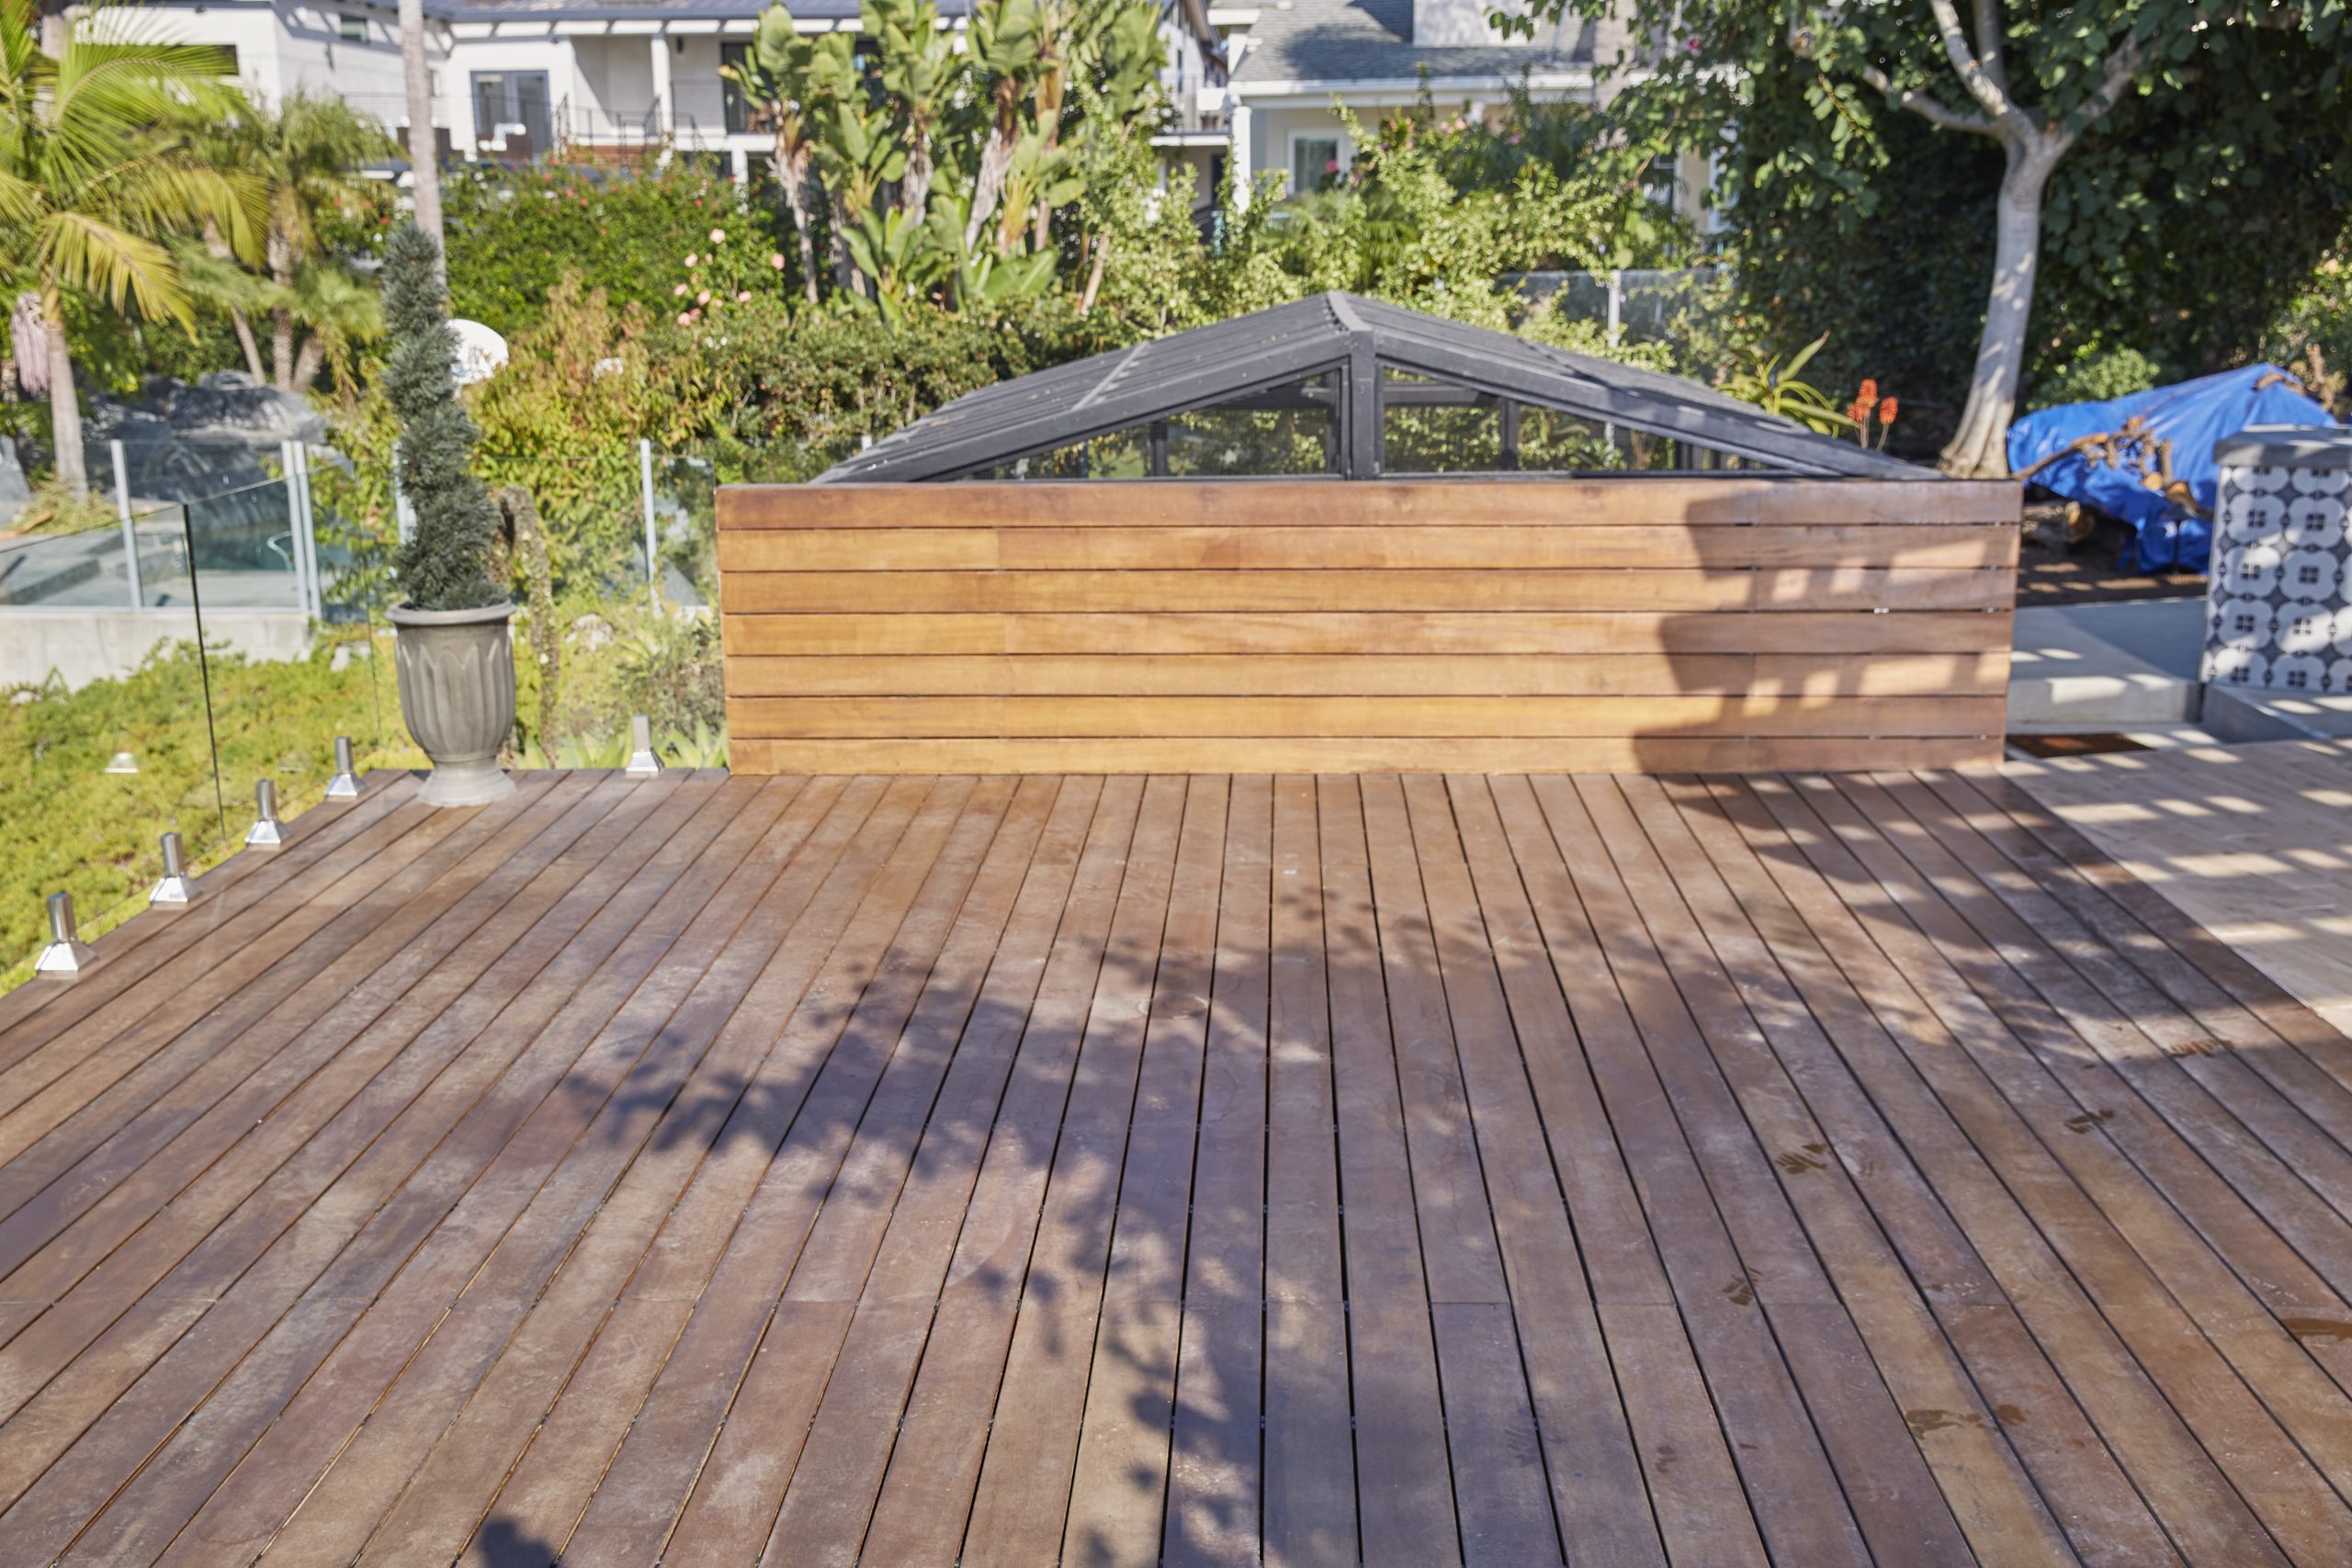
First get all tables and chairs, grills, and any other items off the deck, so it’s completely clear.
Use a deck cleaner and scrub brush to provide a clean surface for the stain to go on smoothly.
This will help clear mildew stains, mold stains, algae stains, dirt and other debris. Once you’ve finished cleaning, give your deck two days of drying time.
PRO TIP
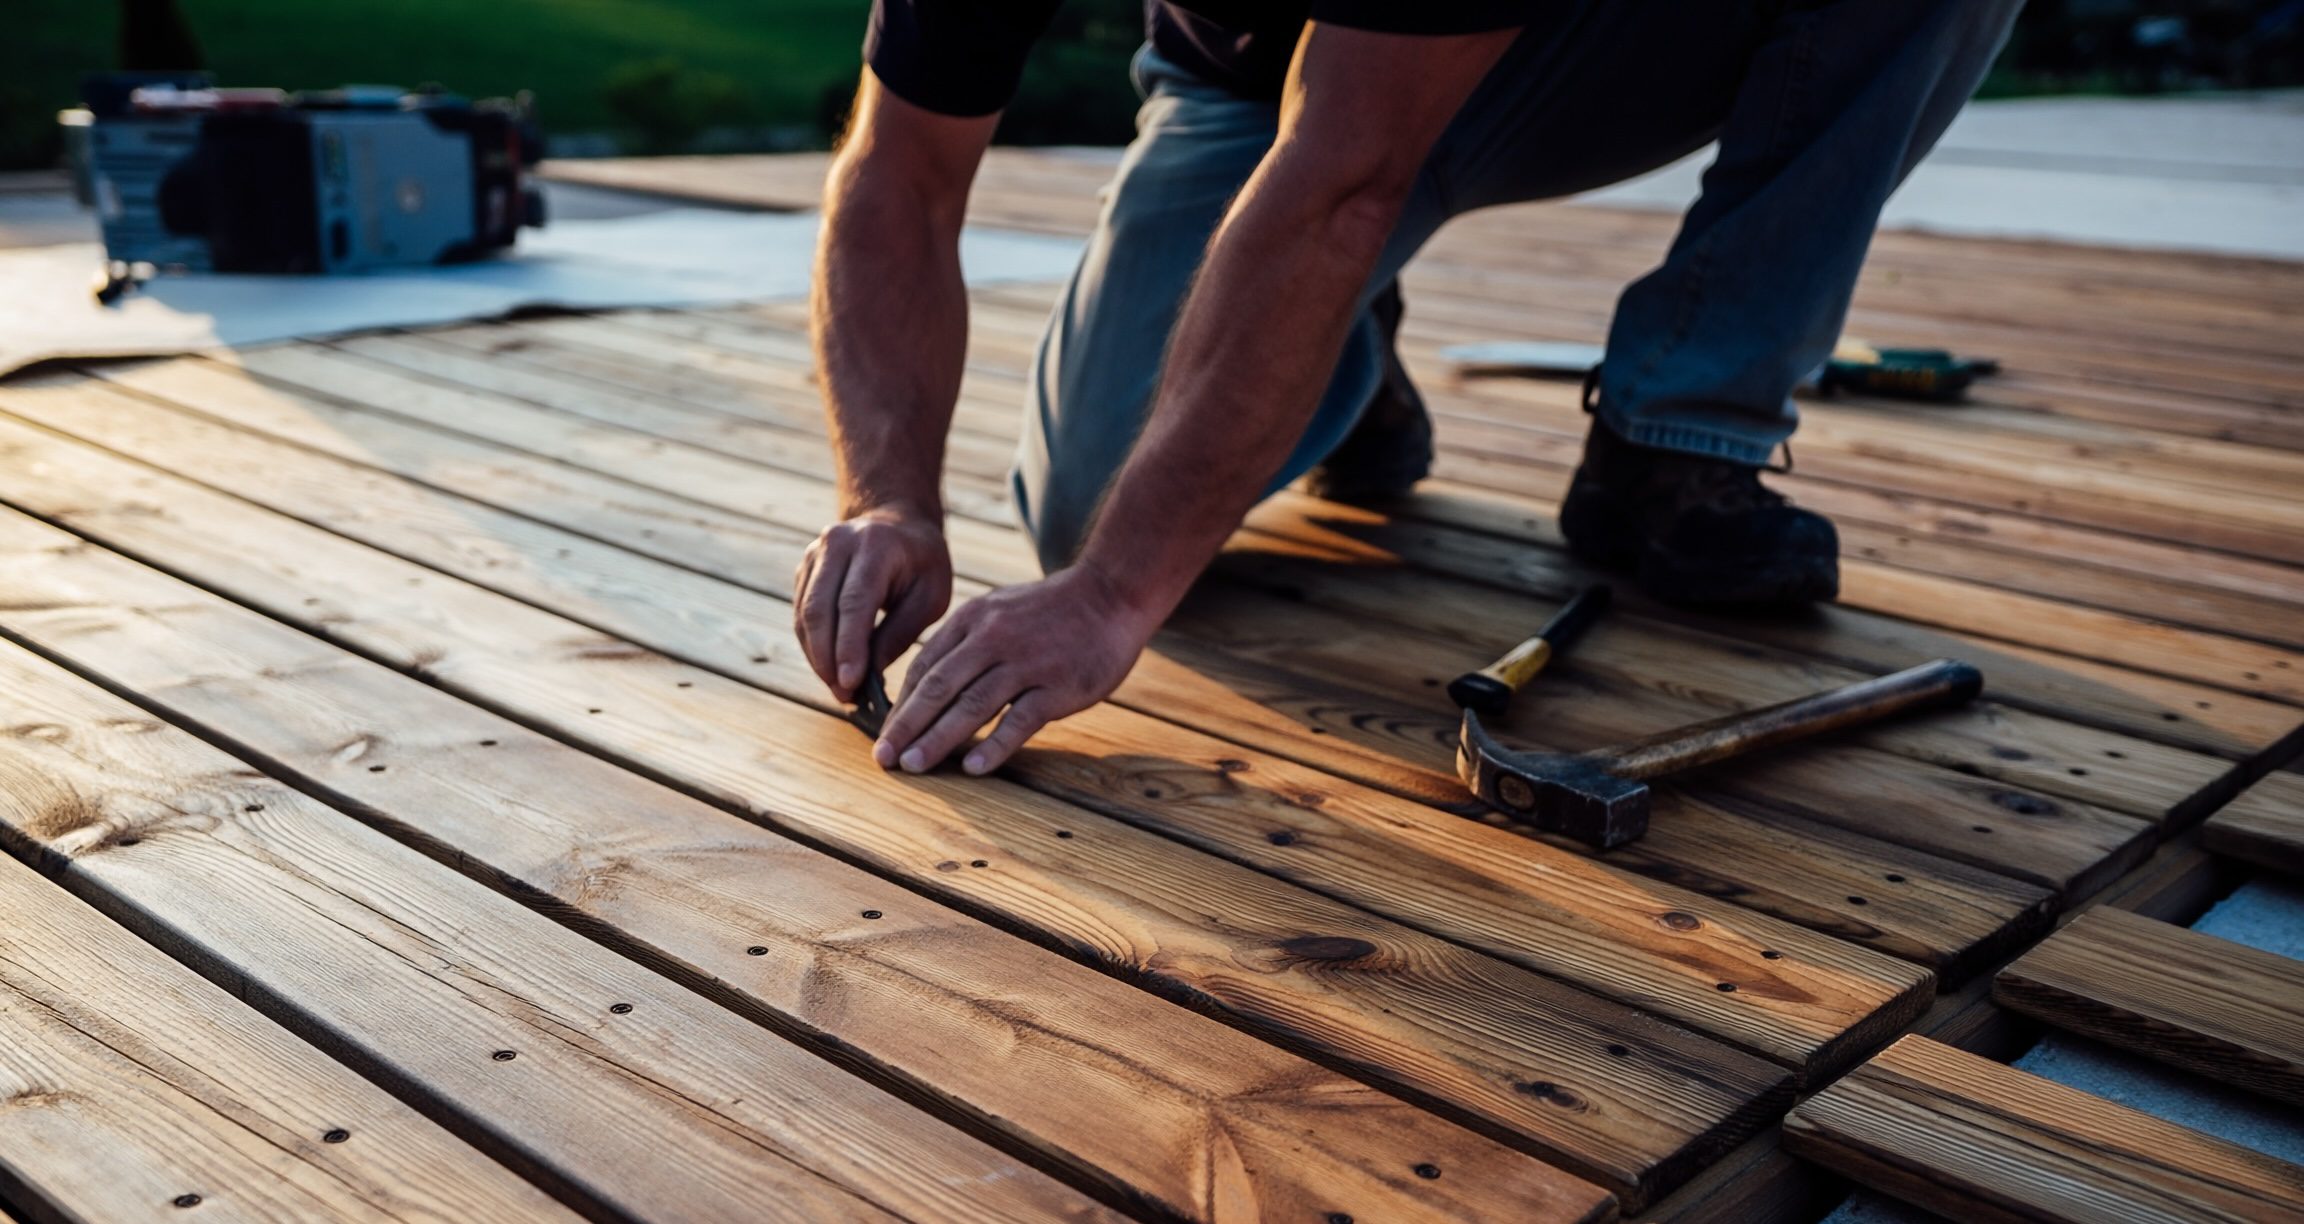
Step 2 Repair Your Deck as Needed
Fix or replace any damaged, loose or missing boards.
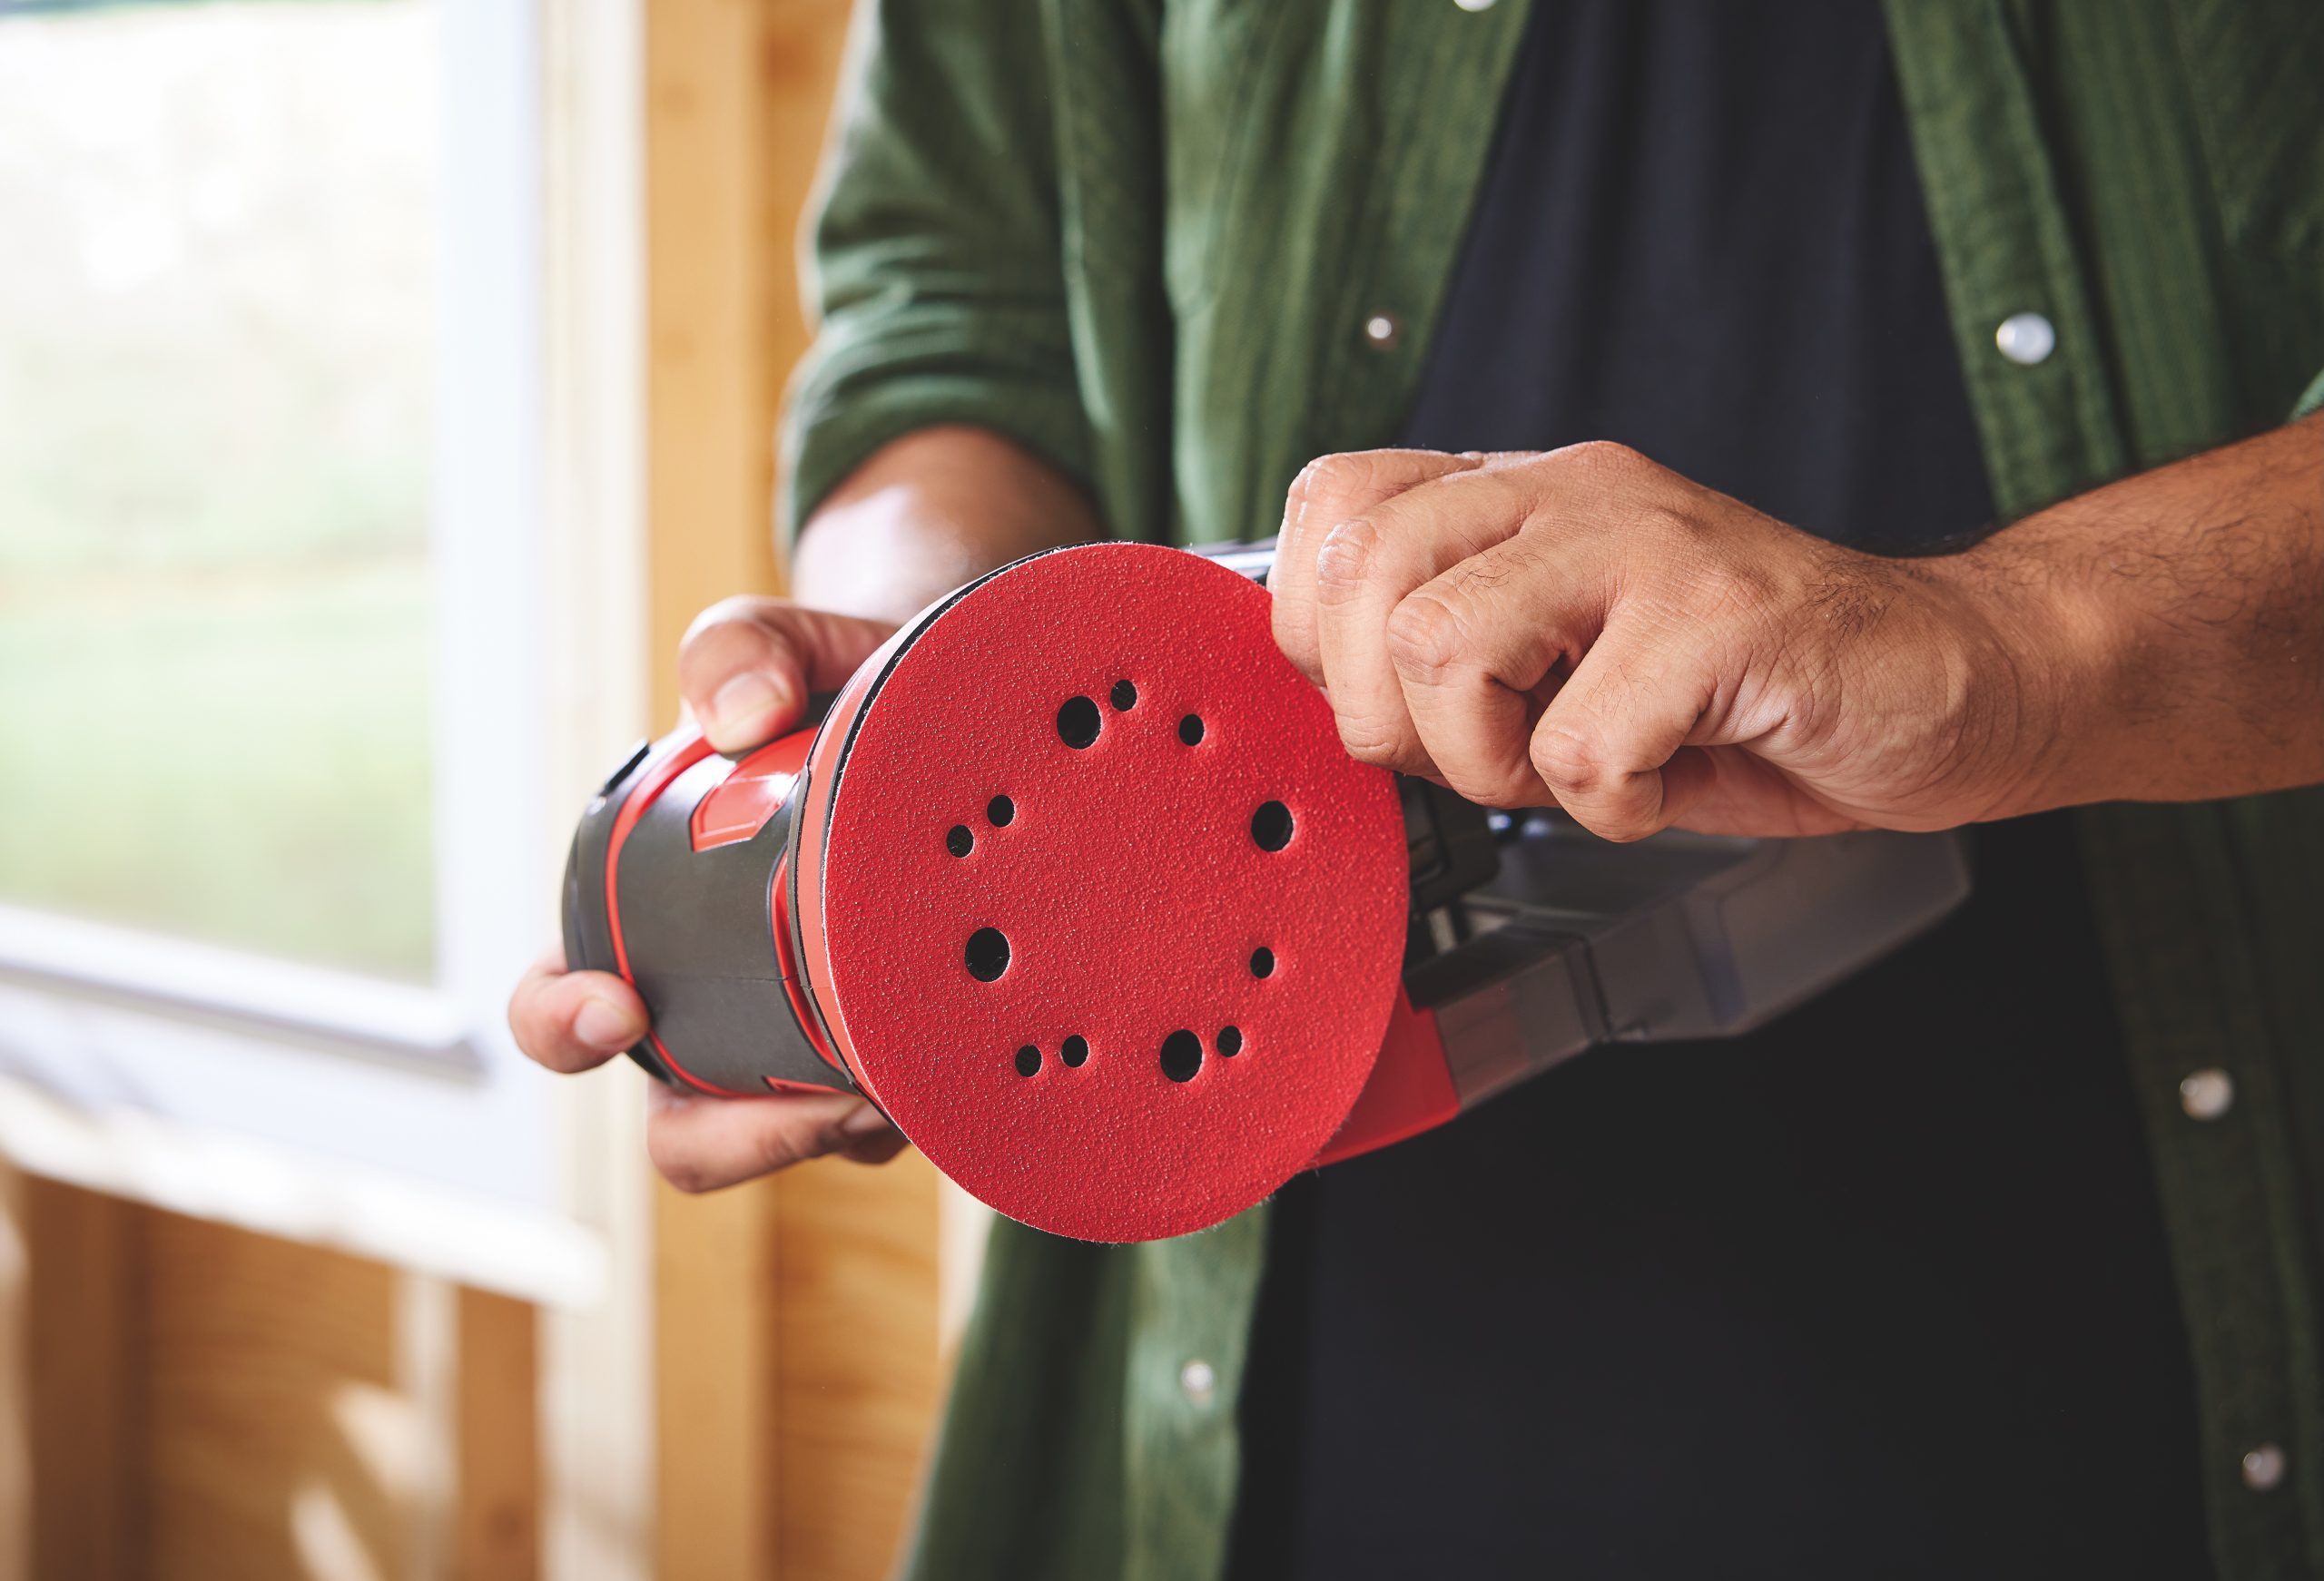
Step 3 Sand Your Deck
This is the most important step that most do not complete. You need to sand the deck, especially the horizontal boards.
Wood, as it ages, can get what is called a “wood sheen,” a constriction of the fibers that makes the wood look shiny, especially when wet.
Sanding will open the fibers so that the new stain will be absorbed.
For more on how to sand your deck before staining, follow the steps outlined in this “How to Sand Your Deck” Tips & Advice article.
Step 4 Remove Dust and Debris

Step 5 Look at the Weather
You need it to be dry for at least 48 hours after you stain your deck, and in a perfect world, you want daytime temperatures to be below 75 degrees.
Step 6 Stain Your Deck
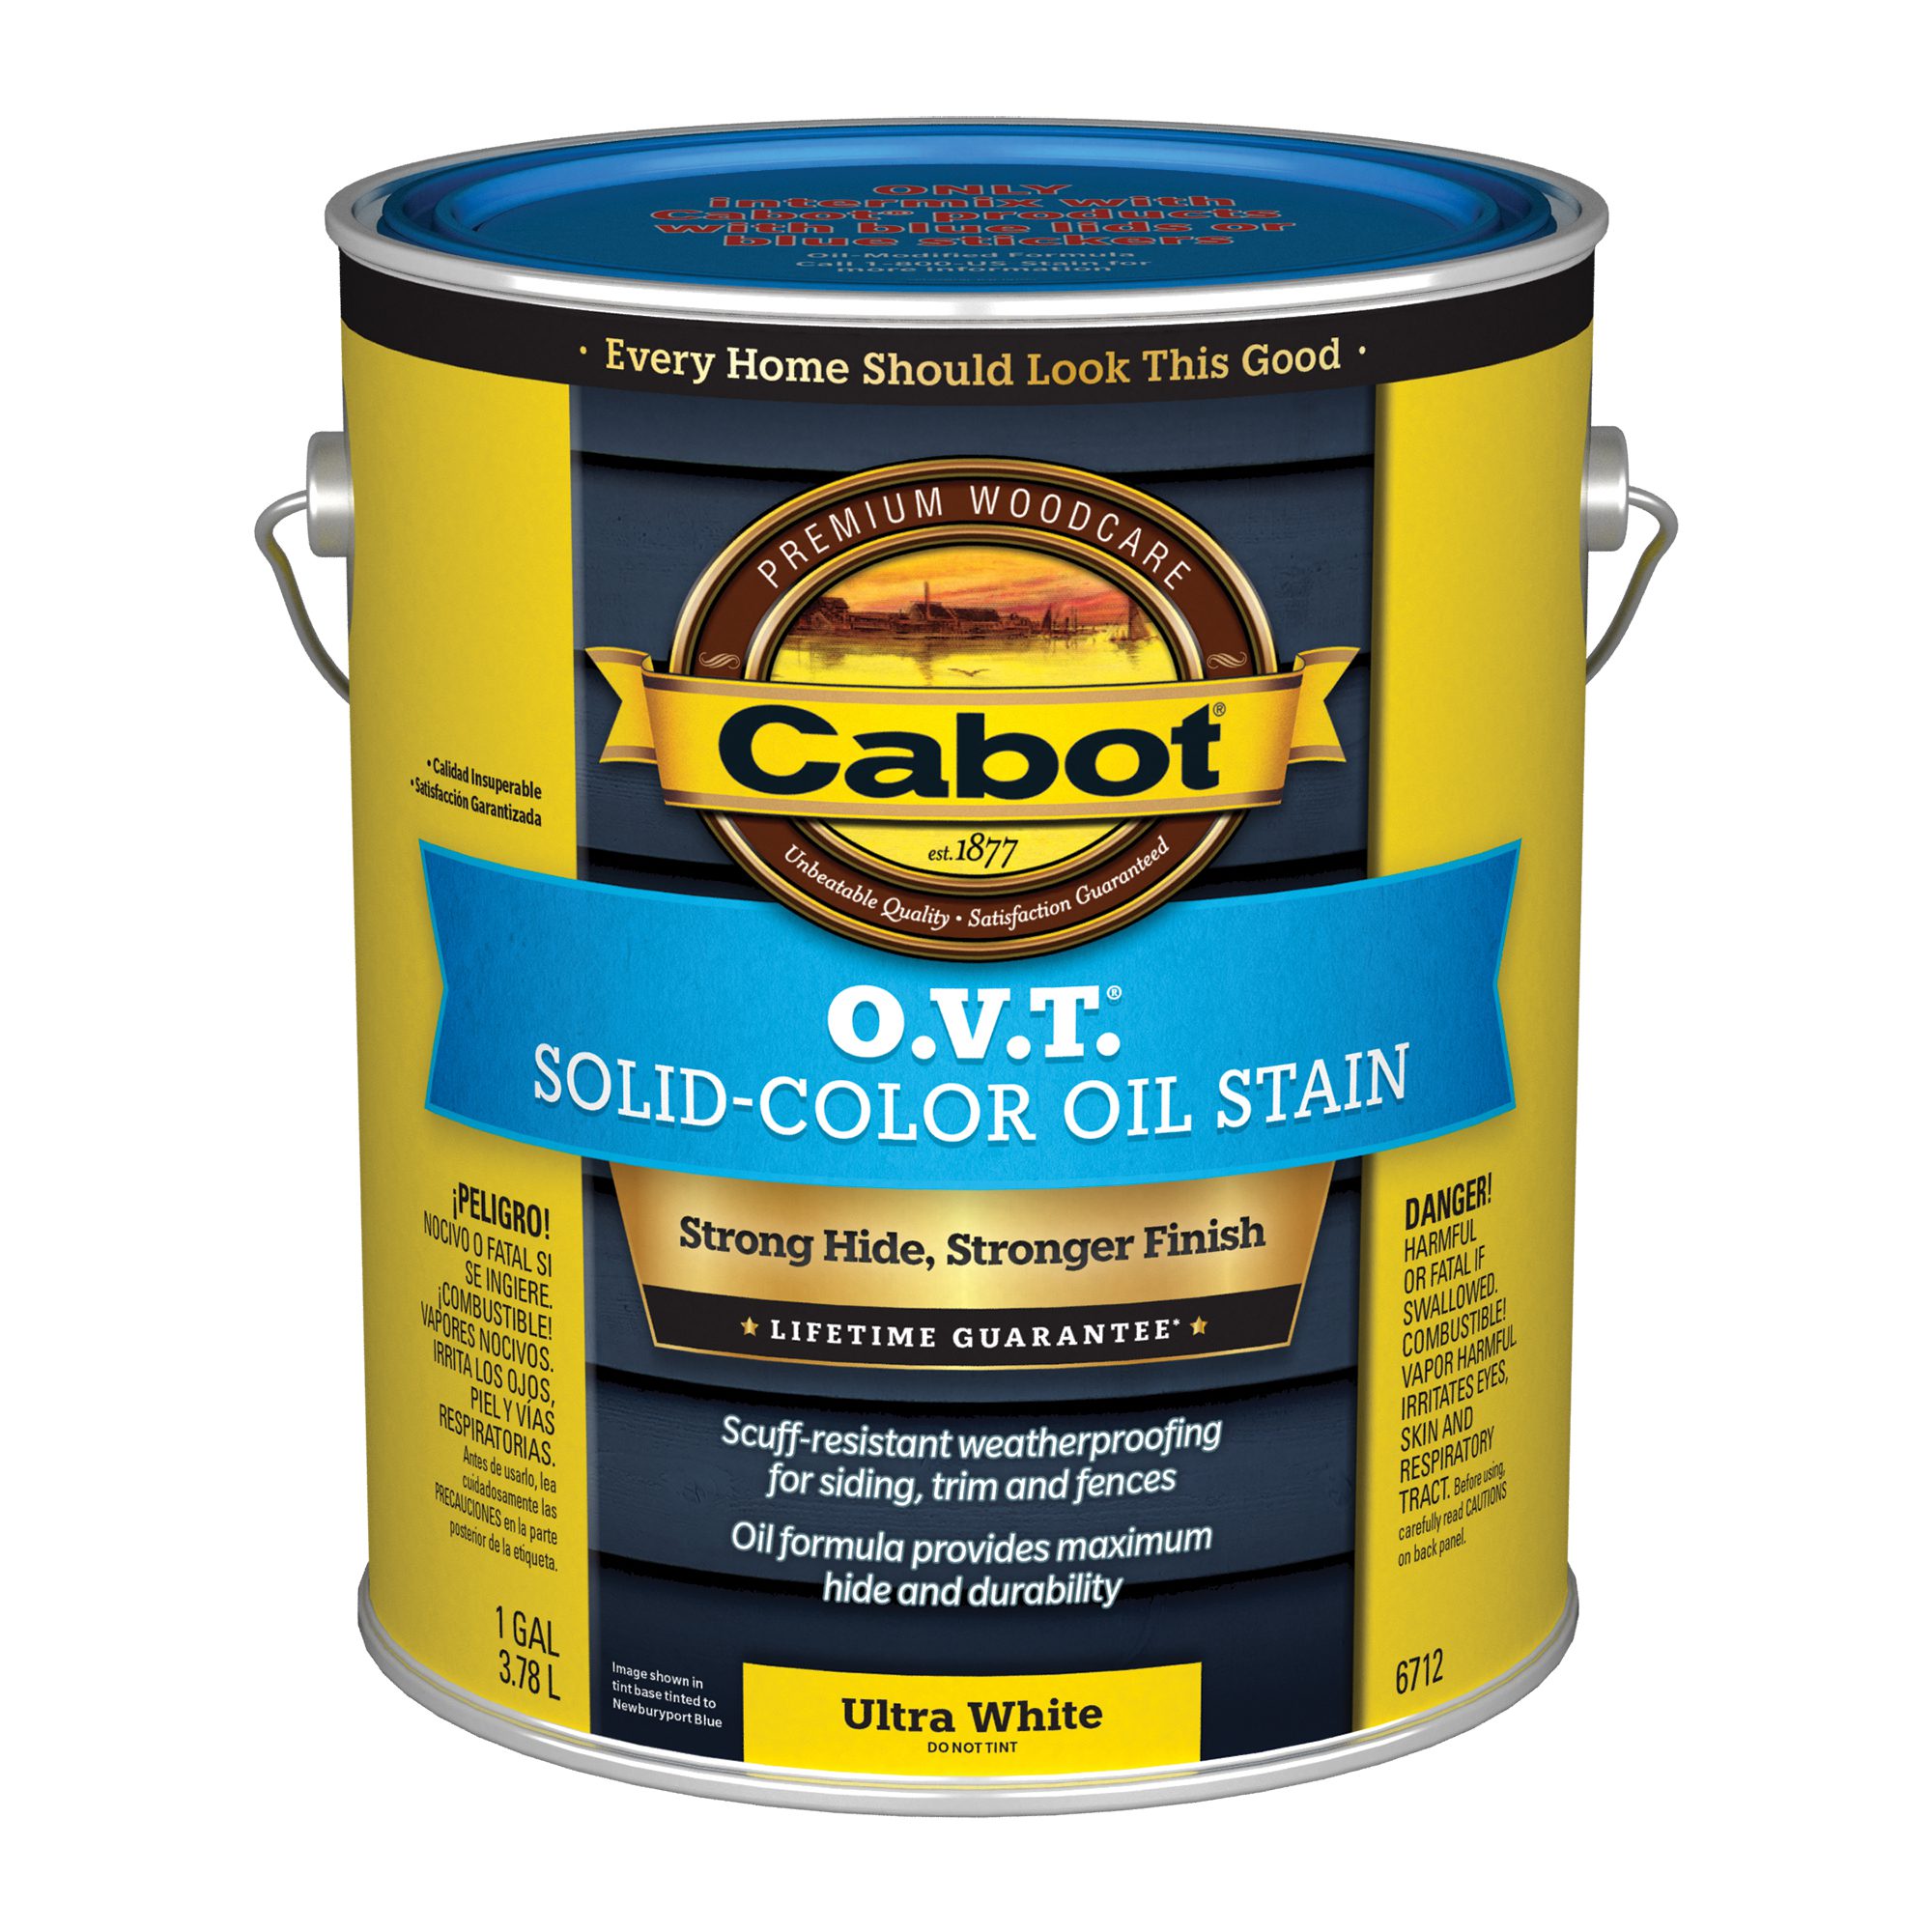
You need to buy enough stain to cover your deck. The average gallon will cover about 300 square feet, but if the deck is older, it may absorb more stain.
Brushing on the stain, while using a roller for larger areas, is the easiest method for this project.
Just make sure you occasionally stir the stain to keep the color resins suspended for a consistent color.
Step 7 Let Your Deck Dry
Allow the stain 24-48 hours to dry before you place things back on the deck.